
Adding More Solar | Dolores Solar V2.5
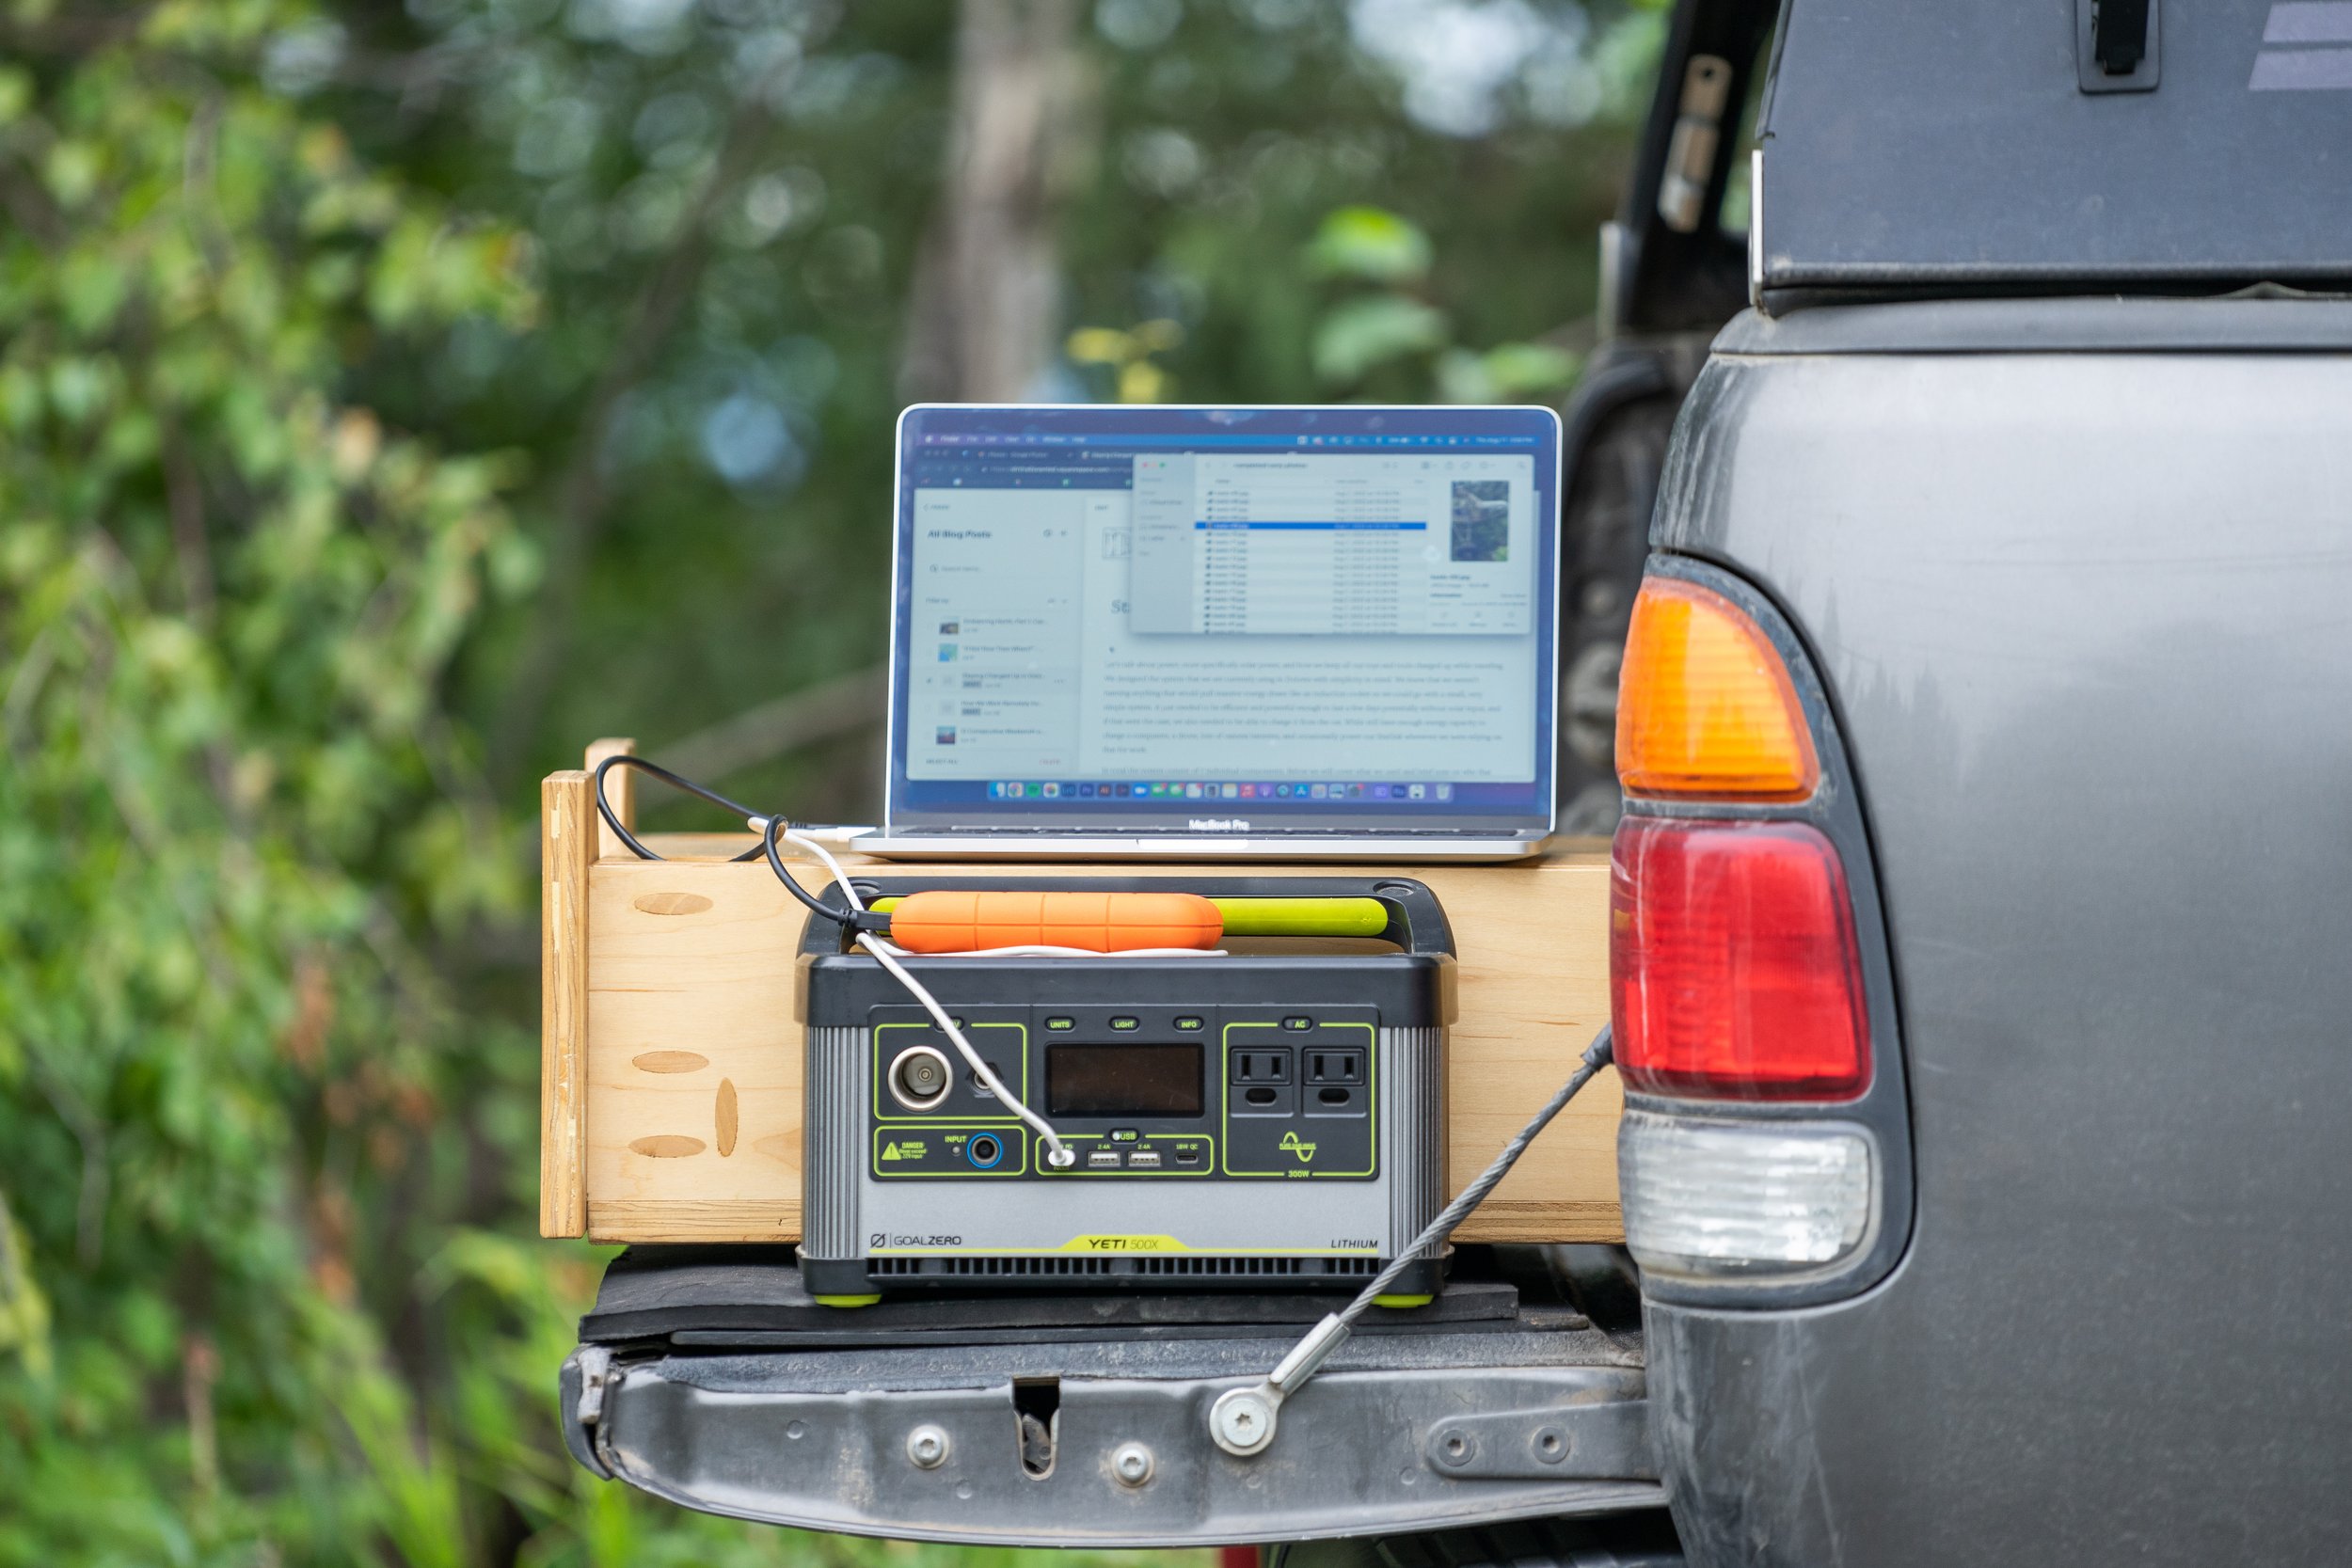
Since May of ‘22 we have called our little truck camper our full-time home, its allowed us to travel to some of the most far-flung points in North America, all the while working remotely. Neither of which would have been possible without some sort of power system in the camper. Over those years, we have slowly shaped this power system to perfectly fit our needs, and recently, we made some updates to make it even better for us!

From 300W to 620W of solar!
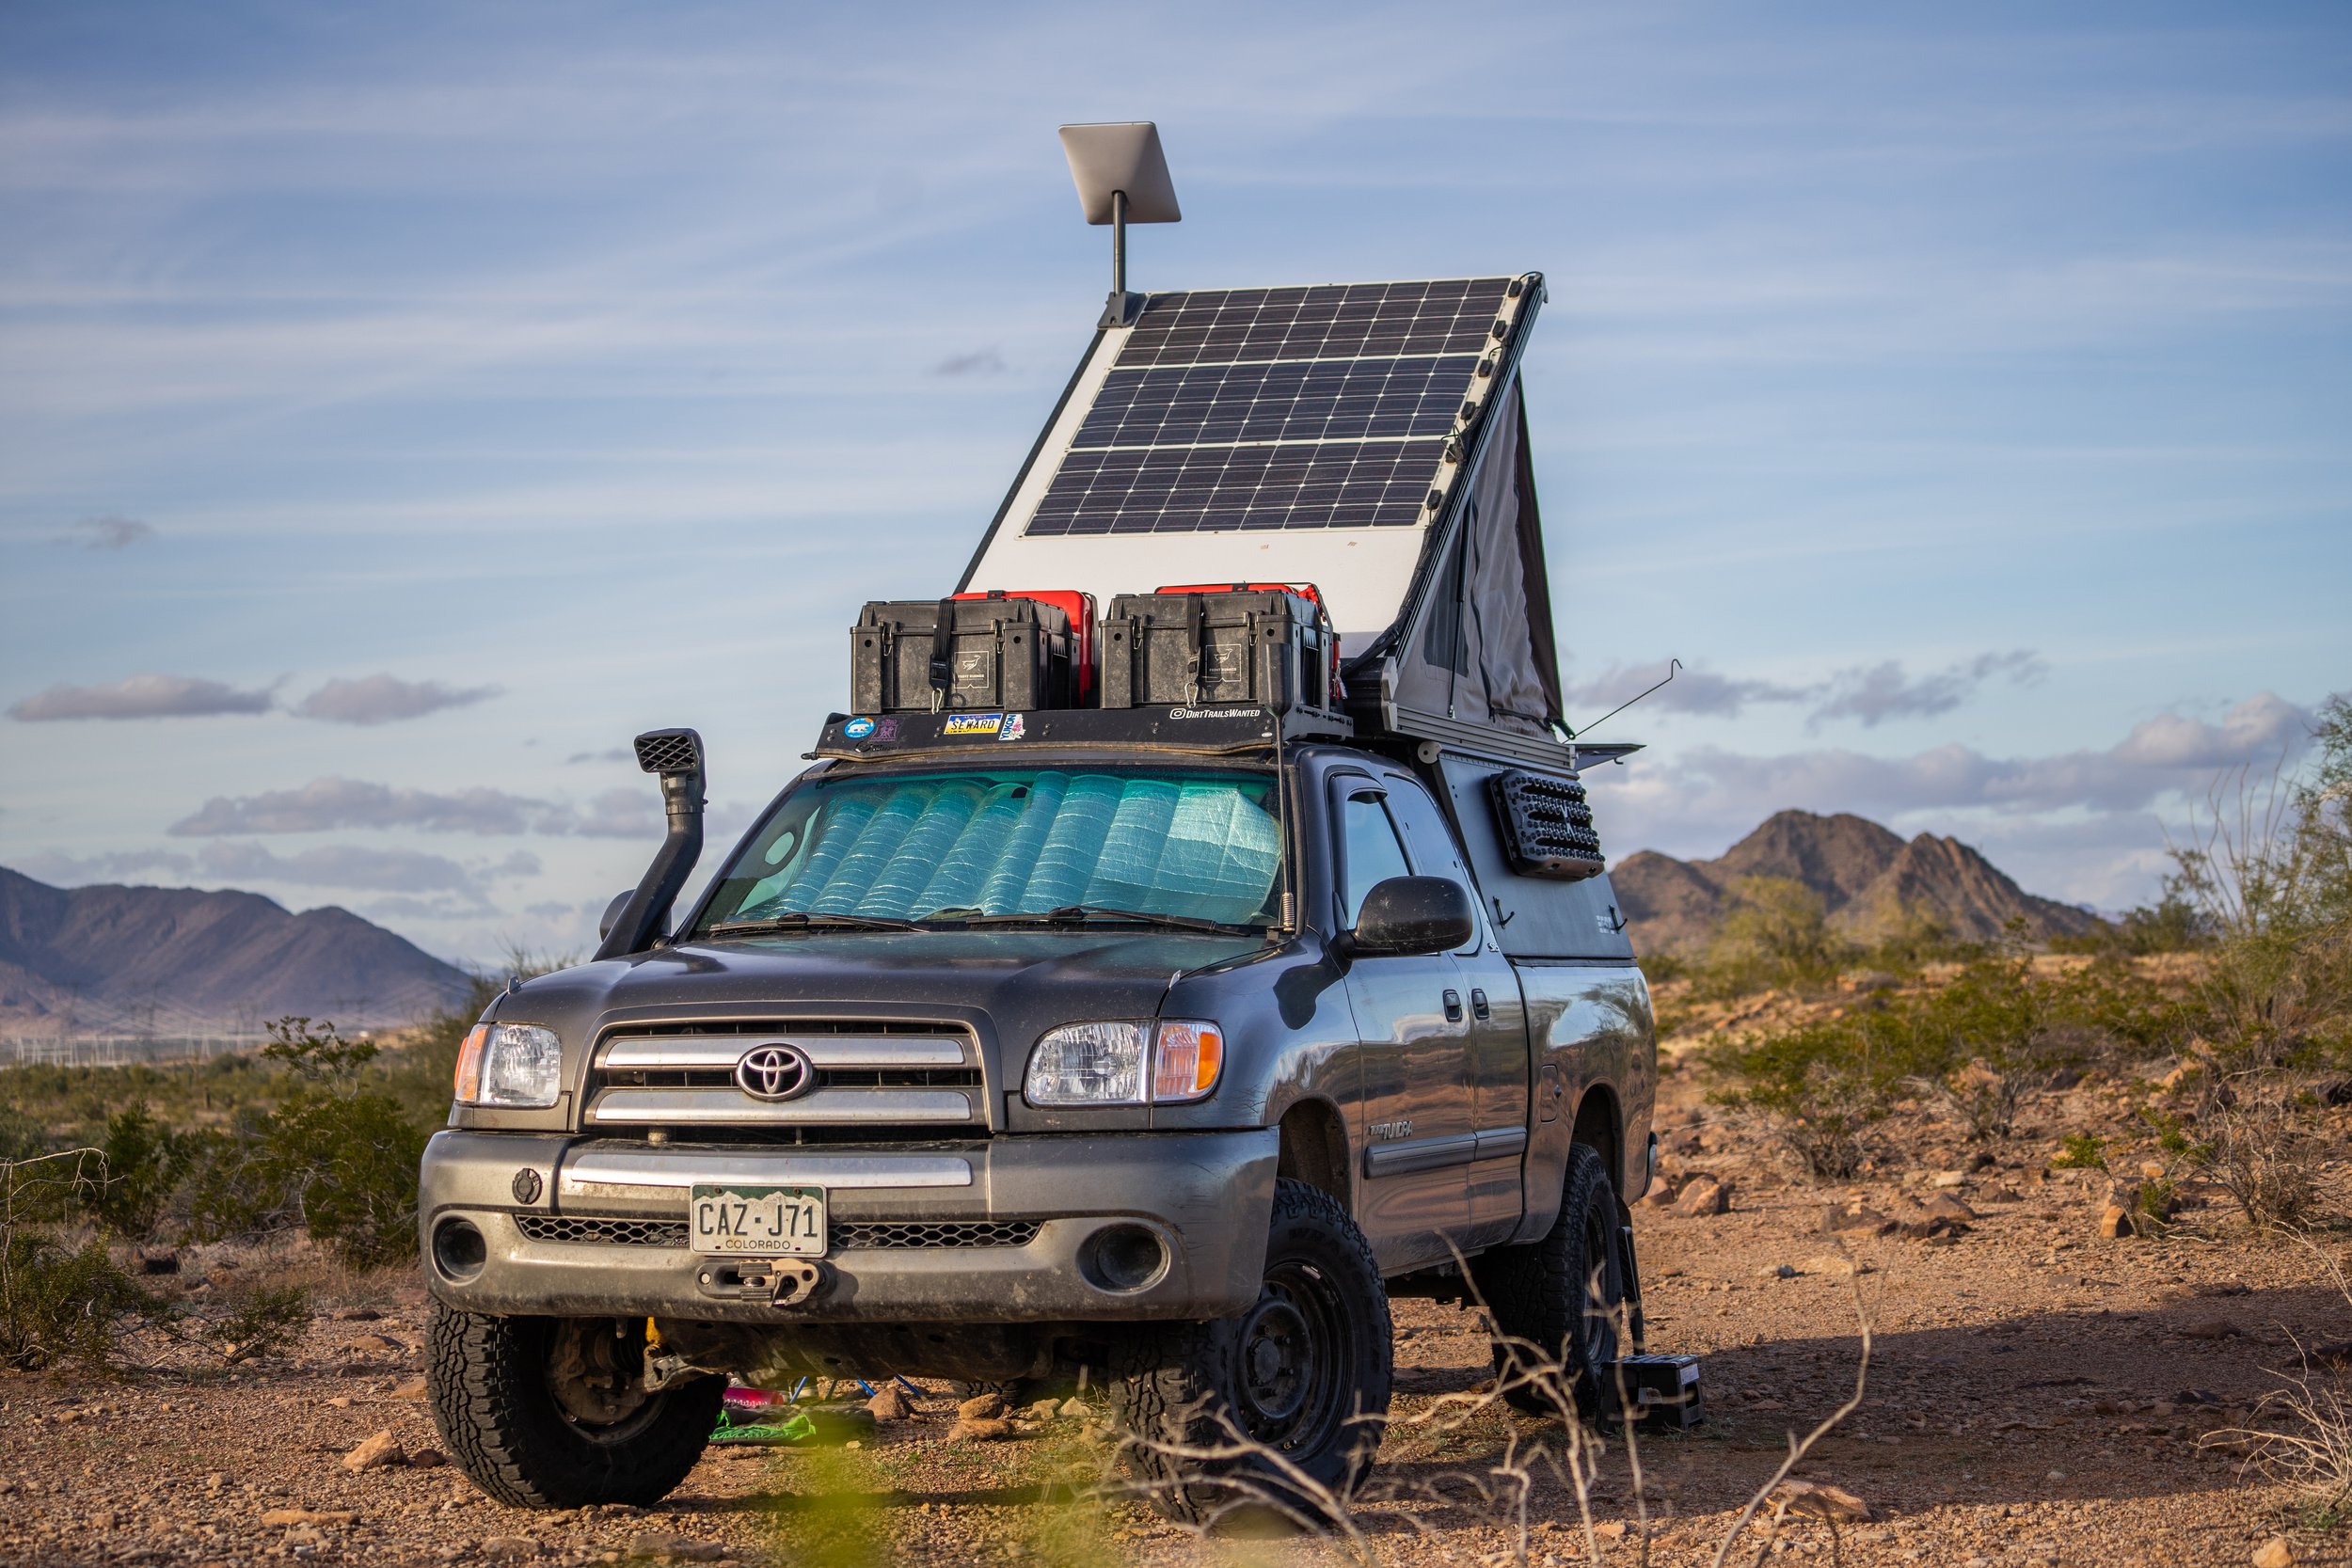
For the last several years, our power system has remained relatively unchanged, 300 watts of solar produced by three 100-watt Flexible Renogy solar panels on the roof fed into our house battery. This setup has worked great in the sun-soaked summer months, but during the winter months with shorter sunny hours and lower sun angles, or on cloudy days, we were sometimes falling short on our solar production needs. So, we have been thinking for a while about how we would improve it.
What we settled on was expanding our solar on the roof, which thankfully we had designed the system with this in mind, and adding a portable ground panel to our kit as well.
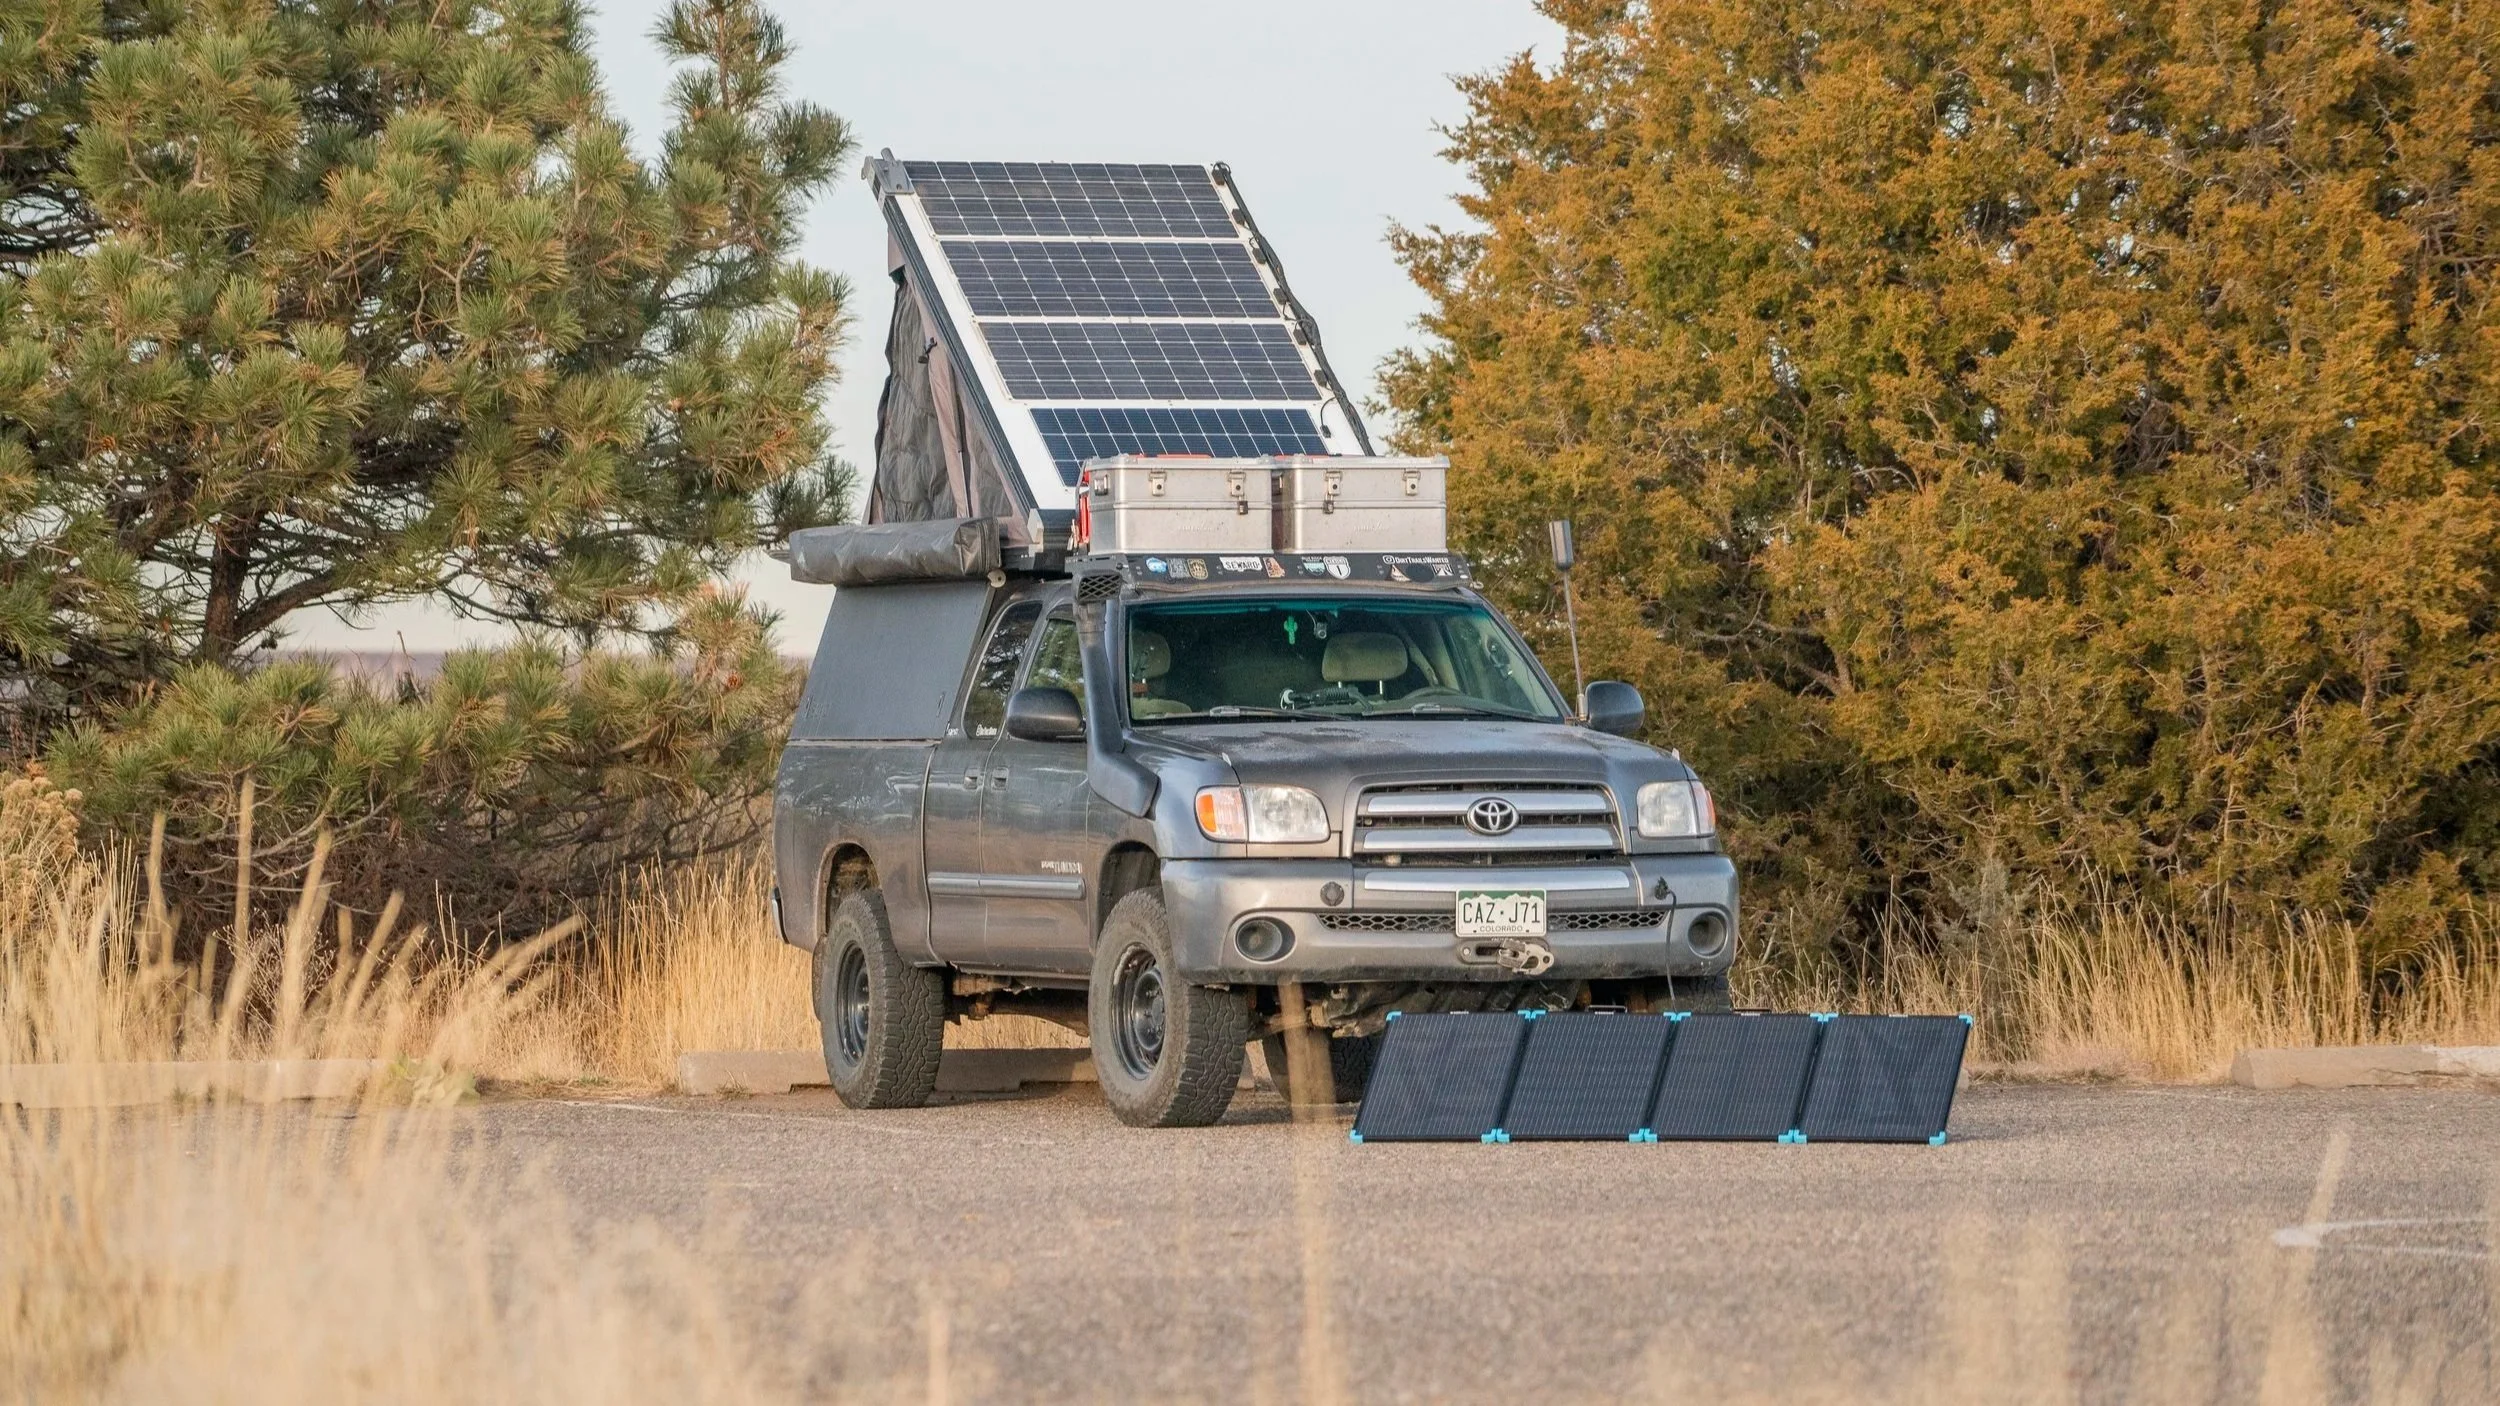
These two upgrades will give us a few new benefits. First, we have now increased the solar on our camper’s roof to 400 watts, aiding in production in a variety of situations. Secondly, and the one we are really excited for, is the addition of the Renogy 220W Lightweight Portable Solar Panel, which will allow us to more easily chase the sun during times when it’s not shining at an ideal angle for our roof.
Below is how we went about making these changes and some of our thoughts and considerations along the way.

Good preparation is key to success in so many projects, so long before sticking anything down to the roof of the camper, I gave everything a nice clean using denatured alcohol with a blue shop towel. These steps are essential for removing any grease, oil, or road grime that might have accumulated over time. Additionally, we want to be sure to remove any potential release agents from both the solar panel and the roof of our GFC when they were manufactured.

A brief note on why we have chosen to use these flexible panels over a rigid panel. In the shortest explanation, it’s simplicity. The simplest way to mount them is with some form of double-sided tape; our preferred tape is 3M VHB tape. Compared to going with a rigid panel, there is no need for a roof rack or additional mounting hardware, all of which add weight, cost, and likelihood of more failure points.

All of our panels, including the ground panel, are wired in parallel. We achieved this by wiring them to two bus bars in a junction box, which is located on our roof rack. All of the positive solar cables come to one bus bar, while all of the negatives come to another. In order to keep it waterproof, we used wire glands, which we installed in holes that we drilled through the junction box. If you would like to see more details on these specific steps, please see this post.

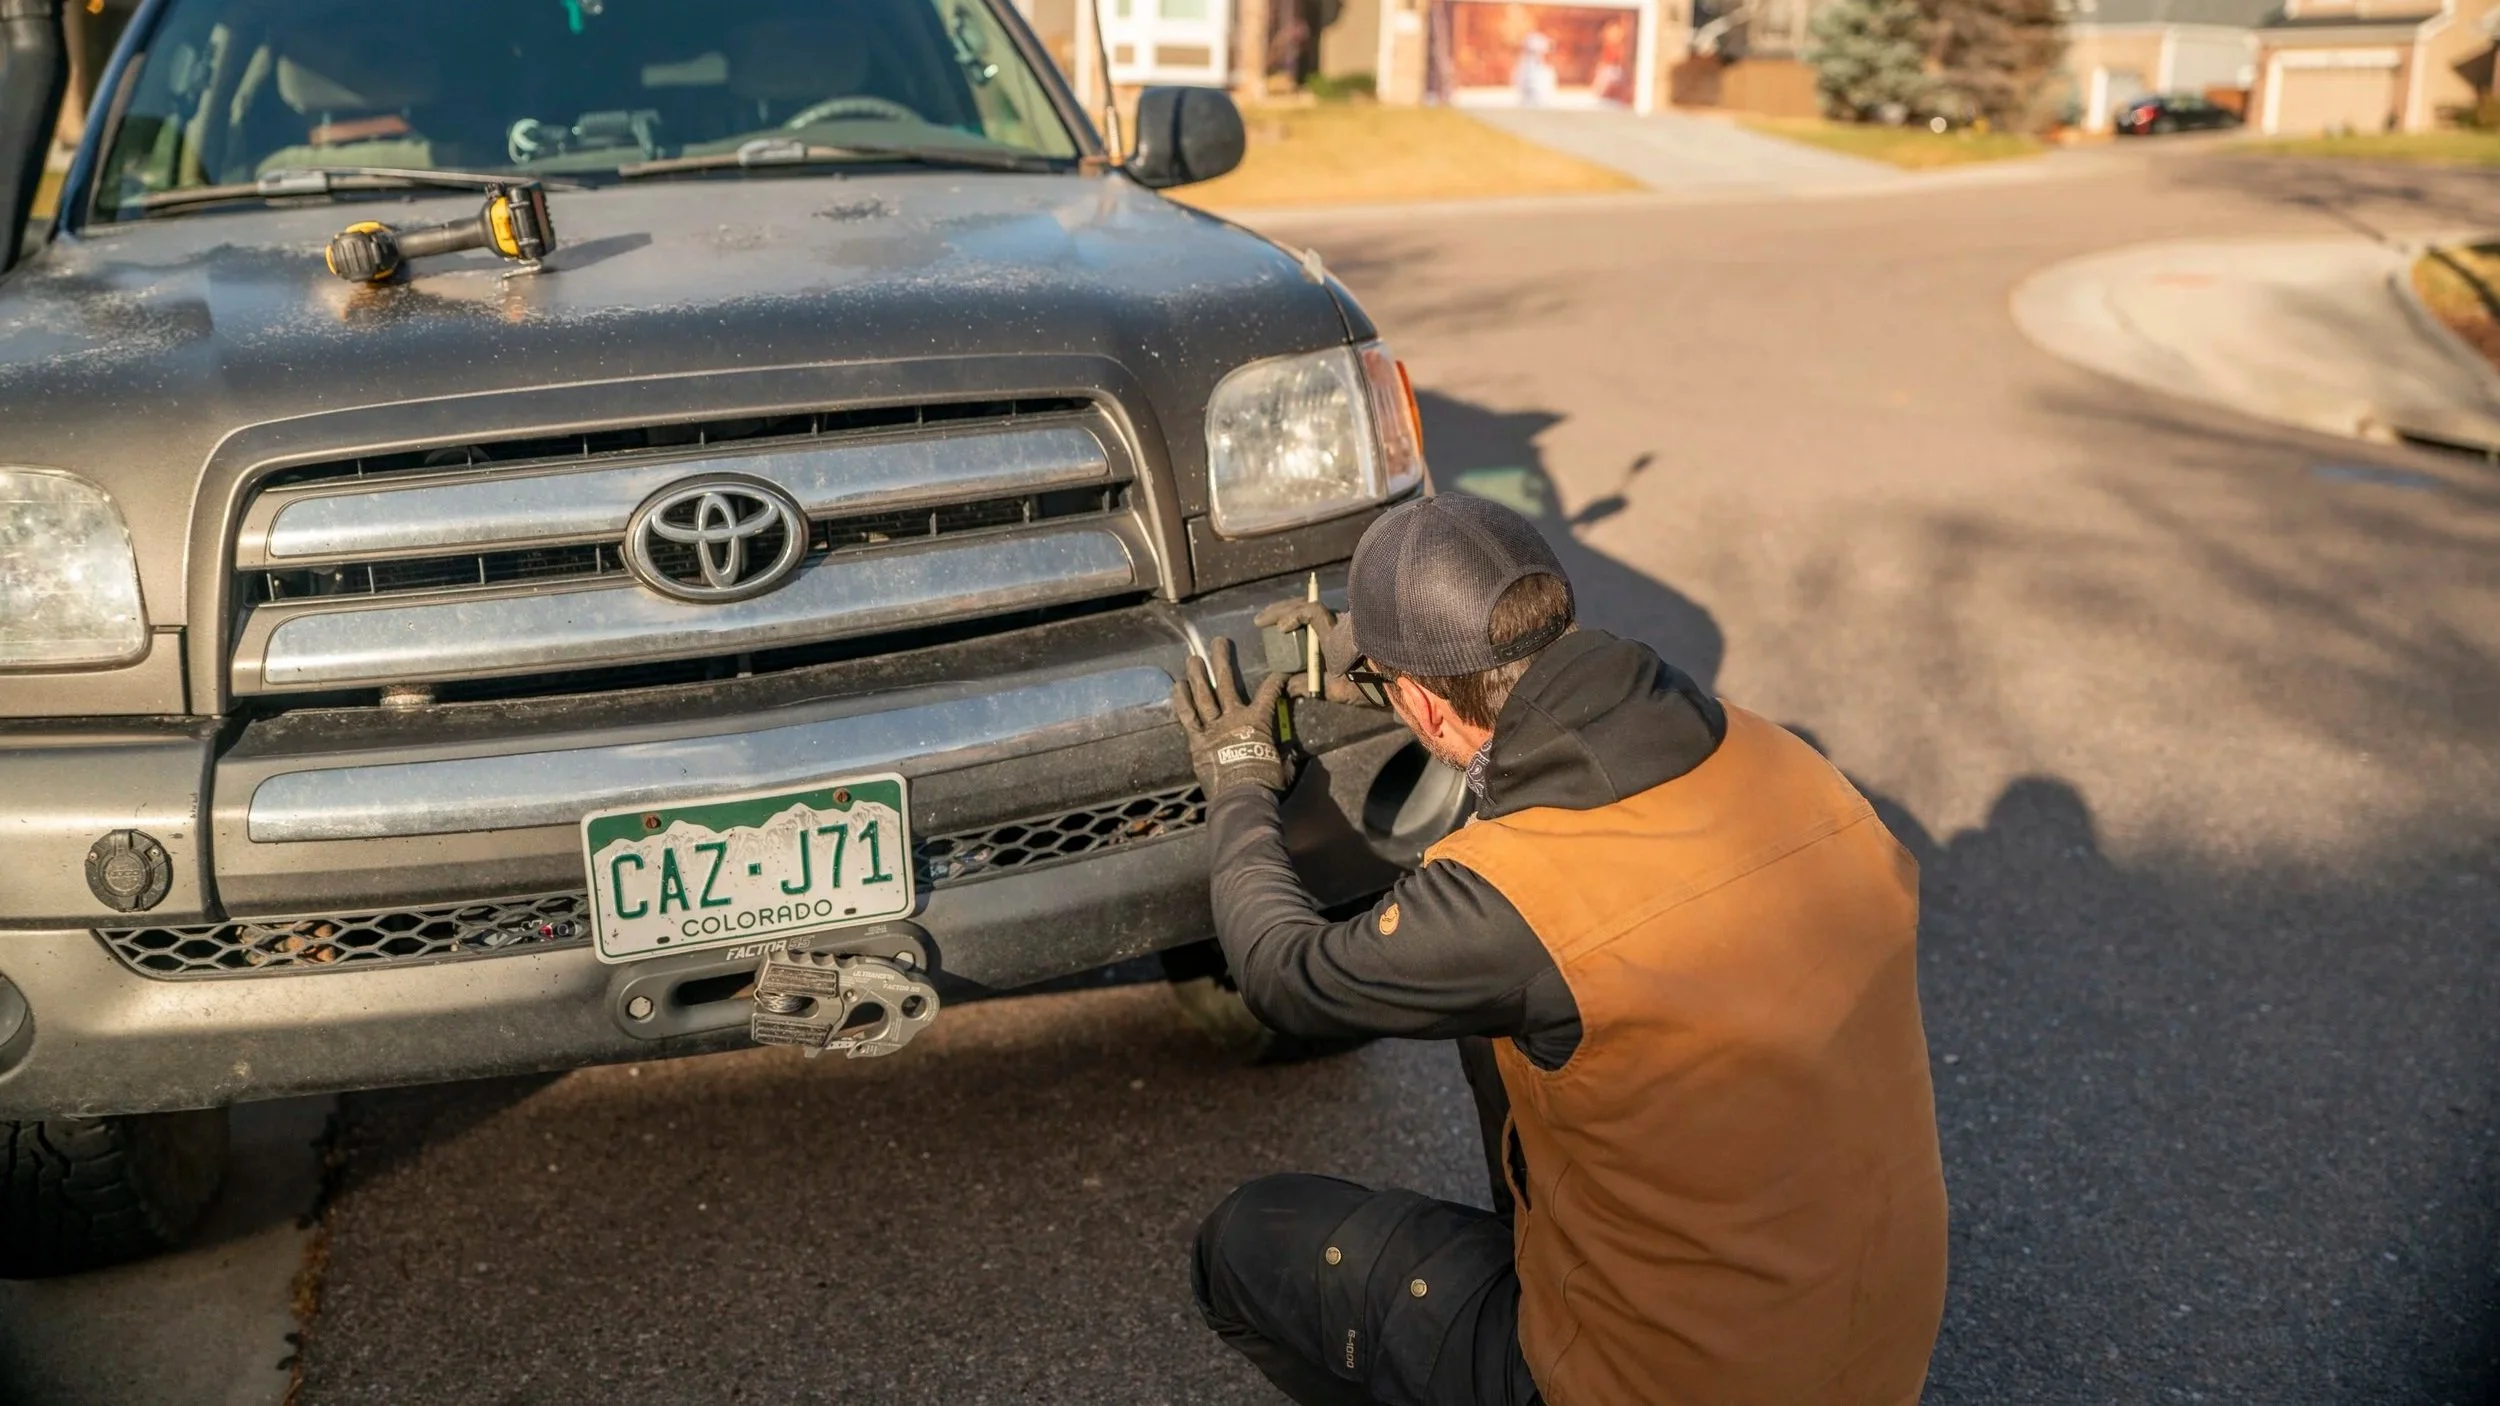
The next step of this installation was adding a port to the front bumper of the truck, which would allow us to cleanly plug in the portable panel whenever it is in use.
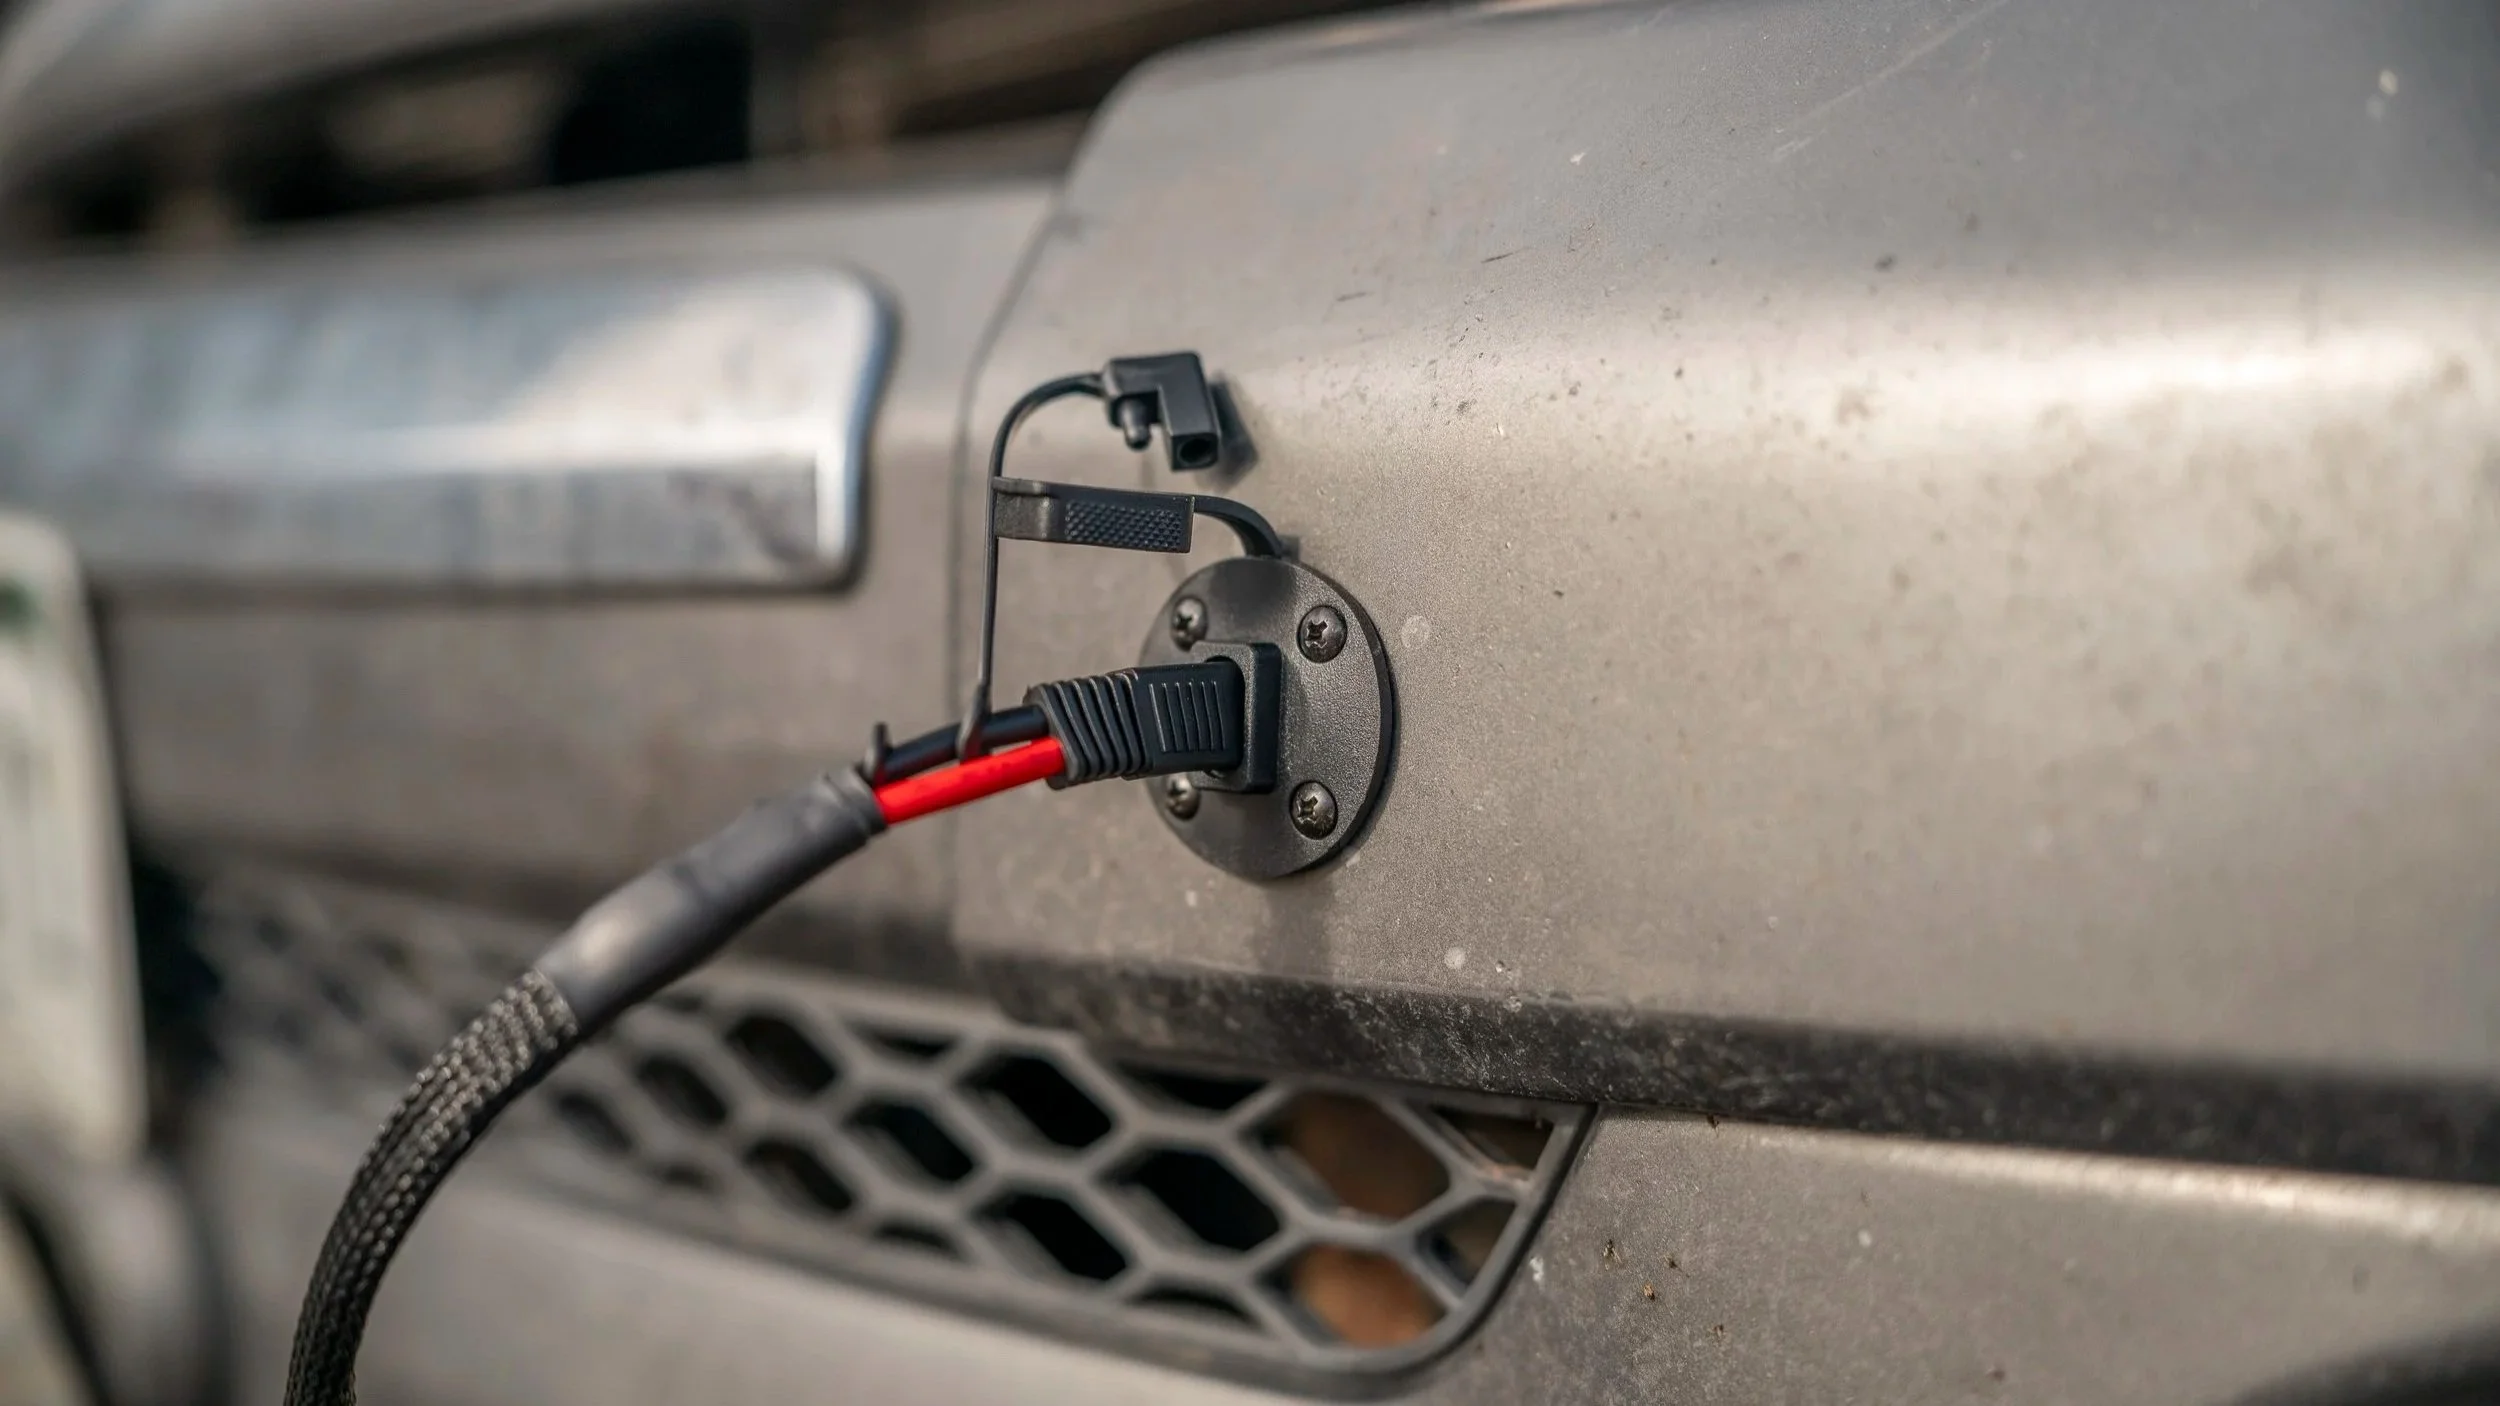
After selecting a location for the port, we ran a 10 AWG marine duplex wire, which we wrapped in Alex Tech Wire Loom to protect it from abrasion. This wire runs from the plug at the bumper along the frame rail to the gap between the bed and cab of the truck, from there its routed up the leading edge of the bed, to the GFC overhang above our cab, and follows the solar panel cables of the camper roof to the junction box on our roof rack, where its connected to the bus bars mentioned above.


We are really happy with this 12-volt SAE port. It was the cleanest, most low-profile option that I could find, and it fits in with the general styling of our shore power plug, which is on the opposite side of the bumper.
In order to plug the portable panel in, I modified a 20-foot solar extension cable. One end of that cable retained the MC4 connections for the panel. On the other end, I cut off the MC4 Connections, and in their place I crimped on a SAE plug that would mate with the port on the bumper. There are adapters available for MC4 to SAE; however, I wanted to simplify the connection points and carry fewer items.
It is possible as well to buy this complete extension that I made, but it doesn’t come with the wire loom preinstalled.
We chose to mount the panel port to the front bumper because this location felt like the safest option to have something plugged into. Compared to the rear of the truck, where we normally do all of our cooking and hanging out, the front is a relatively low-trafficked area of the truck.

Alright, so let’s get back to why we did all of this work!
The bottom line is more production and flexibility. The 4th Renogy 100-watt Flexible Panel on the roof, bumping our roof solar total to 400 watts, will help to keep us powered for the vast majority of the time. The Renogy 220-watt Portable Suitcase Panel will help to catch those additional rays of sunshine and give us a lot of flexibility to catch morning or evening sunshine without the need to move the truck to realign the roof with the sun, and when deployed, it will bump our solar production total to 620 watts, an impressive amount for a setup this compact.
Please let us know if you have any questions on this setup!
Learn more about our solar systems in Dolores
We got the opportunity to partner with Renogy to add more solar to our rig which took us from 300W to 620W of solar!