
Dolores Solar System V1.0
We designed our overland solar setup in Dolores with simplicity and efficiency in mind. We started by examining three main areas: what do we need to charge, how much energy storage do we need, and how much do we want to spend?
Electrical Demands - Since the build out in Dolores is currently quite simple we knew that this could be a much smaller, simpler solar system than the one we built in Peanut, but we still need to charge our laptops, drone, many camera batteries, and wifi tools that we rely on for work, including our starlink satellite internet.
Energy Storage - In general we spend the majority of our time recreating around Colorado and the desert southwest where there is an abundance of sunshine! Storing energy isn’t much of an issue there when we have amazing solar production. However, we knew that we’d also be traveling to less sunny areas (like Alaska) so our battery system needed to be efficient and large enough to last a few days potentially without solar input.
Cost - Based on the simplicity of the build out in Dolores, we knew that we wanted to keep the cost of this system as low as possible and get the most bang for our buck.
The solar system that we started out with is a 100W panel combined with a 505Wh lithium ion battery. In total, the whole system including installation materials consists of seven simple components and we were able to stay just under $1,000.
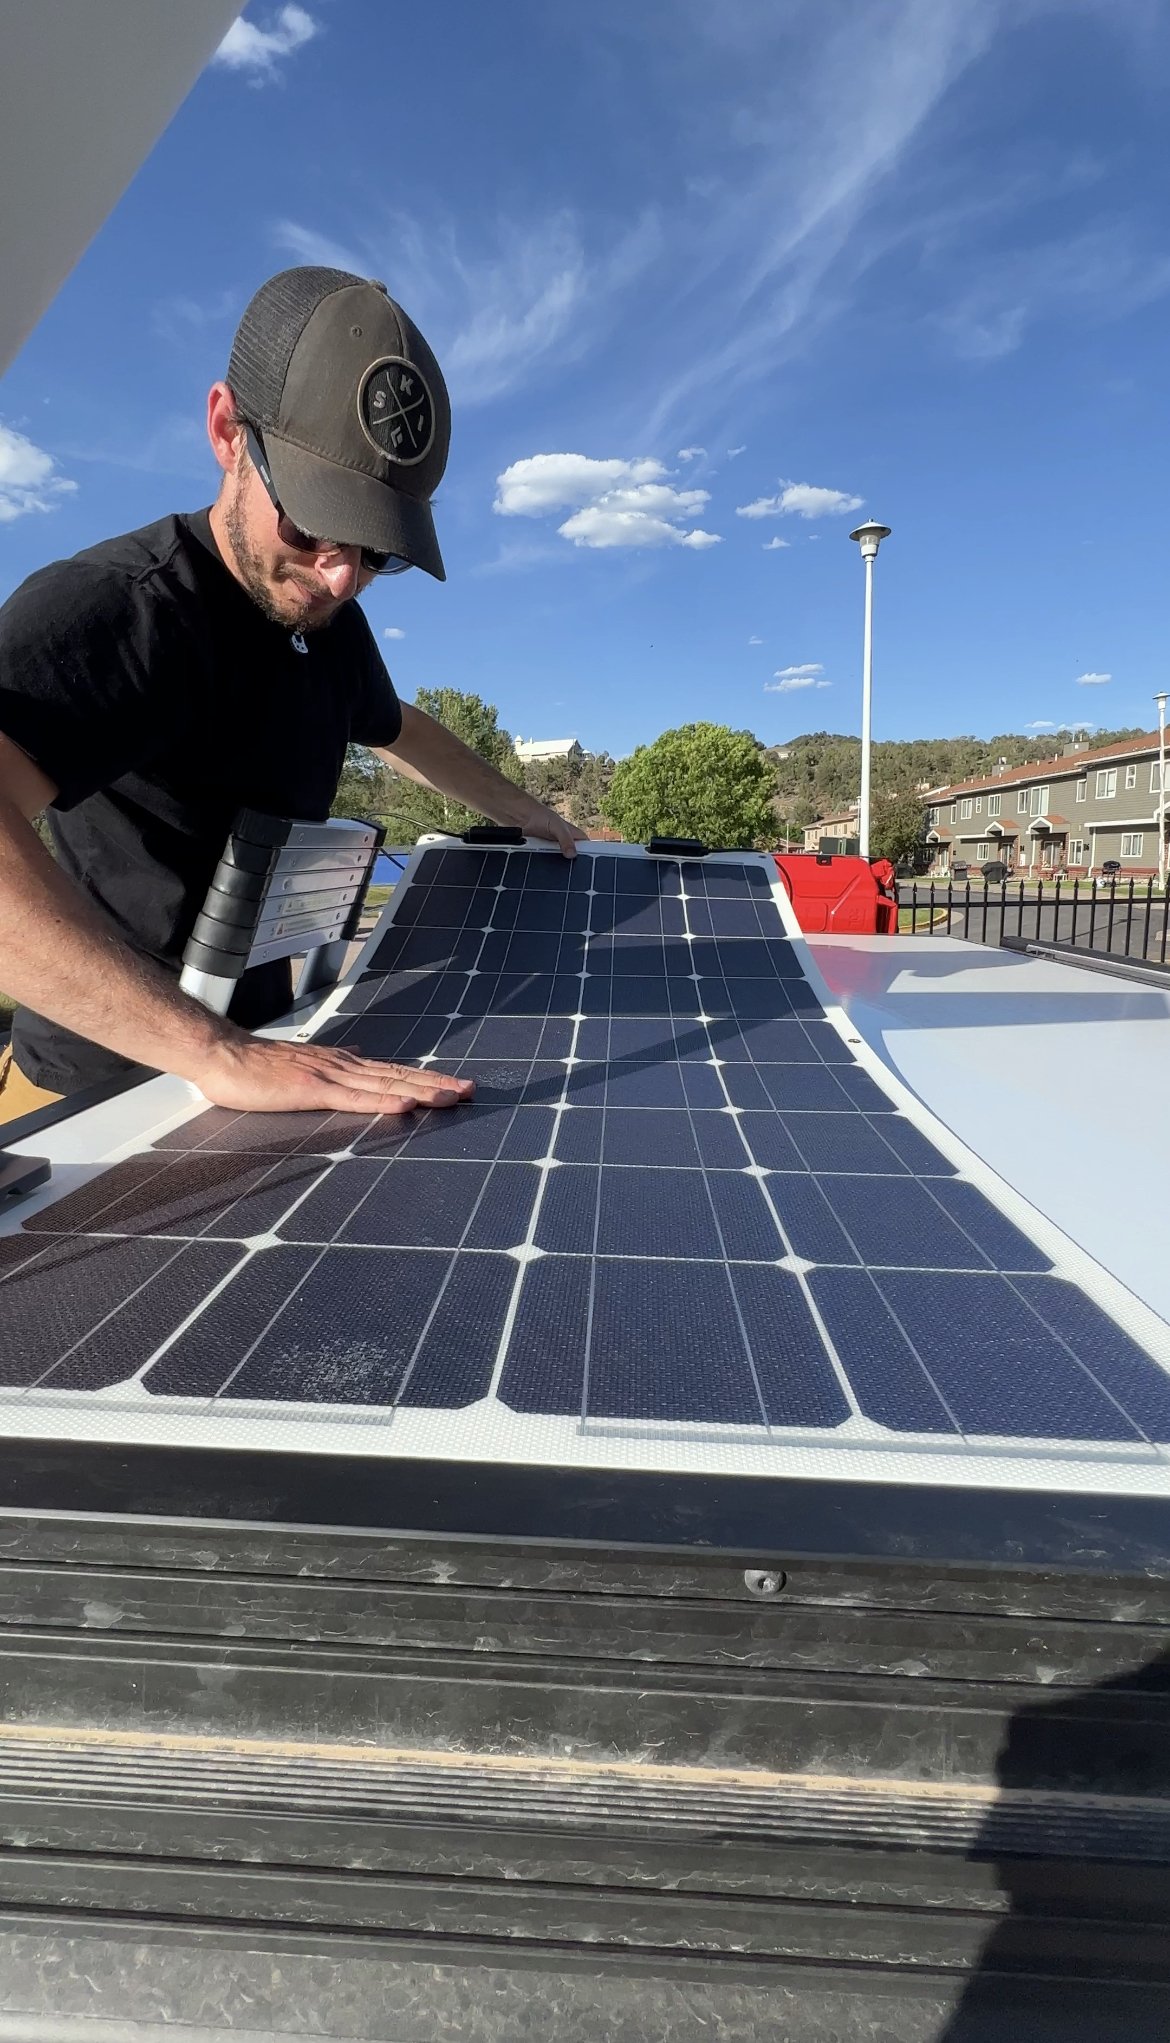
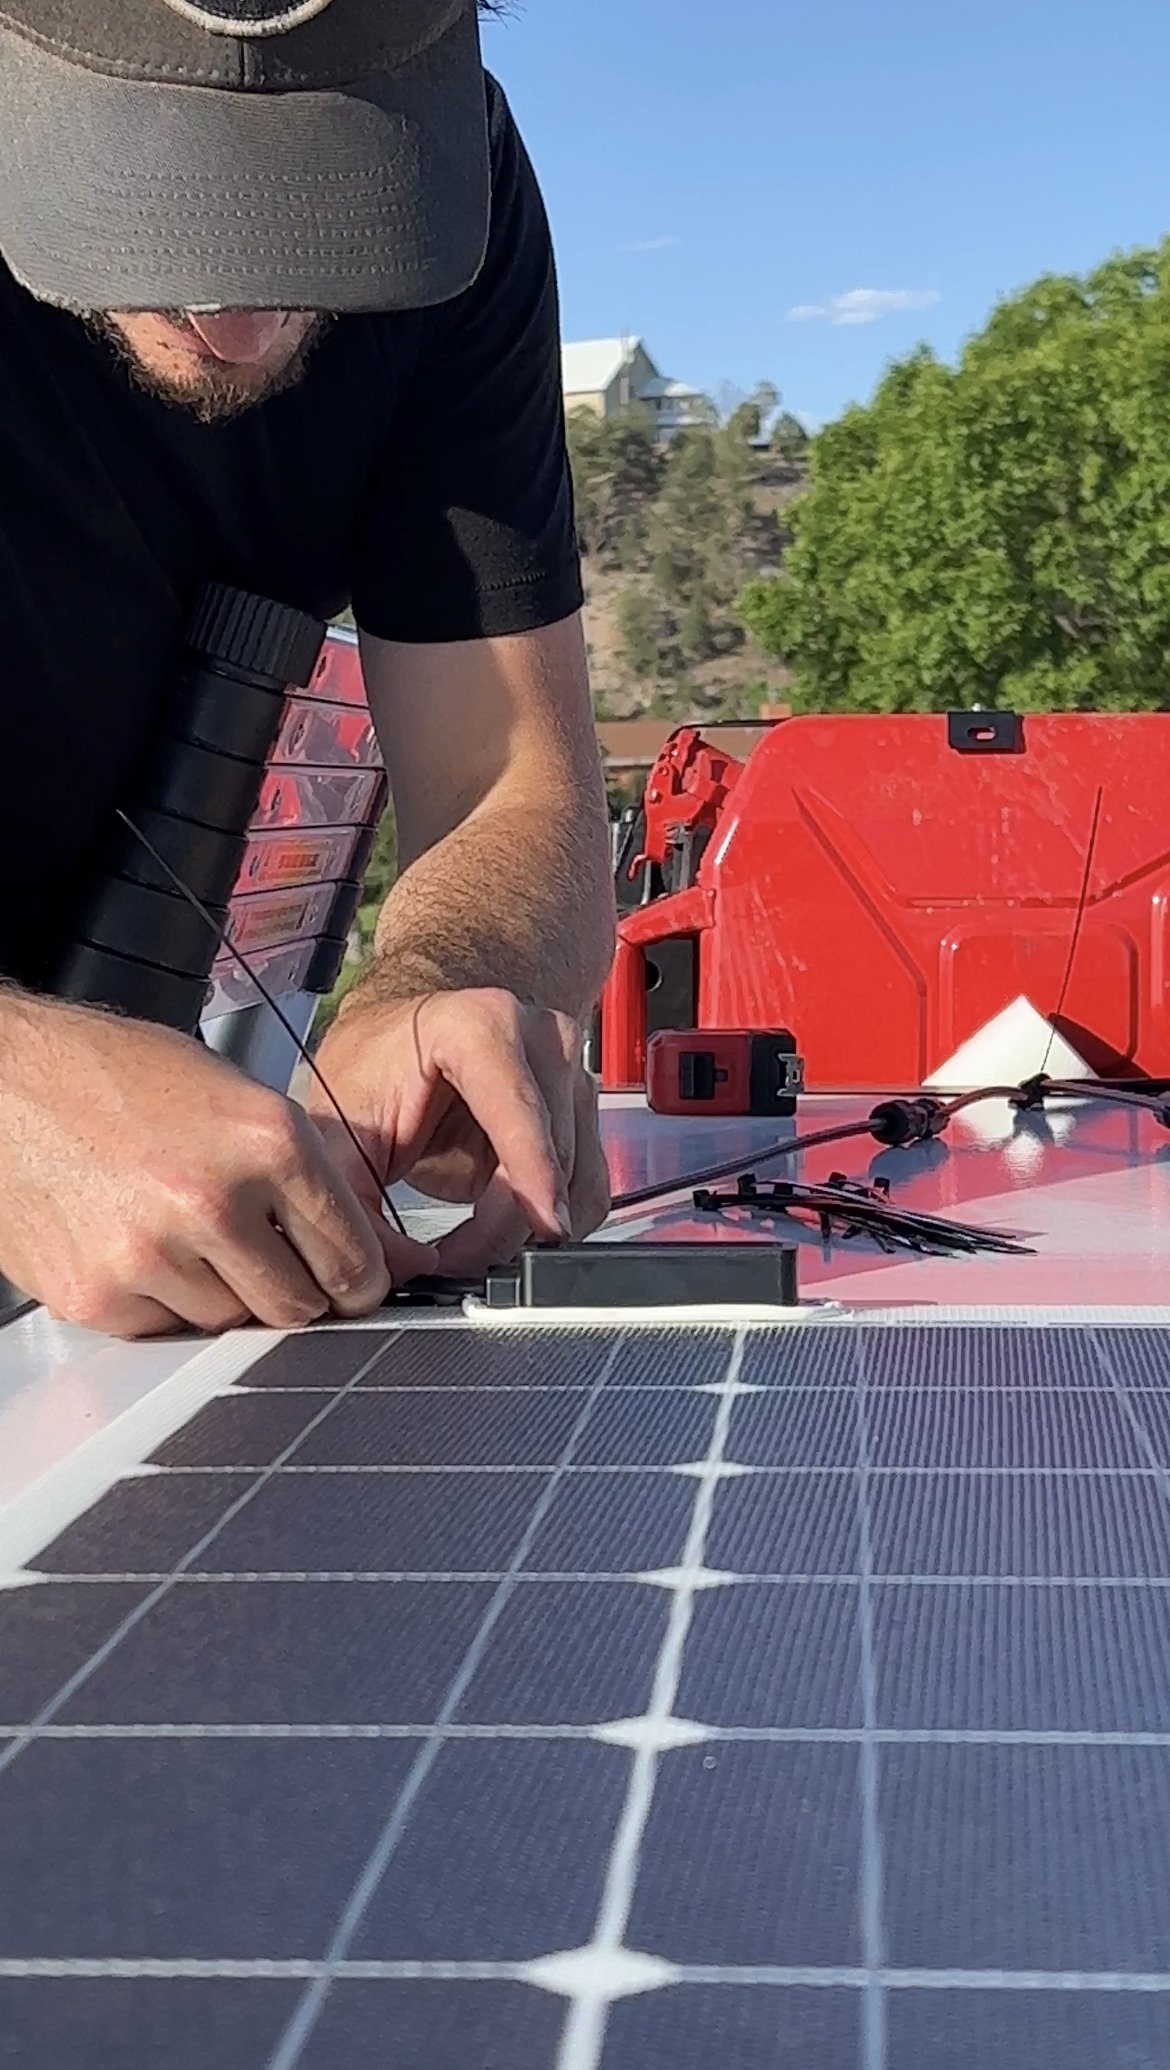
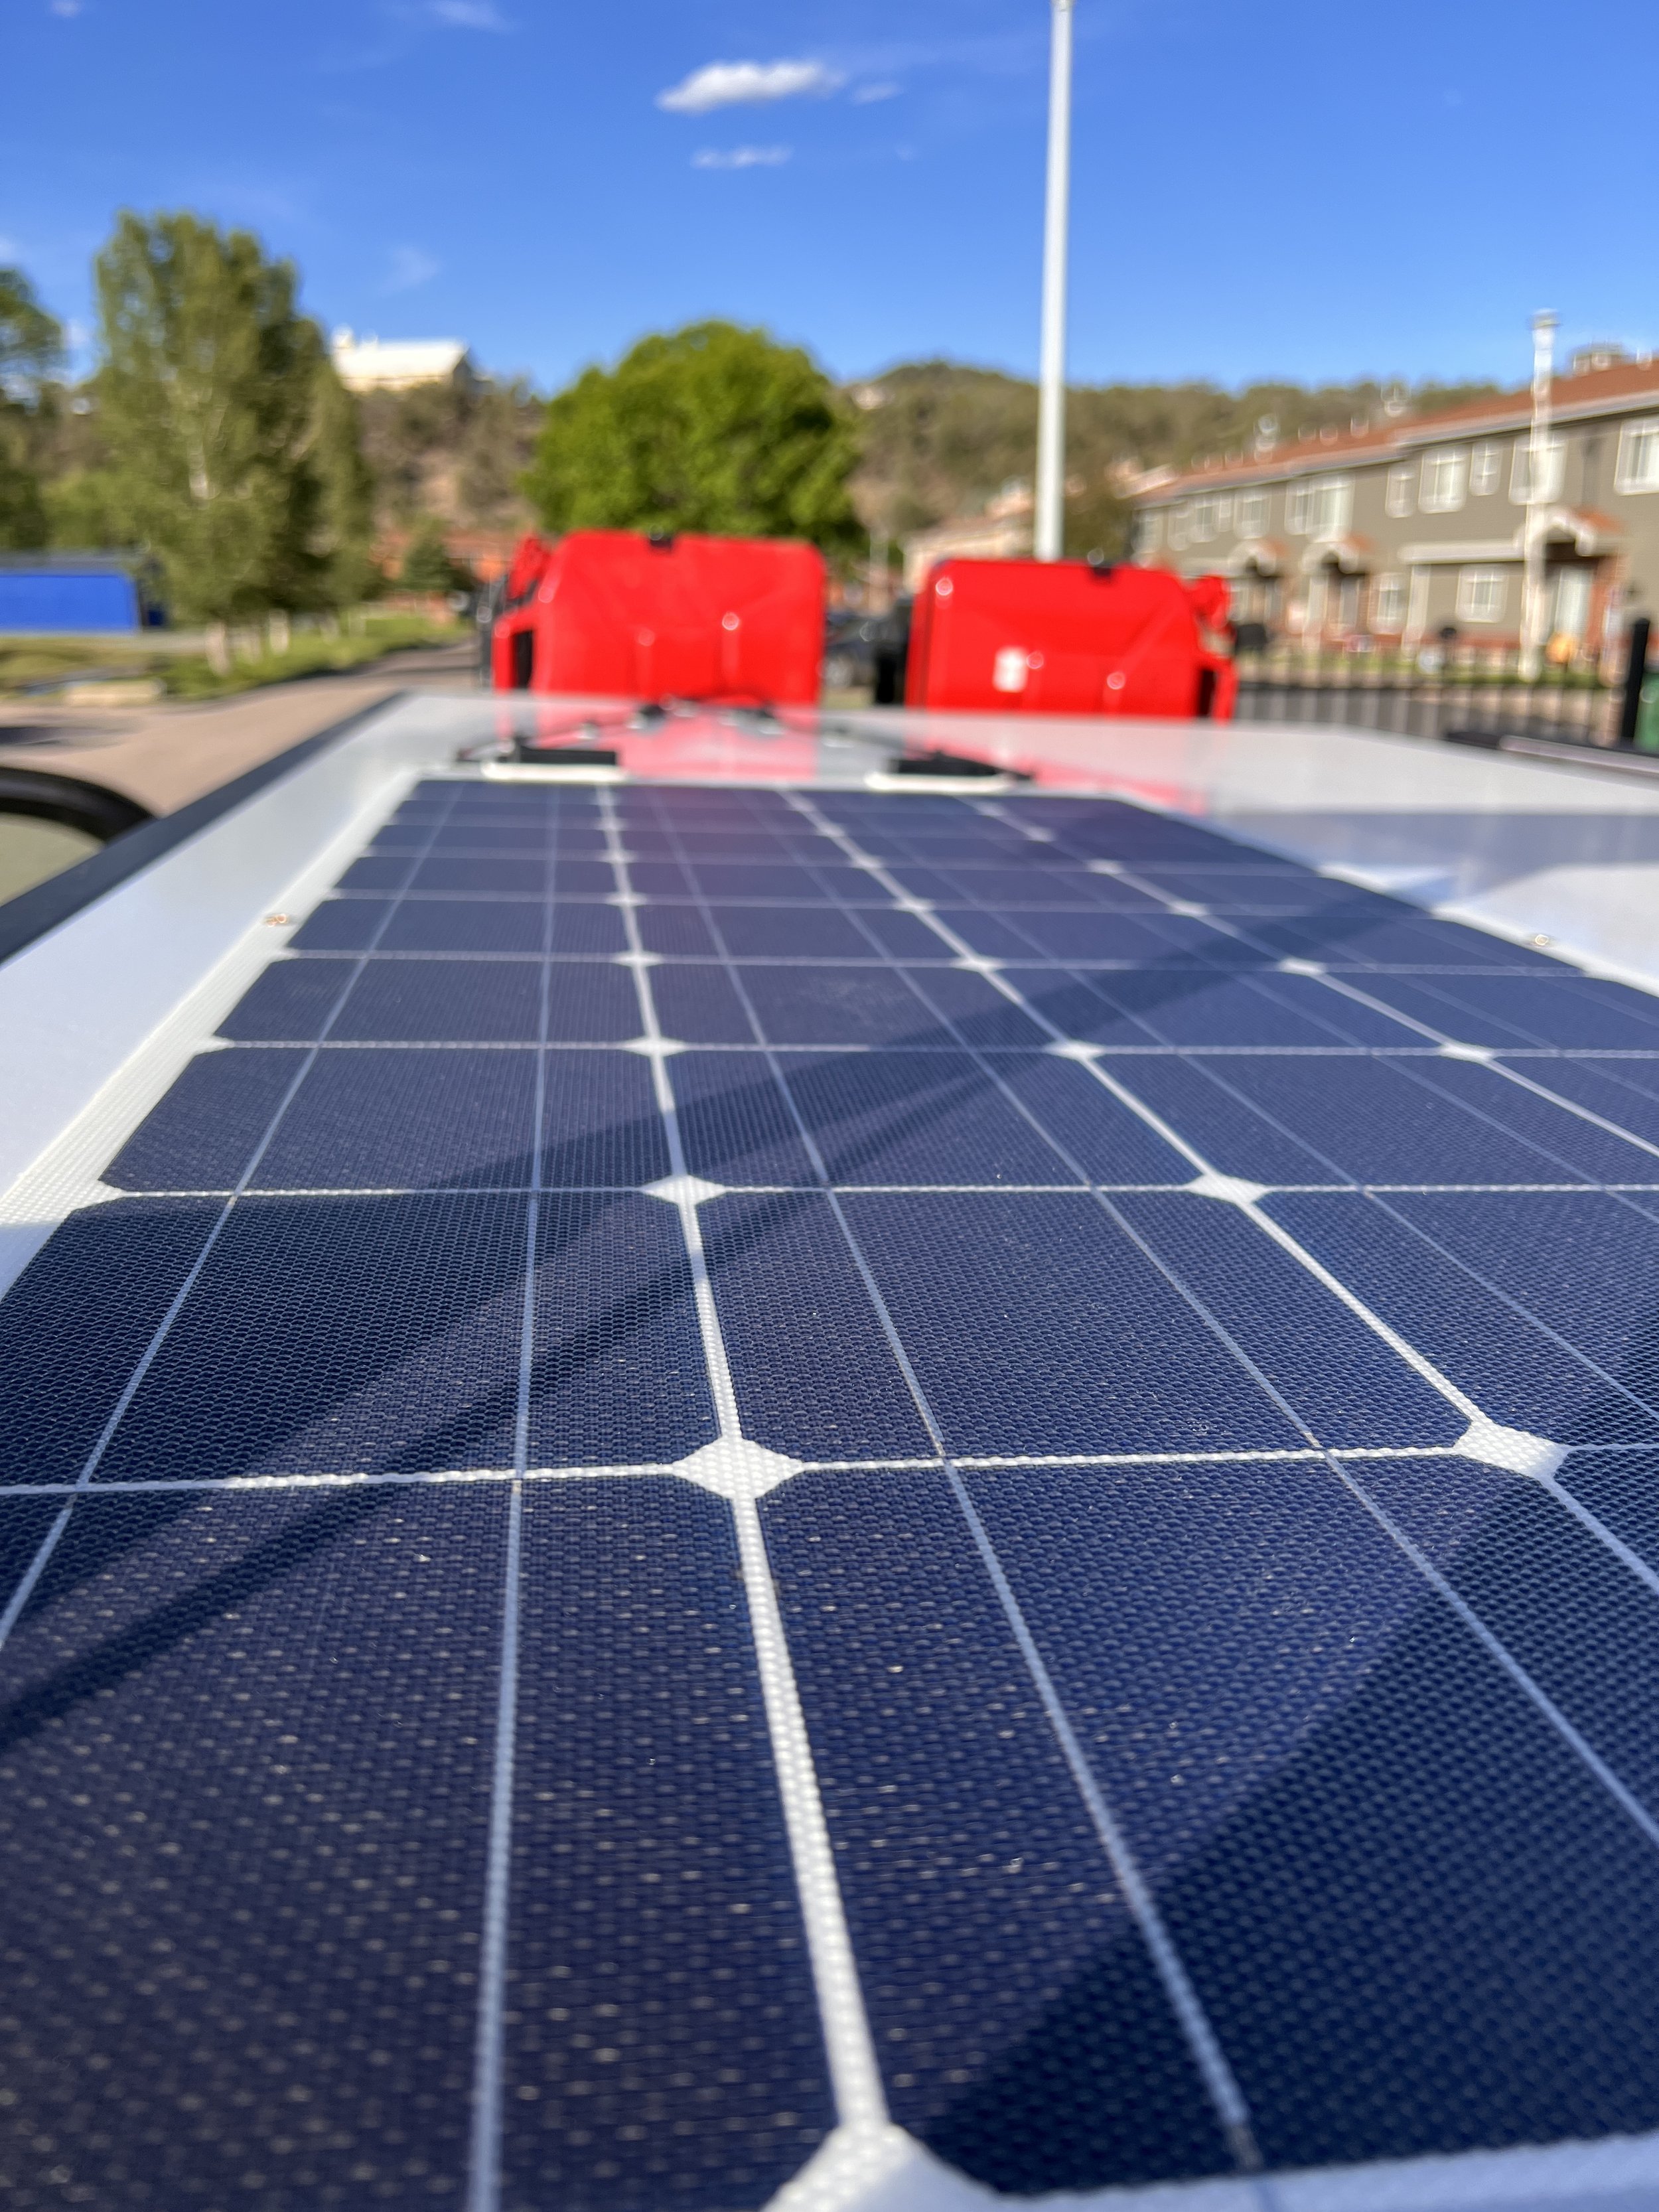
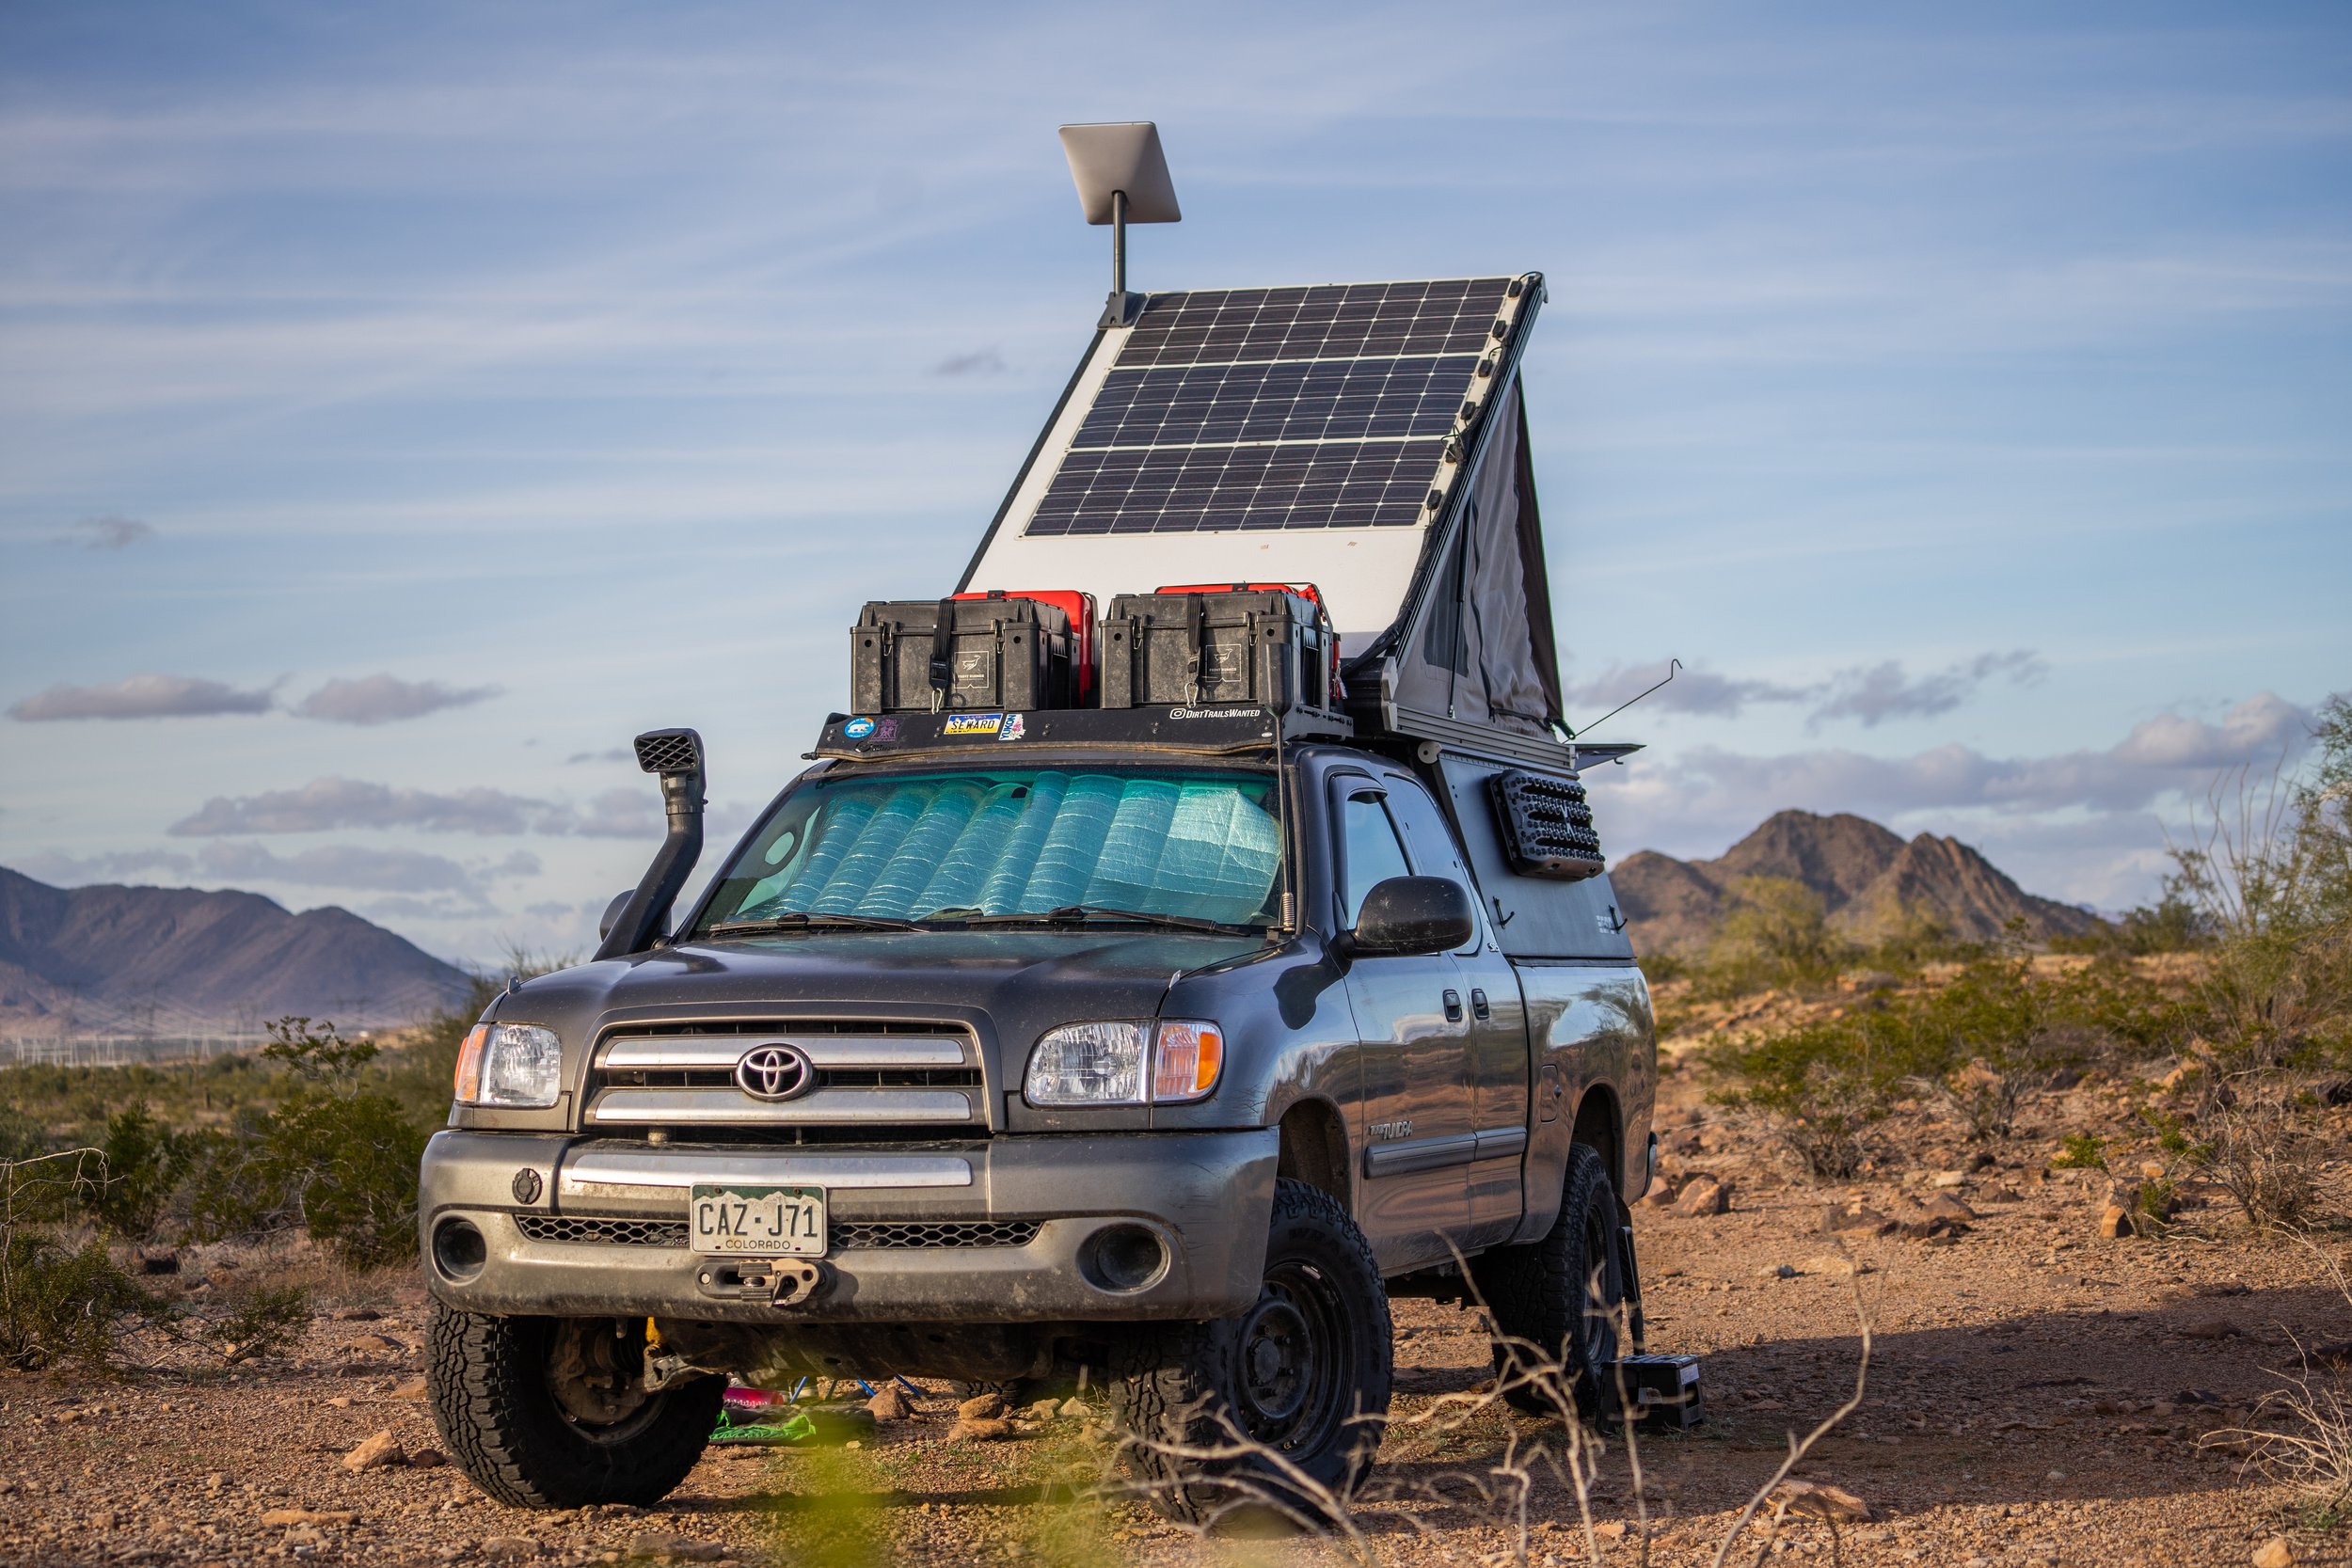
1) Renogy 100W Flexible Solar Panel
One of the main reasons why we decided to go with a flexible thin film solar panel was the simplicity of mounting it and aerodynamics. We used double sided adhesive tape to mount the panel directly to our roof on the Go Fast Camper which saved us from having to purchase an additional roof rack to mount a panel on. This also meant that we wouldn’t loose additional fuel economy due to additional drag on the roof.
Another factor for choosing this panel size was compatibility with the battery that we were already using — 120 watts is the maximum charging input that can be accepted by the Goal Zero Yeti 500X.
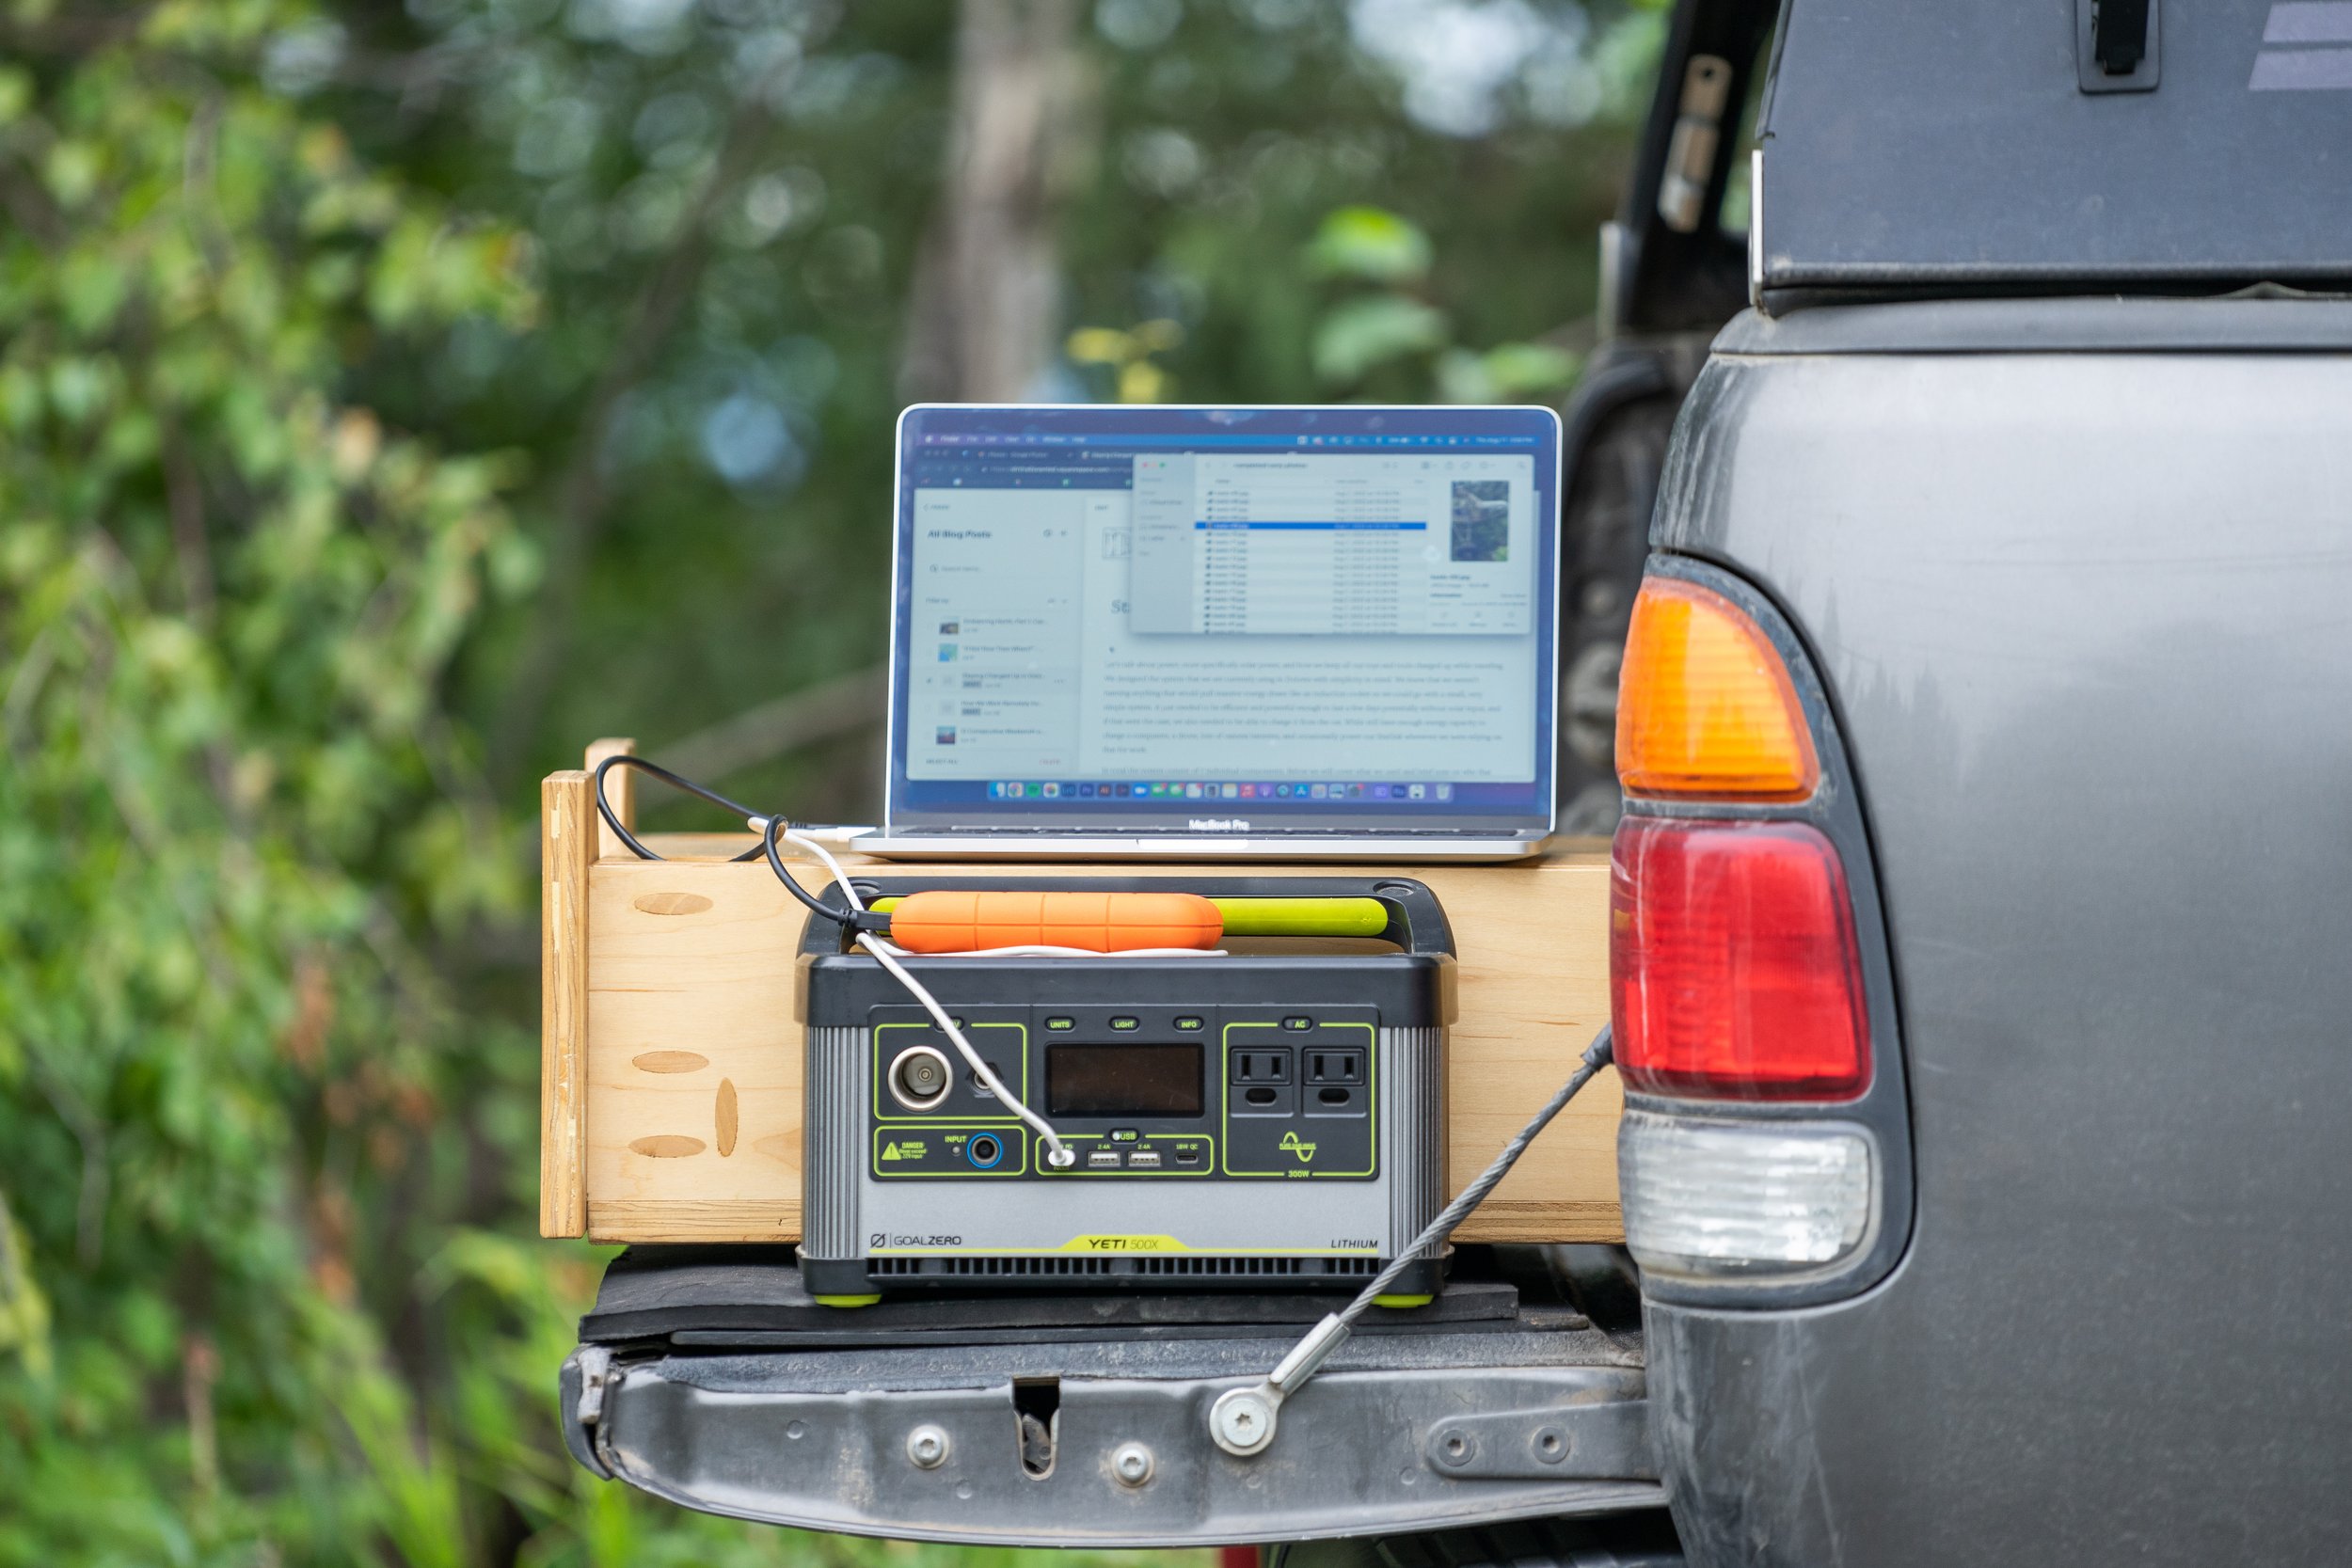
2) Goal Zero Yeti 500X Portable Power Station
This is the heart of the power station, where all the magic happens! The beauty of using a power station like this is that it has all the other necessary components for a great solar system built into it. This includes the battery, battery monitoring systems, charge controllers, inverter, and nearly every style plug you could want is all there. We literally can simply plug our solar panel straight into one of the two input ports! For this battery’s size it is remarkably light and takes up very little space in our truck, which might not be the case if we had built a system component by component.
We actually had purchased this Goal Zero Yeti 500x well before we’d finalized our solar plans for Dolores. Christina was going on a girls trip in the truck where she worked remotely and needed to stay powered up while off grid. This little power station alone was able to keep her laptop, portable monitor, cell phone, and hotspot charged for three full days of Zoom calls and work! This was the point that we knew this power station combined with a solar input was going to be a great set up for this build out.
The Yeti 500x tucked nicely into the back of our truck.
3) Solar Connector to DC8mm Adapter
We used these to convert the MC4 connectors that come off of our solar panel, as well as many others on the market, to the 8mm charging port that plugs into our power station.
4) Goal Zero 30' Extension Cable 8 mm
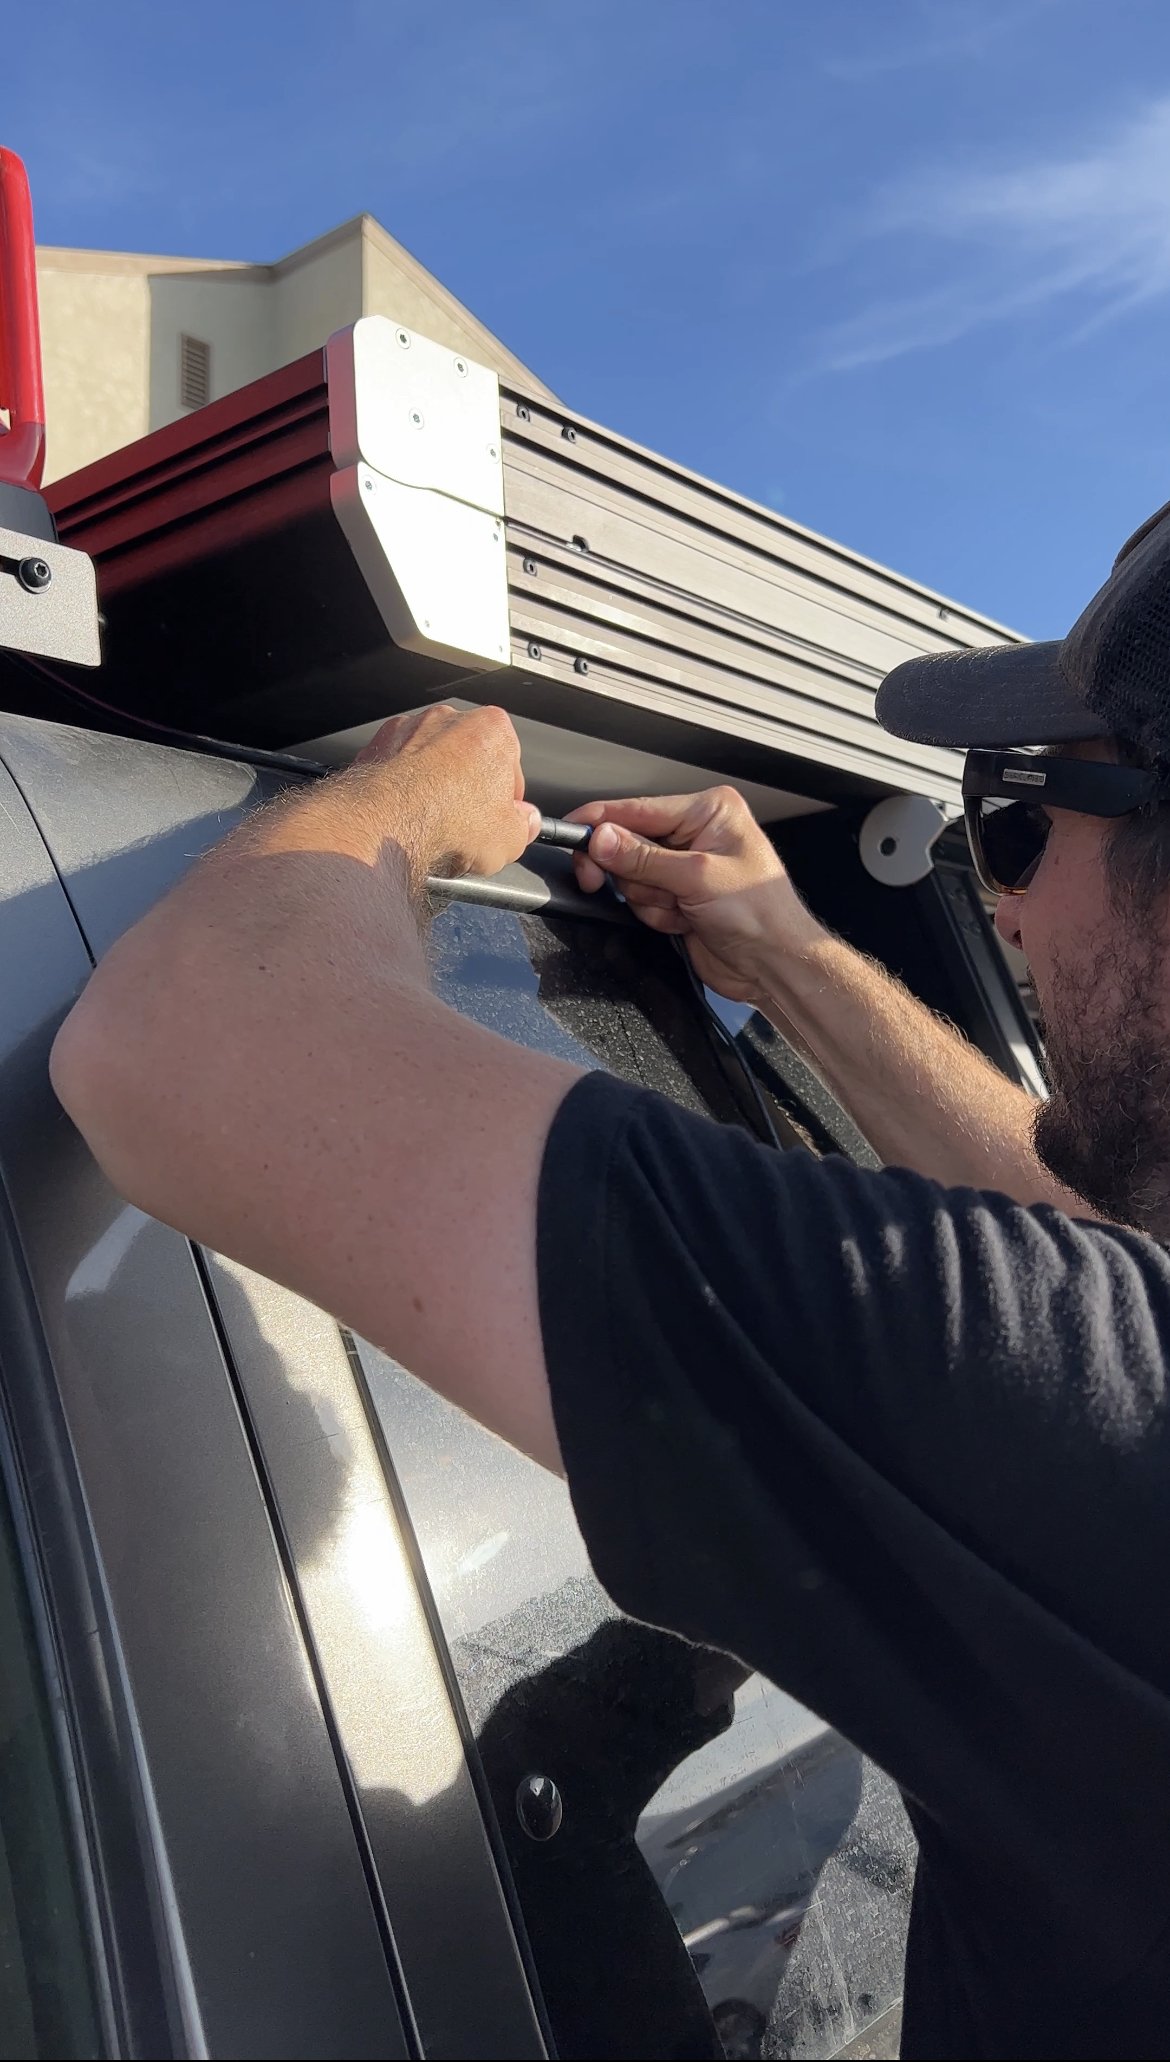
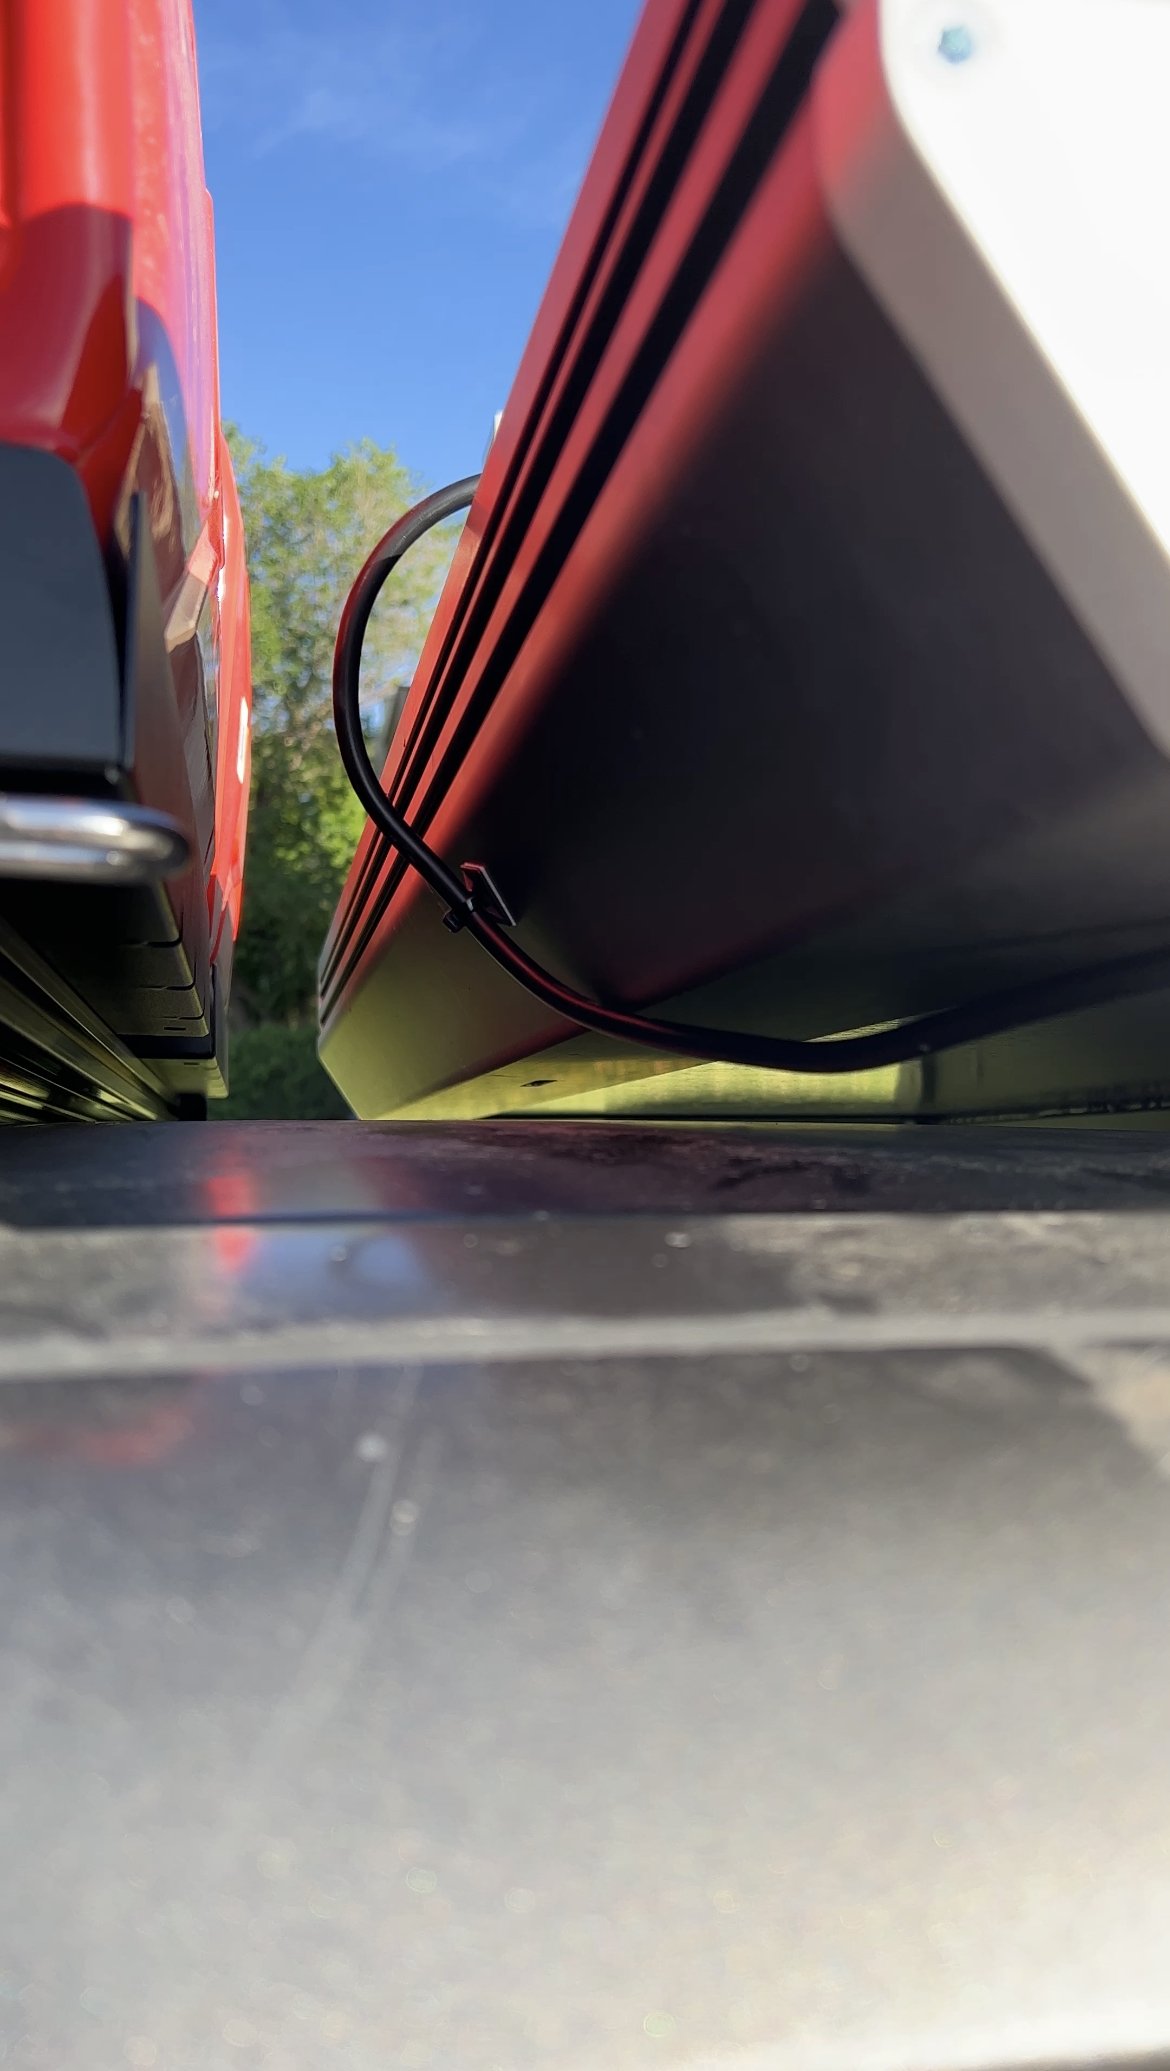
From where the panel is mount on the roof we had a long ways to go to the point where we store our battery. So, a long cable was needed to make the connection between the two.
We use this when there isn’t enough solar energy available to charge our battery, and we intend to drive for long periods of time that day. During those periods we will plug this in and charge our battery while driving. Usually this provided about 70watts of power and is able to completely charge out battery during a couple hours of driving. In combination with this we used another extension cable mentioned above as #5 to get the power back to the battery.
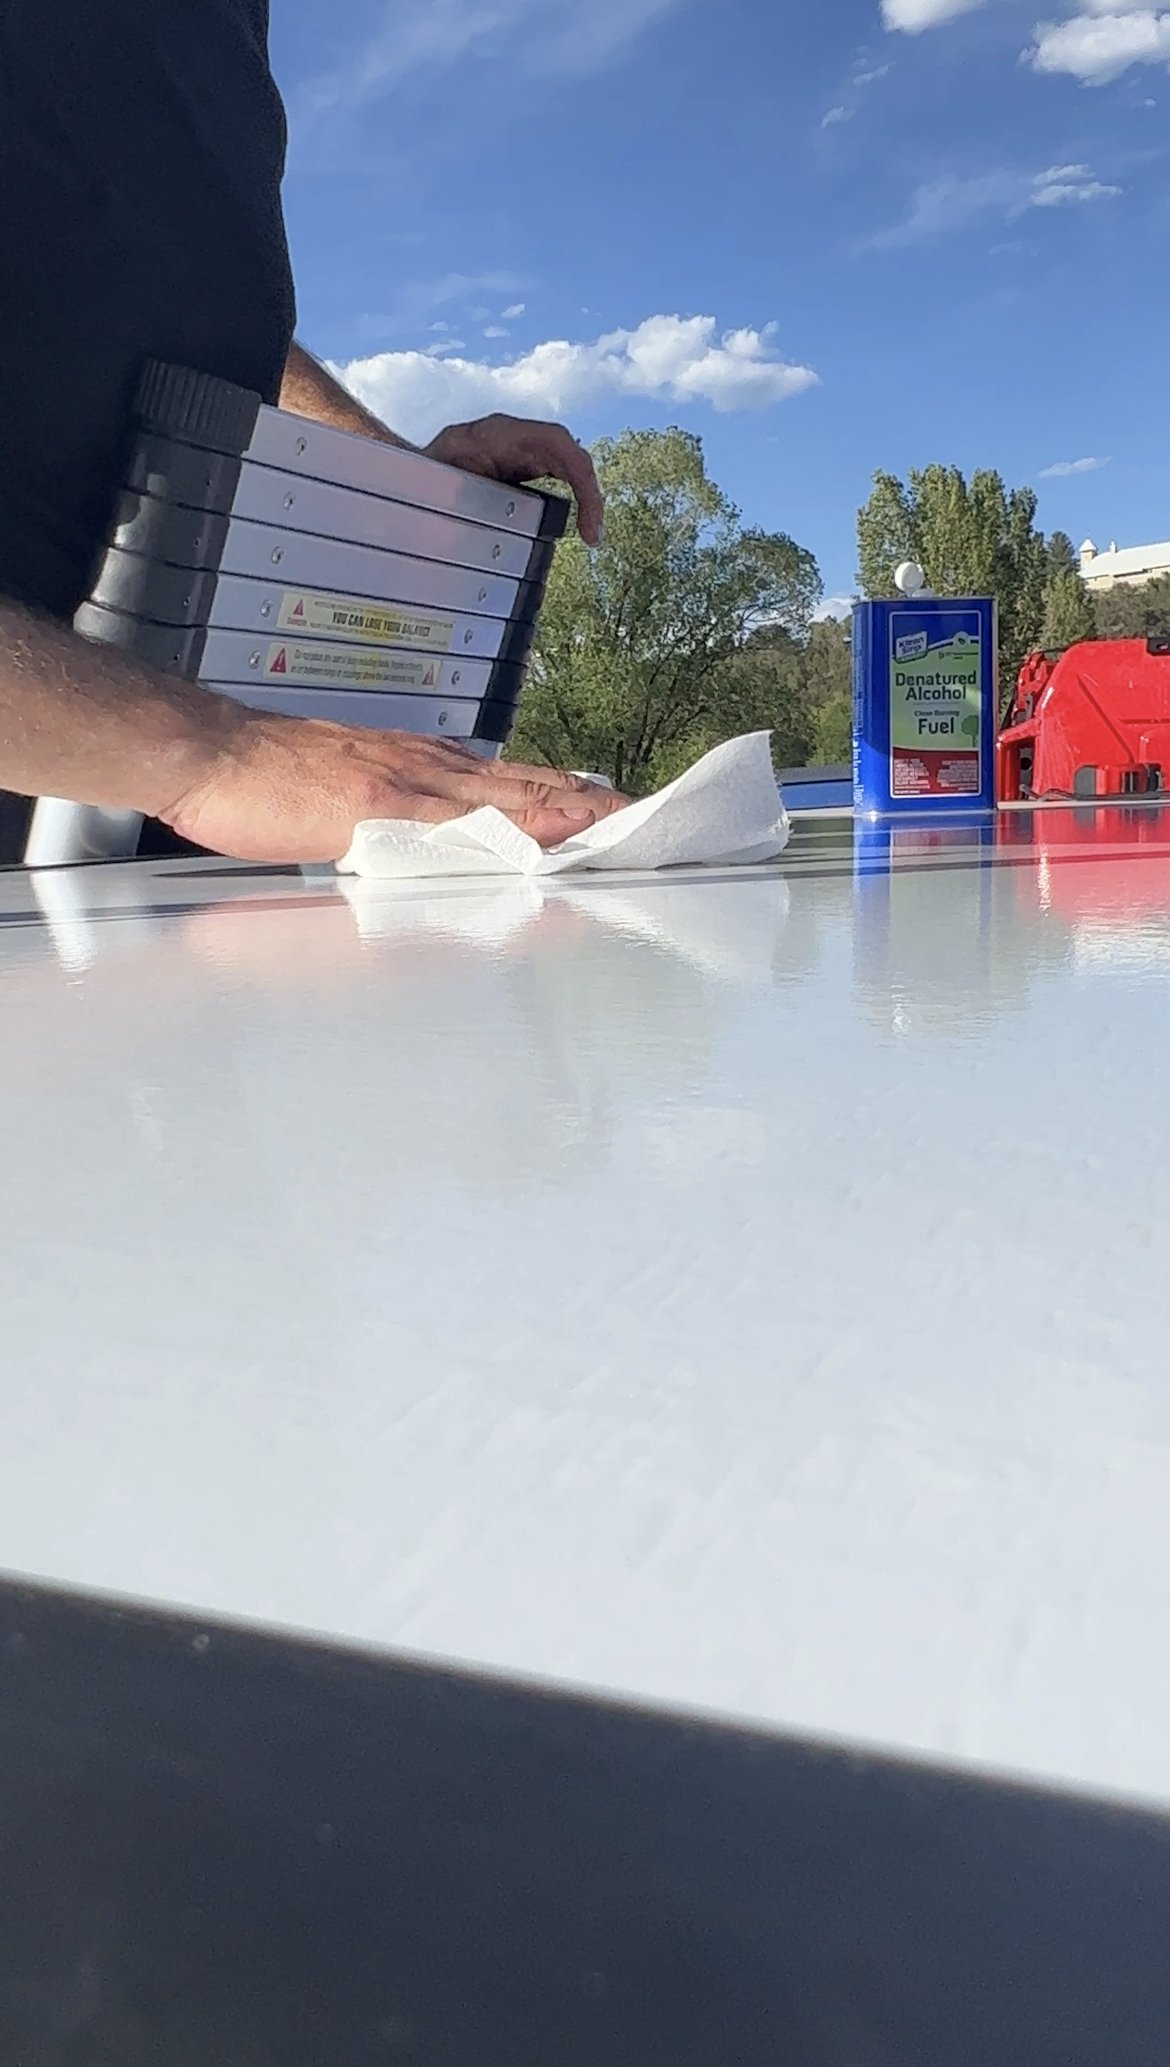
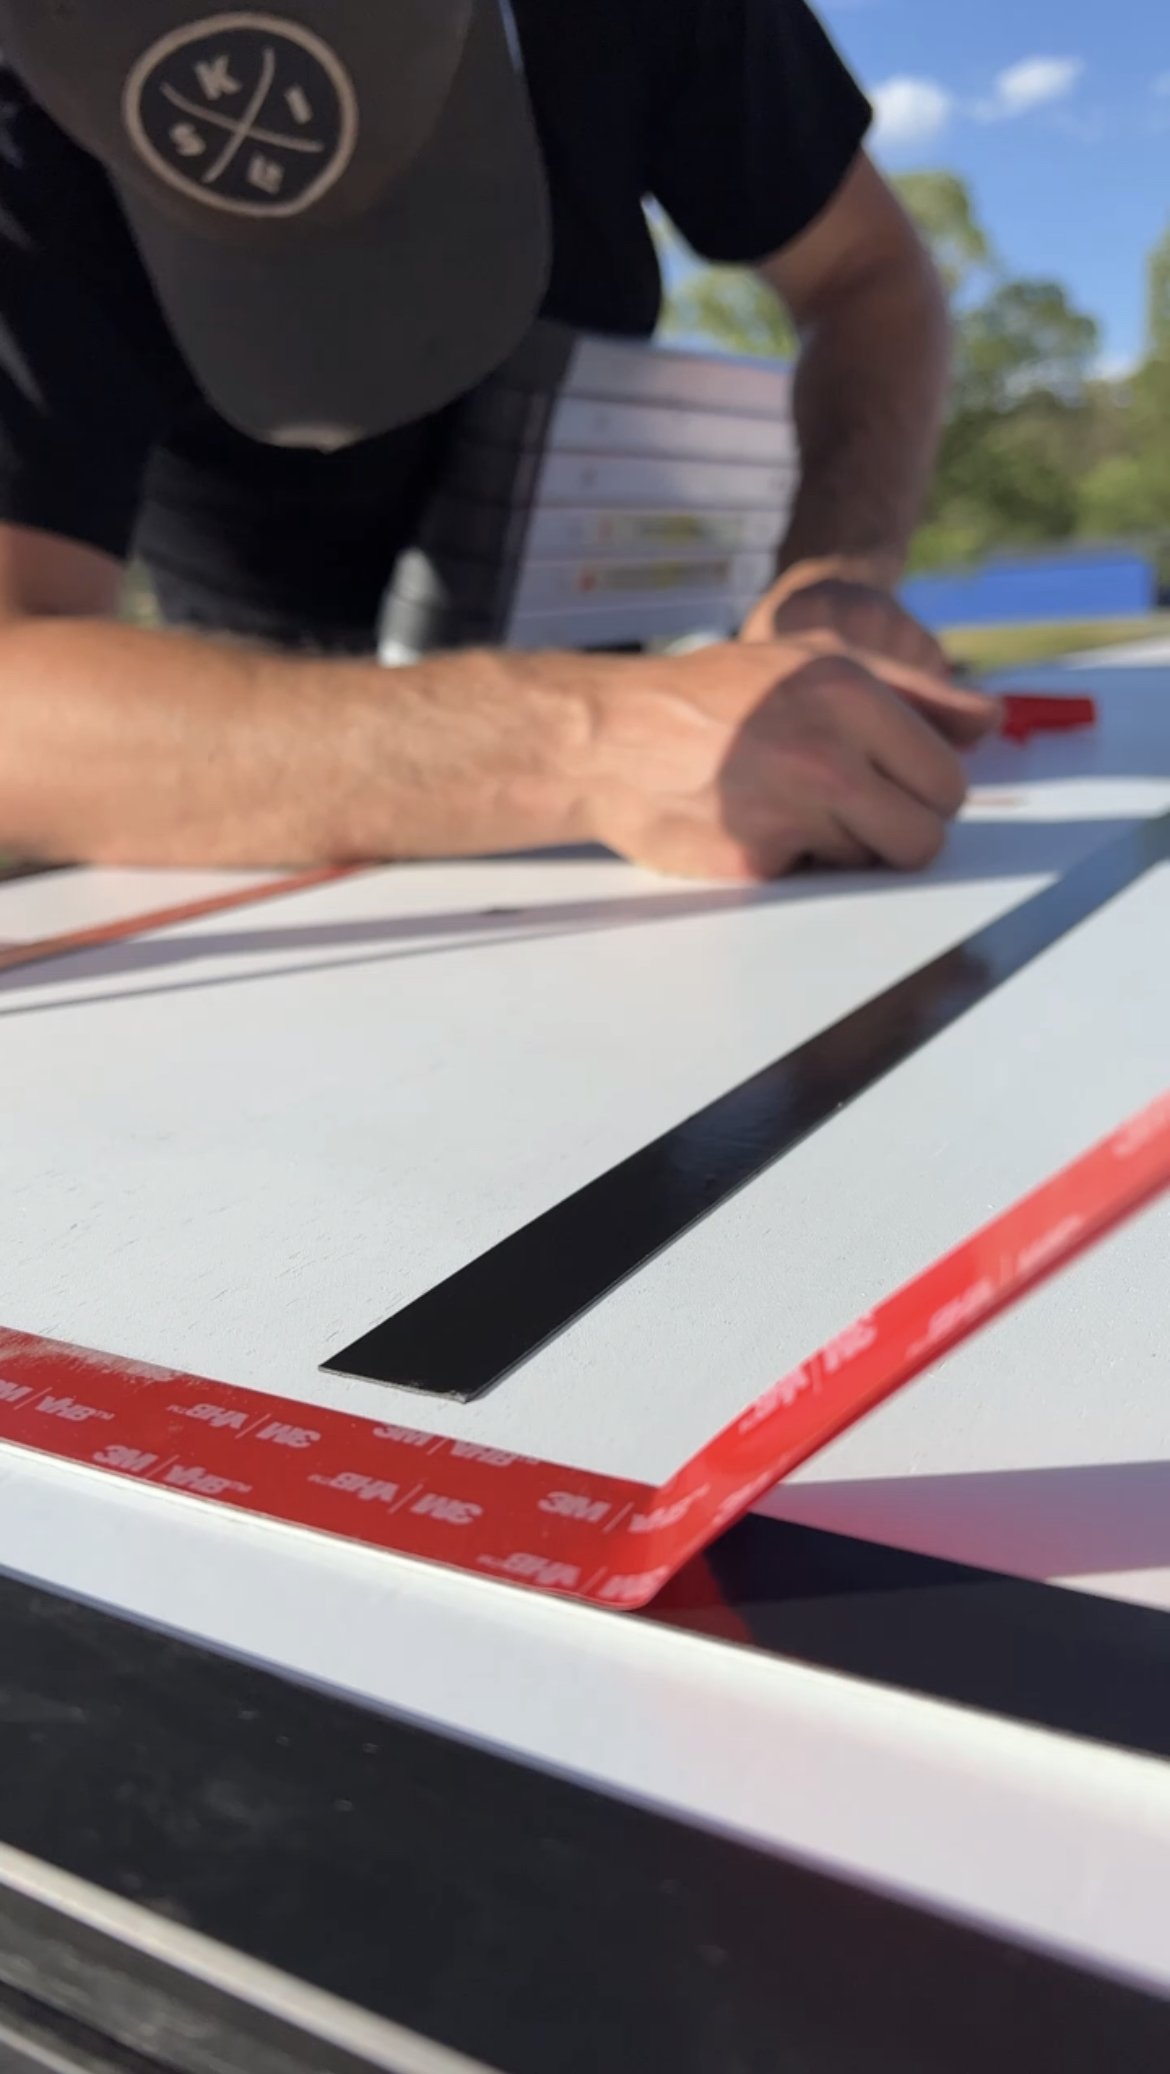
6) 3M VHB Heavy Duty Mounting Tape
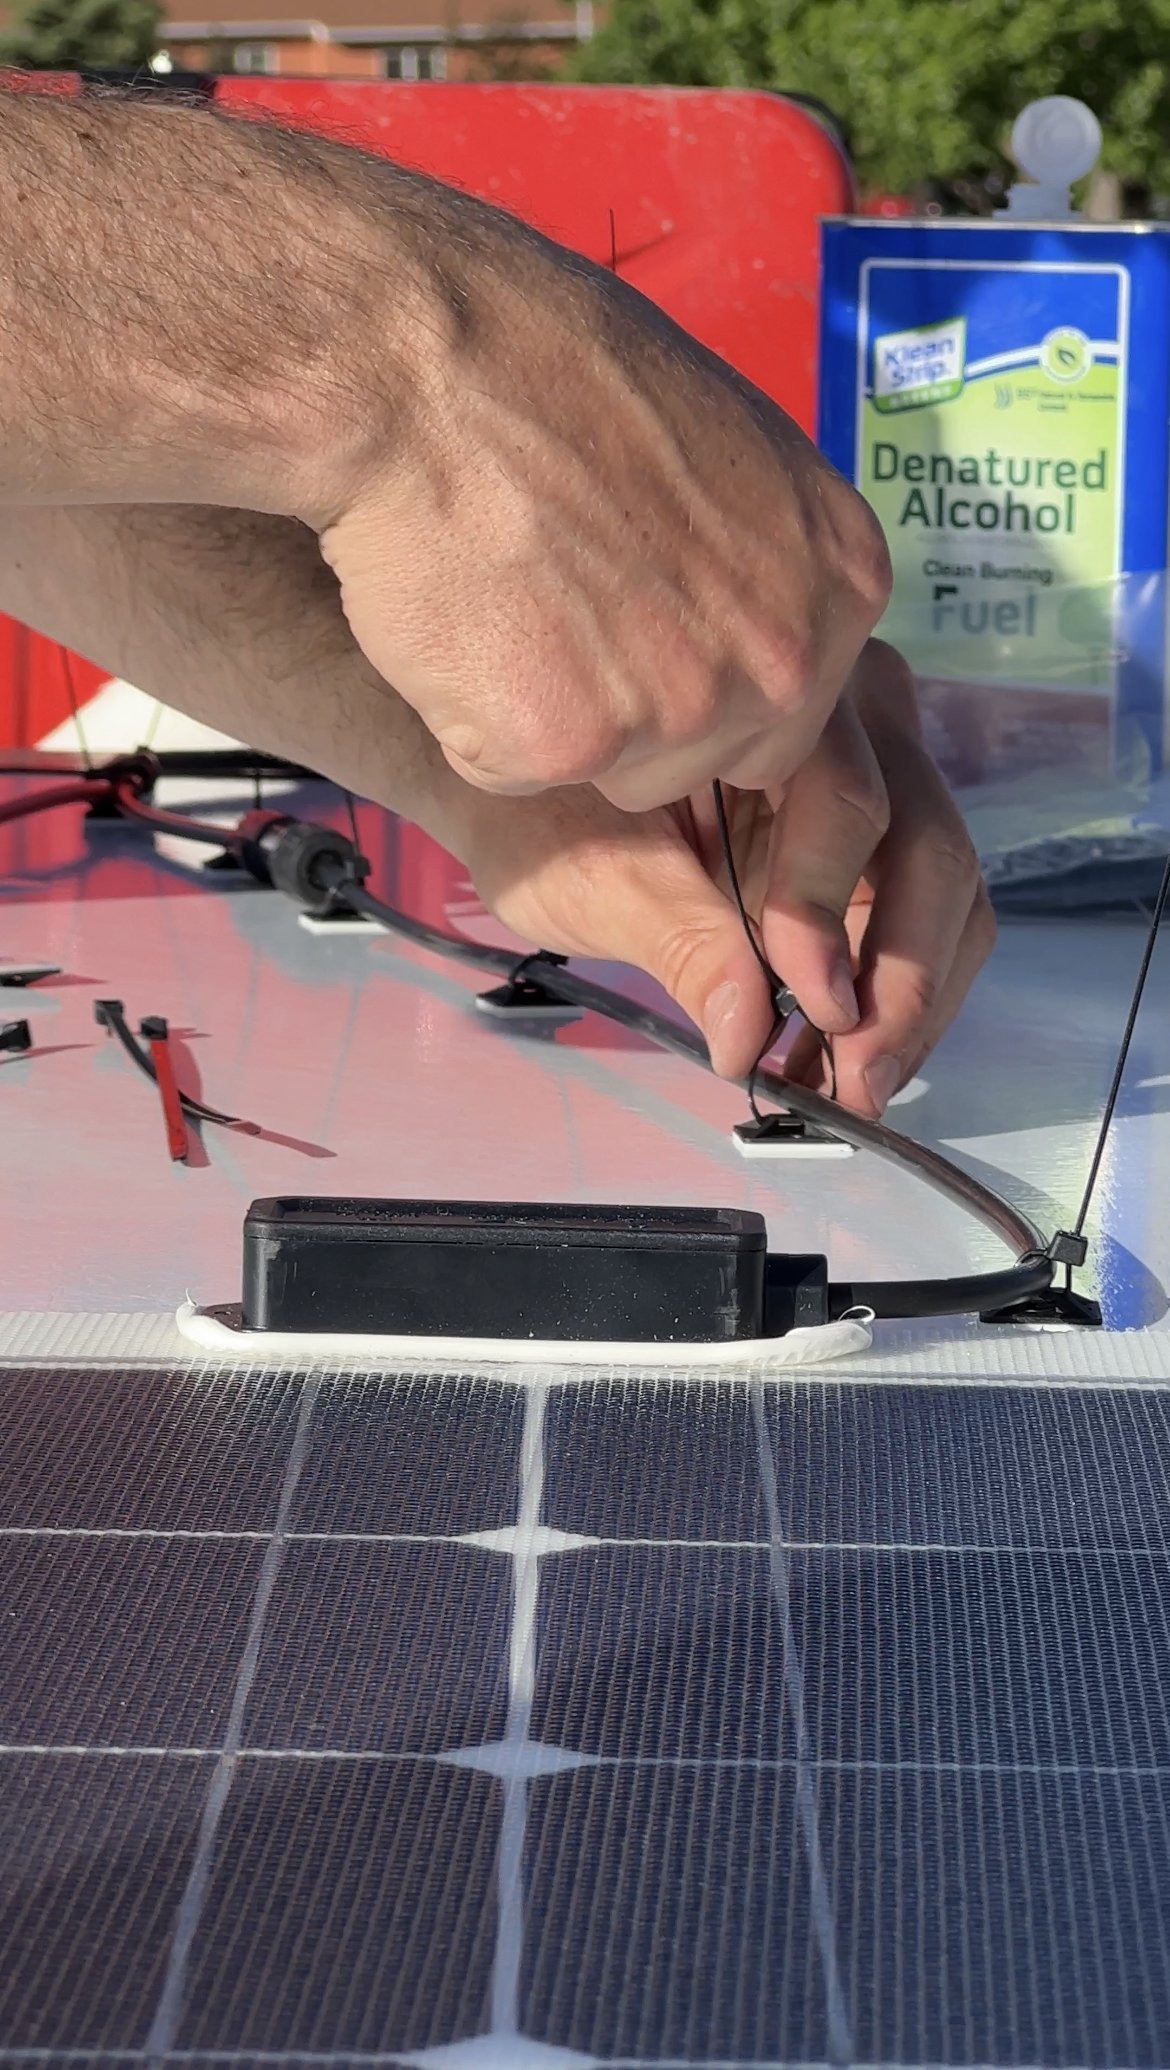
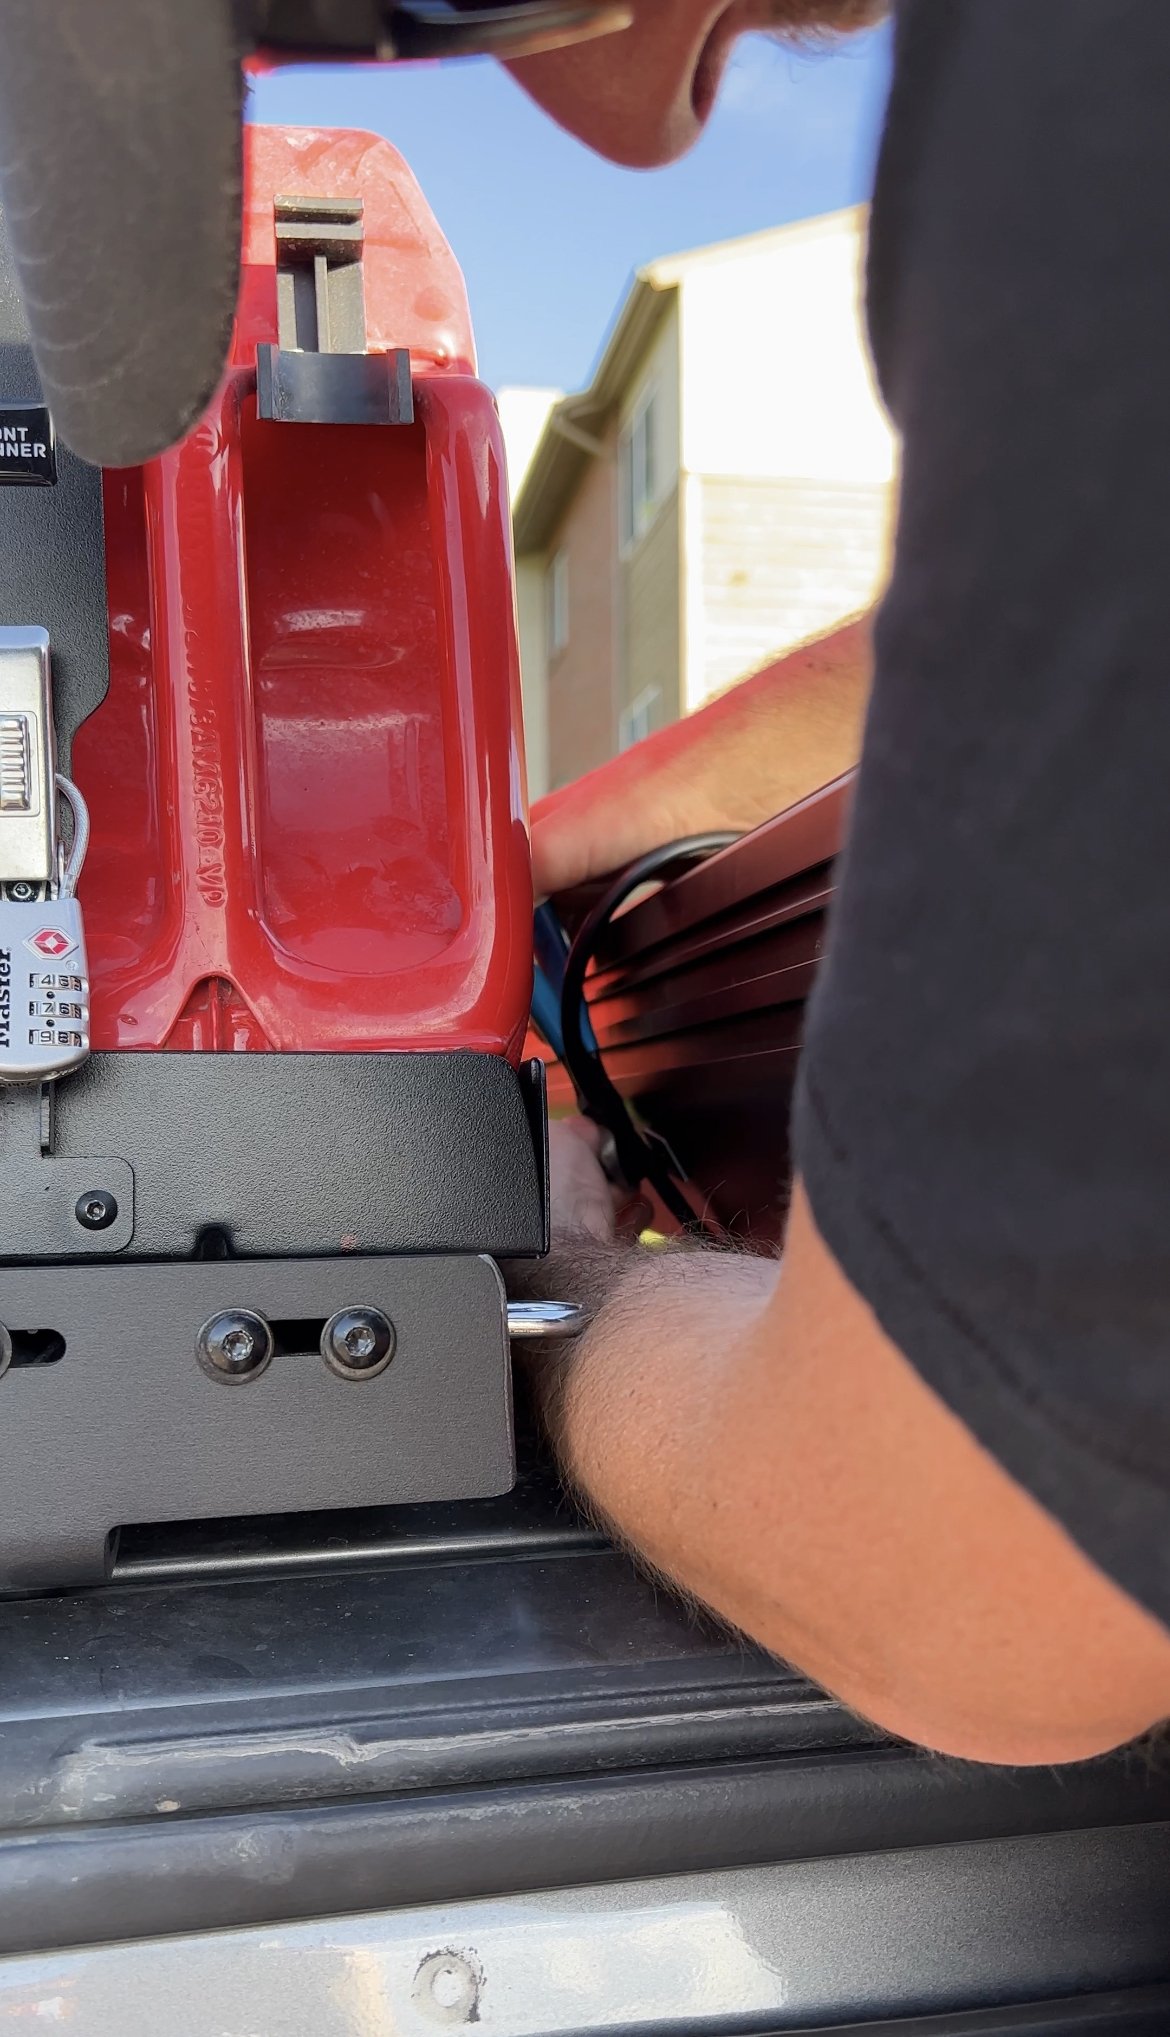
We used this to mount the panel to our roof. We thoroughly cleaned both our roof and the back side of the panel with a degreaser and wiped it down with water to remove any grease, or dust that might prevent the panel from fully sticking. After several months of use the panel is still completely stuck down and it seems will be difficult to remove if we ever need to, let’s hope that we never need to.
We used these to secure the 2 wires that come off of the solar panel as well as all the other wires that run from the panel to where the battery is located.

This little system has worked fantastically for us! The battery is small enough that it doesn’t take up much room in our truck, and portable enough that we can easily carry it out to our camp chairs or to wherever we would like if we want power away from the truck. We heavily leaned into the simplicity of this for several reasons. The main one being that with fewer components there are less things that could fail, and so far, that has proved true. Everything in this system has worked as intended without issue. Budget is always as consideration as well. Though not the cheapest way you could build a system, it is one of the most cost effective options for good reliable power. Availability is something we thought about also. If for some reason, the battery failed, or we decided that we needed more energy storage, picking up a new Goal Zero battery from an outdoor store is pretty easy to do from most places close to the areas we like to travel.
Power on the tailgate, not a problem.
One of the main things that we learned from this solar set up is that installing solar in your rig doesn’t have to be super complicated or terribly expensive. I hope that you find this post helpful and that it gives you a better idea of how to put a simple solar system into an adventure rig of your own so you can stay powered up the next time you hit the road!
Learn more about our solar systems in Dolores
We got the opportunity to partner with Renogy to add more solar to our rig which took us from 300W to 620W of solar!