Repairs and Windows | The Peanut Build Out - Part 2
After finally landing our shelter here in Carbondale, the work began getting it cleaned out and prepped to become our home for the next little bit.
Cleaning and Initial Repairs
When the box showed up it was pretty dusty and dirty. It seemed like it might have sat for a very long time in Yermo, California with the door open and seemed like a small family of birds may have also taken up residence in there for a while. Along with the former bird-squatter remnants that we removed, there were also many electrical fittings, old fluorescent light fixtures, and some random junk that we ripped out.

Looking into the box

Small electrical panel that got removed near the door.

Getting our first coat of primer paint in the box.
Above are two photos that where from the auction listing. The box was very dirty, covered in old oil stains and sand. The walls and floor got a deep scrub down with TSP and a Brillo pad to remove any grease and dirt. Then one last quick TSP wipe down with just a clean white towel to get the last little bits off before the box got its first coat of INSL-X STIX primer. We continued to do a total of 3 primer coats. The white drastically changed the feel of the space.
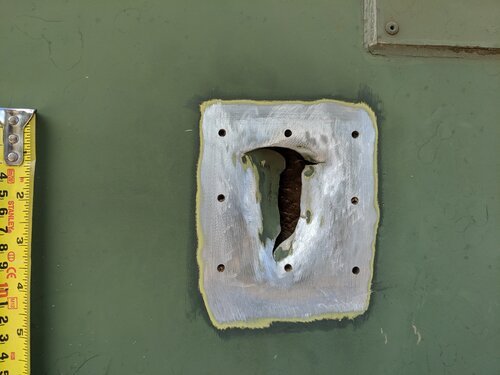
Next up on the to-do list was to patch the many fork lift stab wounds on the outside of the box. It seems like all of these boxes have these sort of holes in them. Some have many more or larger holes than others which was another deciding factor for this particular box that we chose. There were also some utility ports that we patched in the box as well. In the photo above you can see what might have housed an air conditioning or heating unit; or possibly just a fold down open window.
Patching the holes was a pretty straight forward process. Using 1/16” thick aluminum sheets, I cut patches in the right size to cover each hole. Then I grinded off all the old paint and primer around the holes and using an aluminum adhesive, I sealed the edges of the patches and riveted the patches firmly in place. All the holes got refilled with insulation using a combination of two inch thick polystyrene foam board and spray foam insulation.
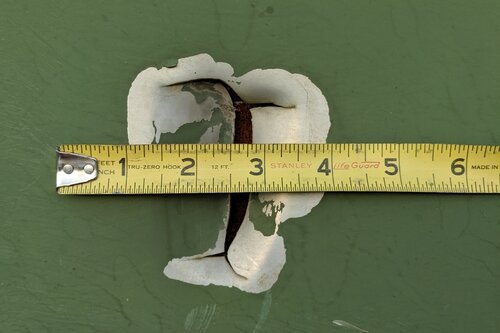
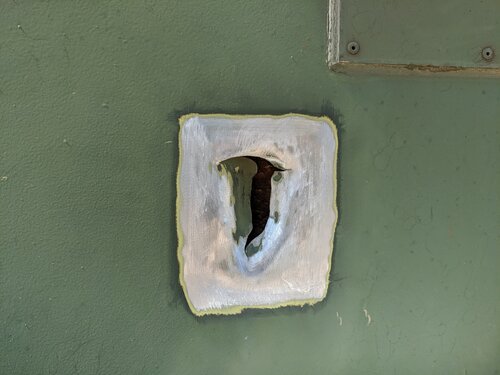
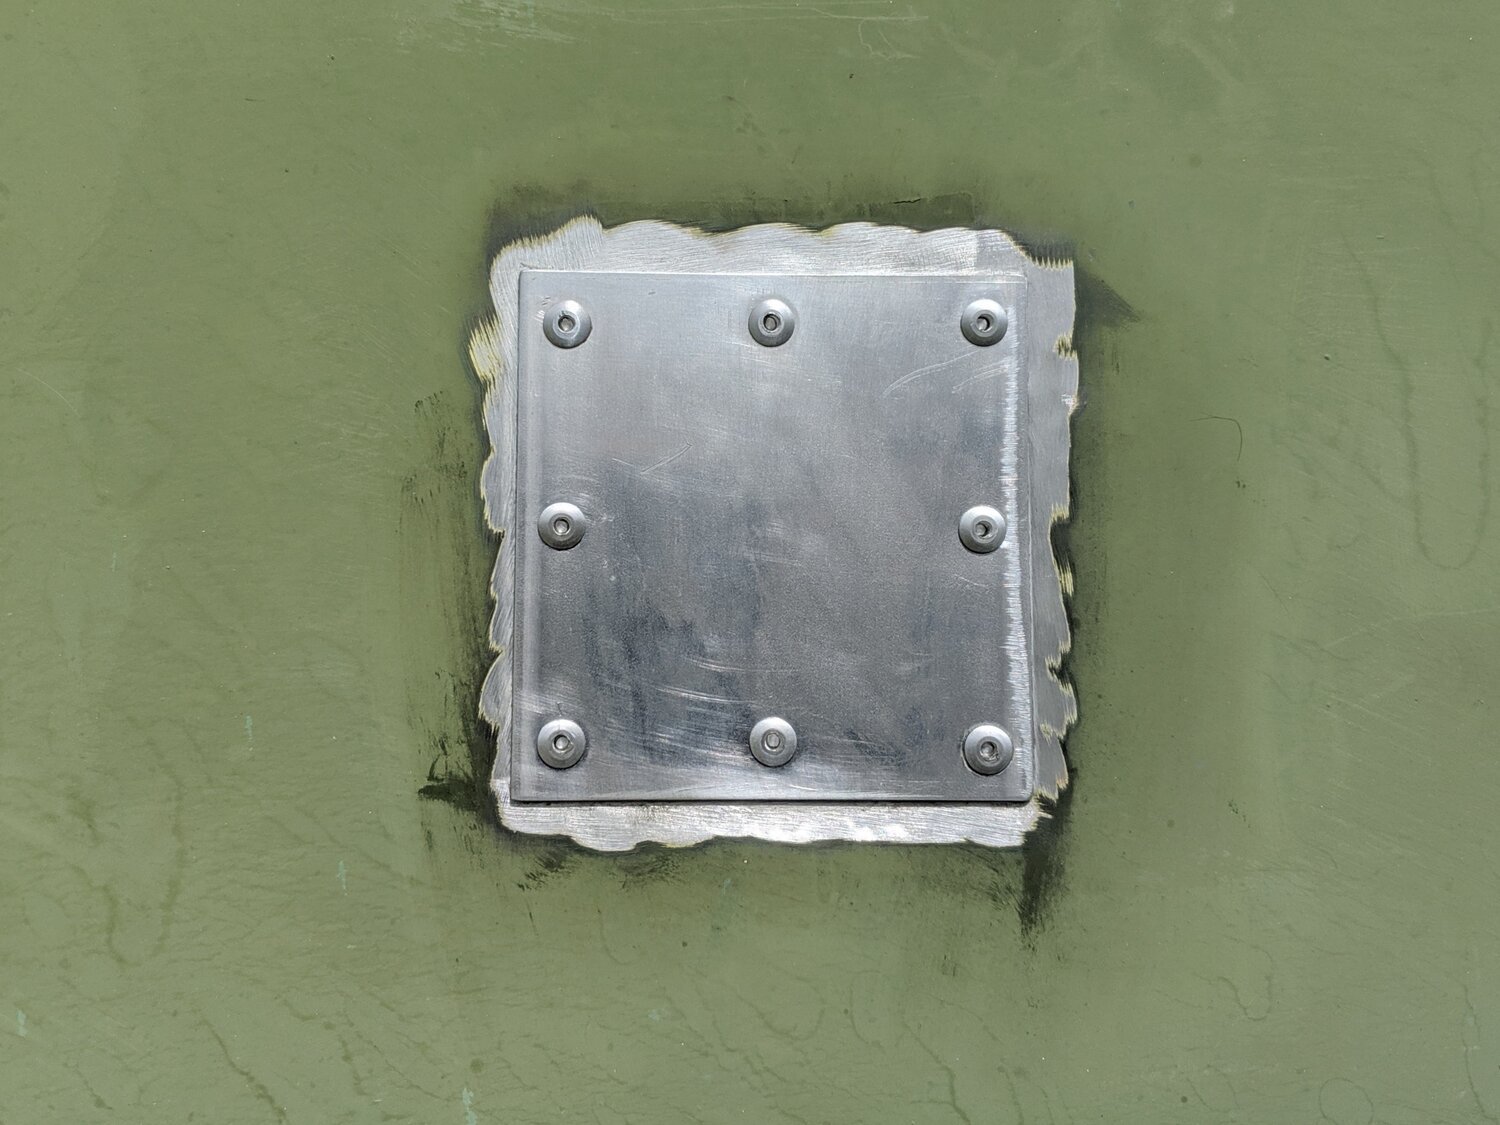
Above are images of fork lift stab wounds, grinding off old paint around the holes, and drilling holes for the patches, and the aluminum patch riveted into place.
Windows
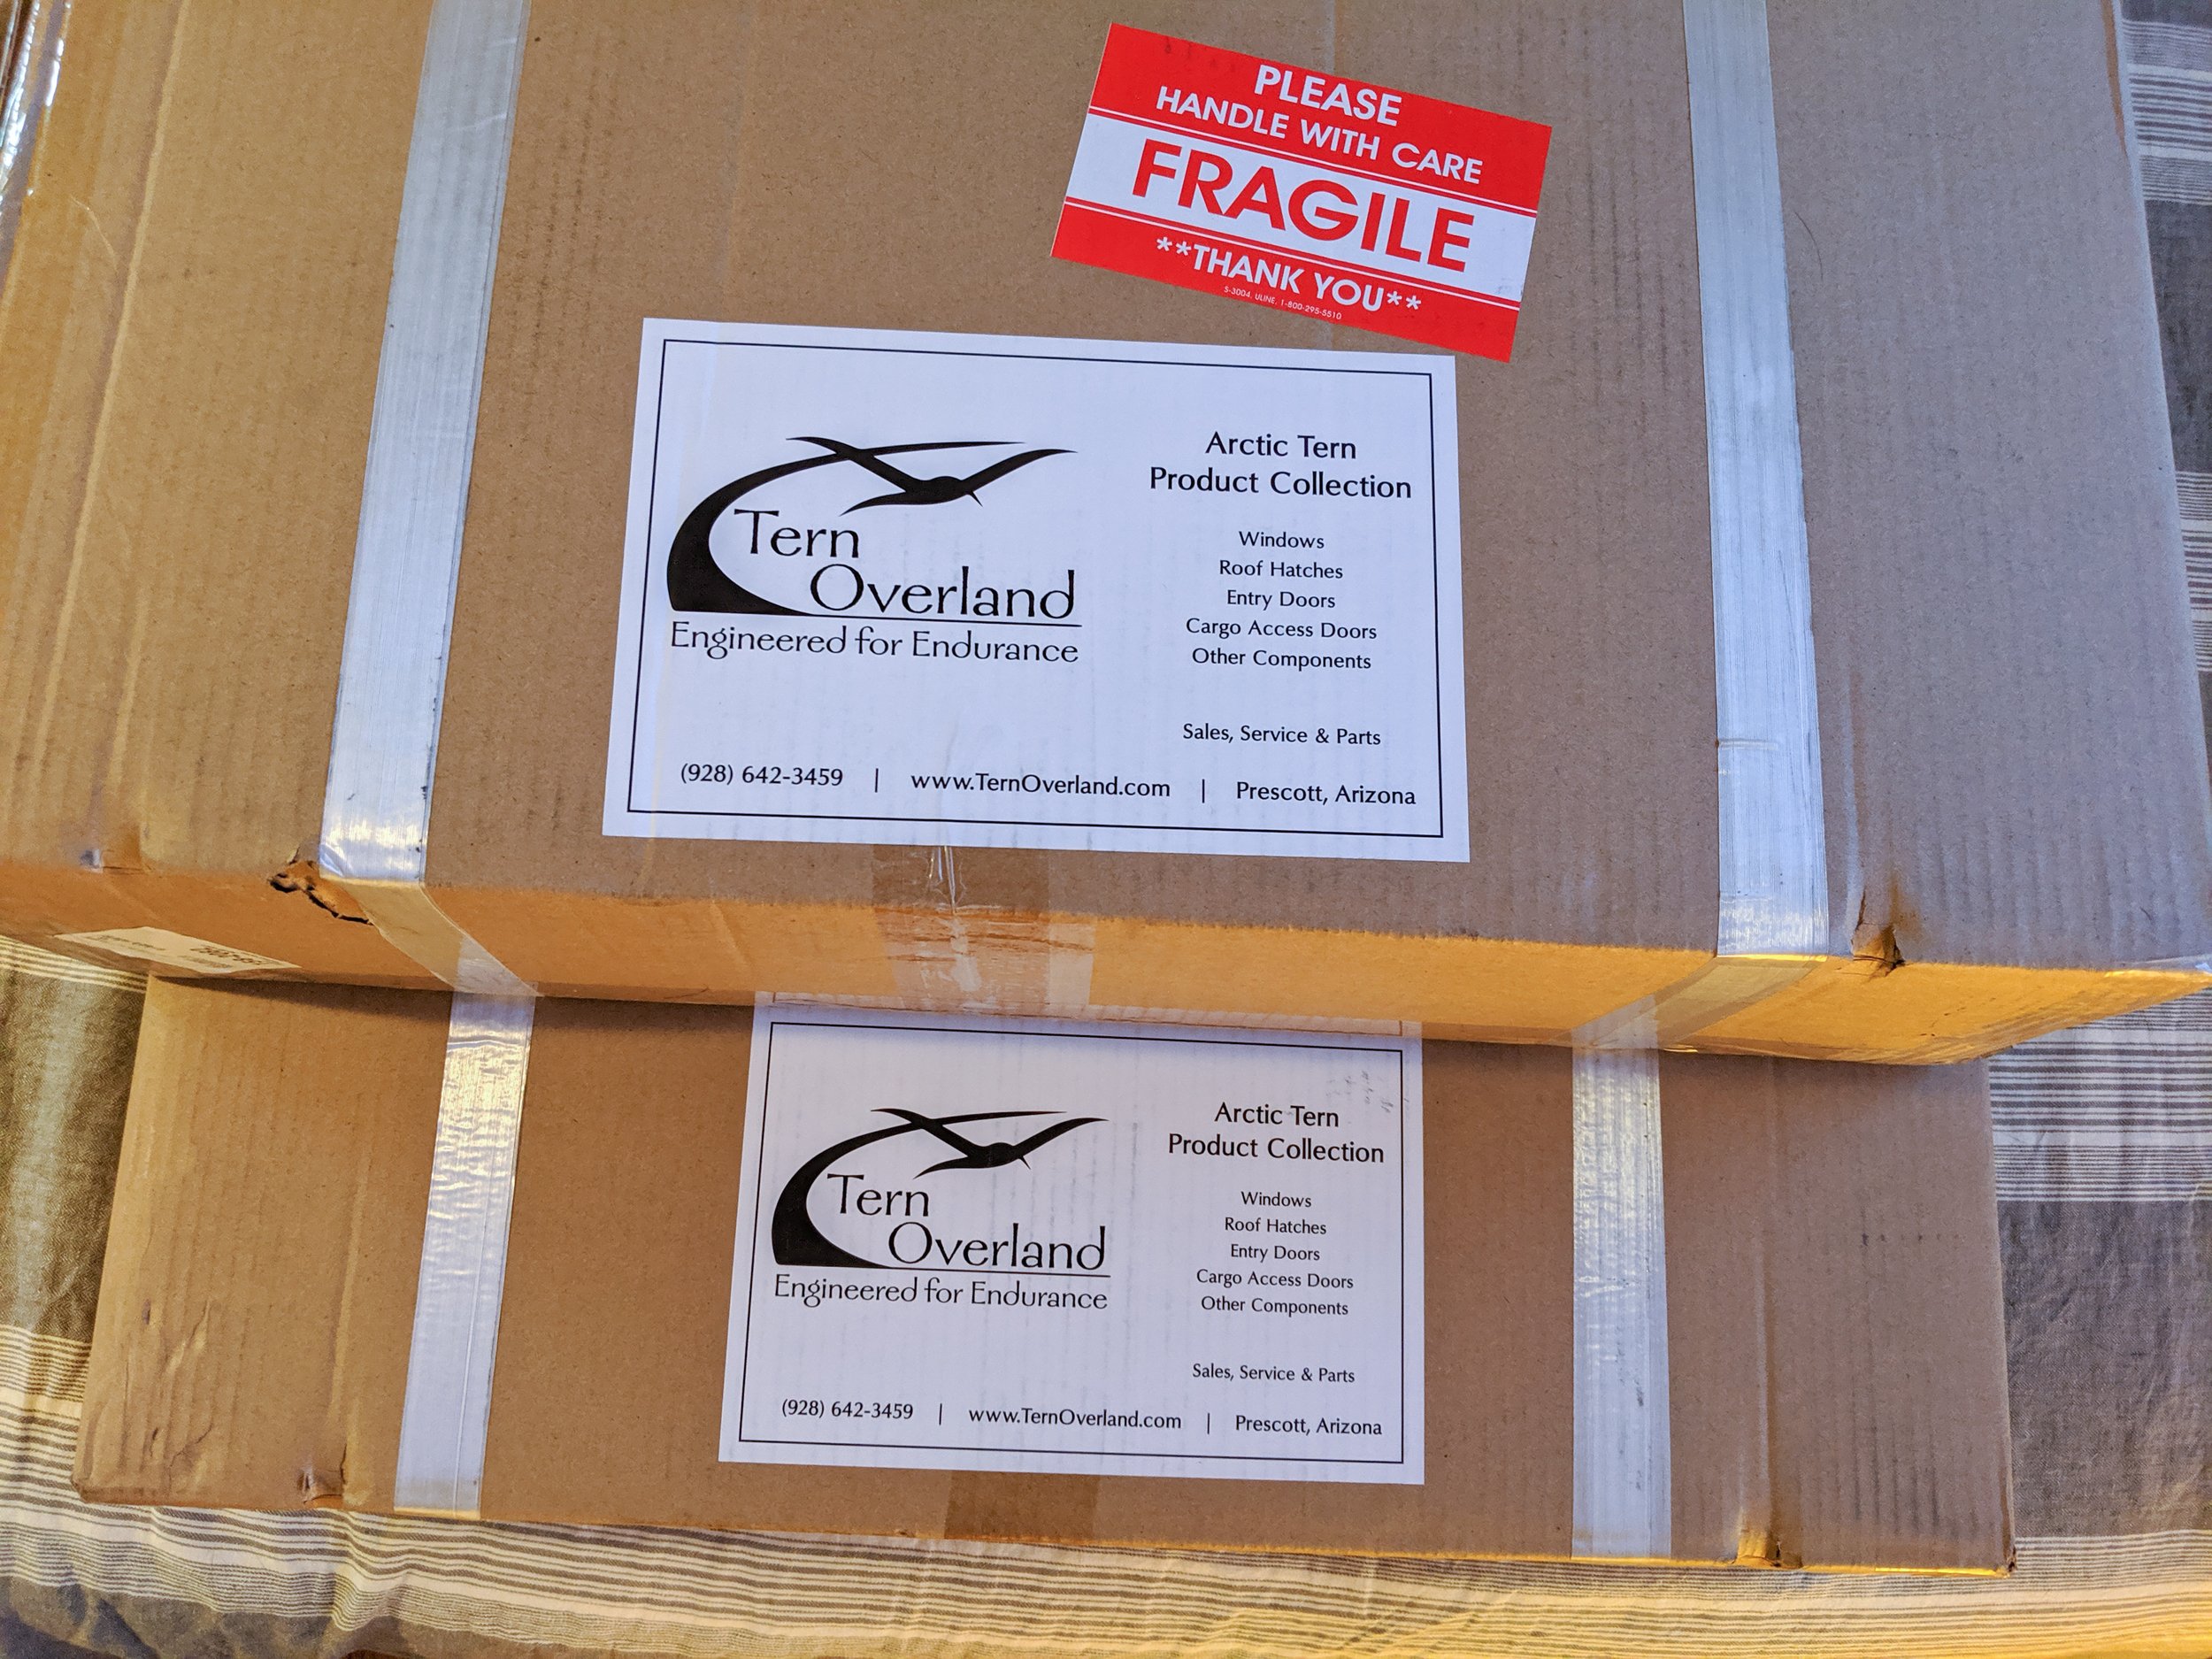
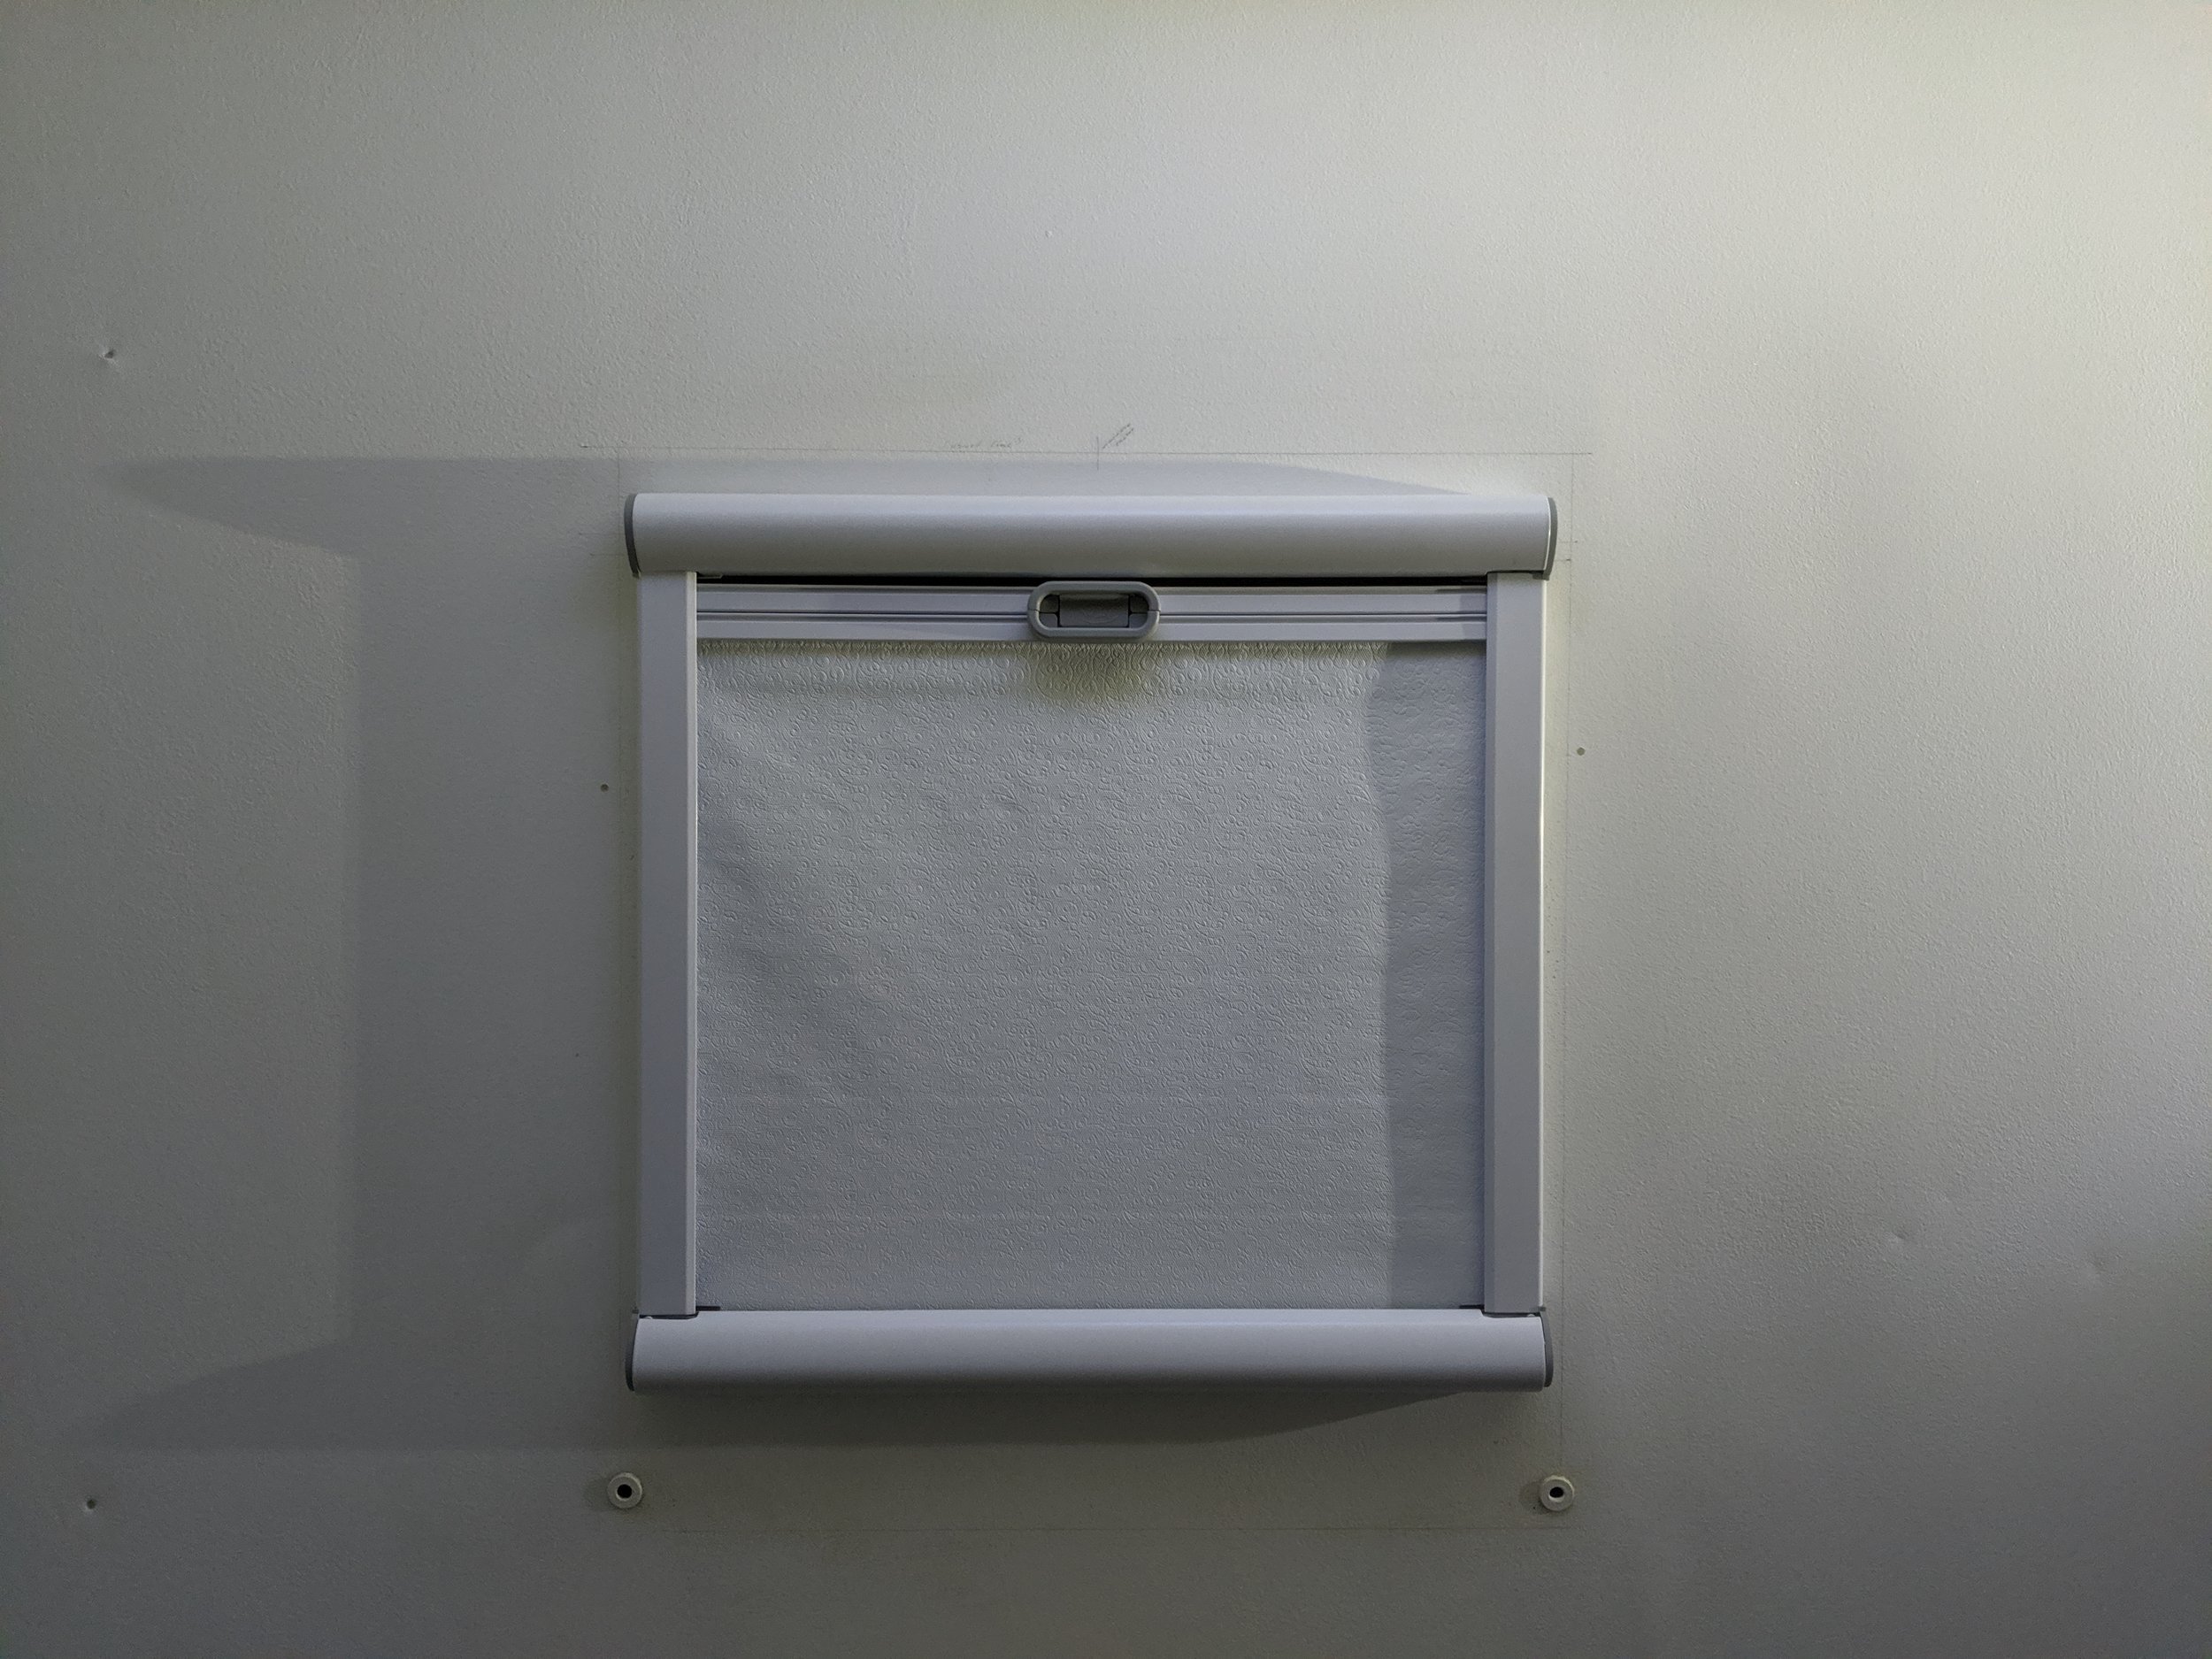
Following the patches, we started the process of installing our windows from Tern Overland. The windows are double pane acrylic, that kick open to 3 different positions with a black-out screen and bug screen that can adjust to any position.
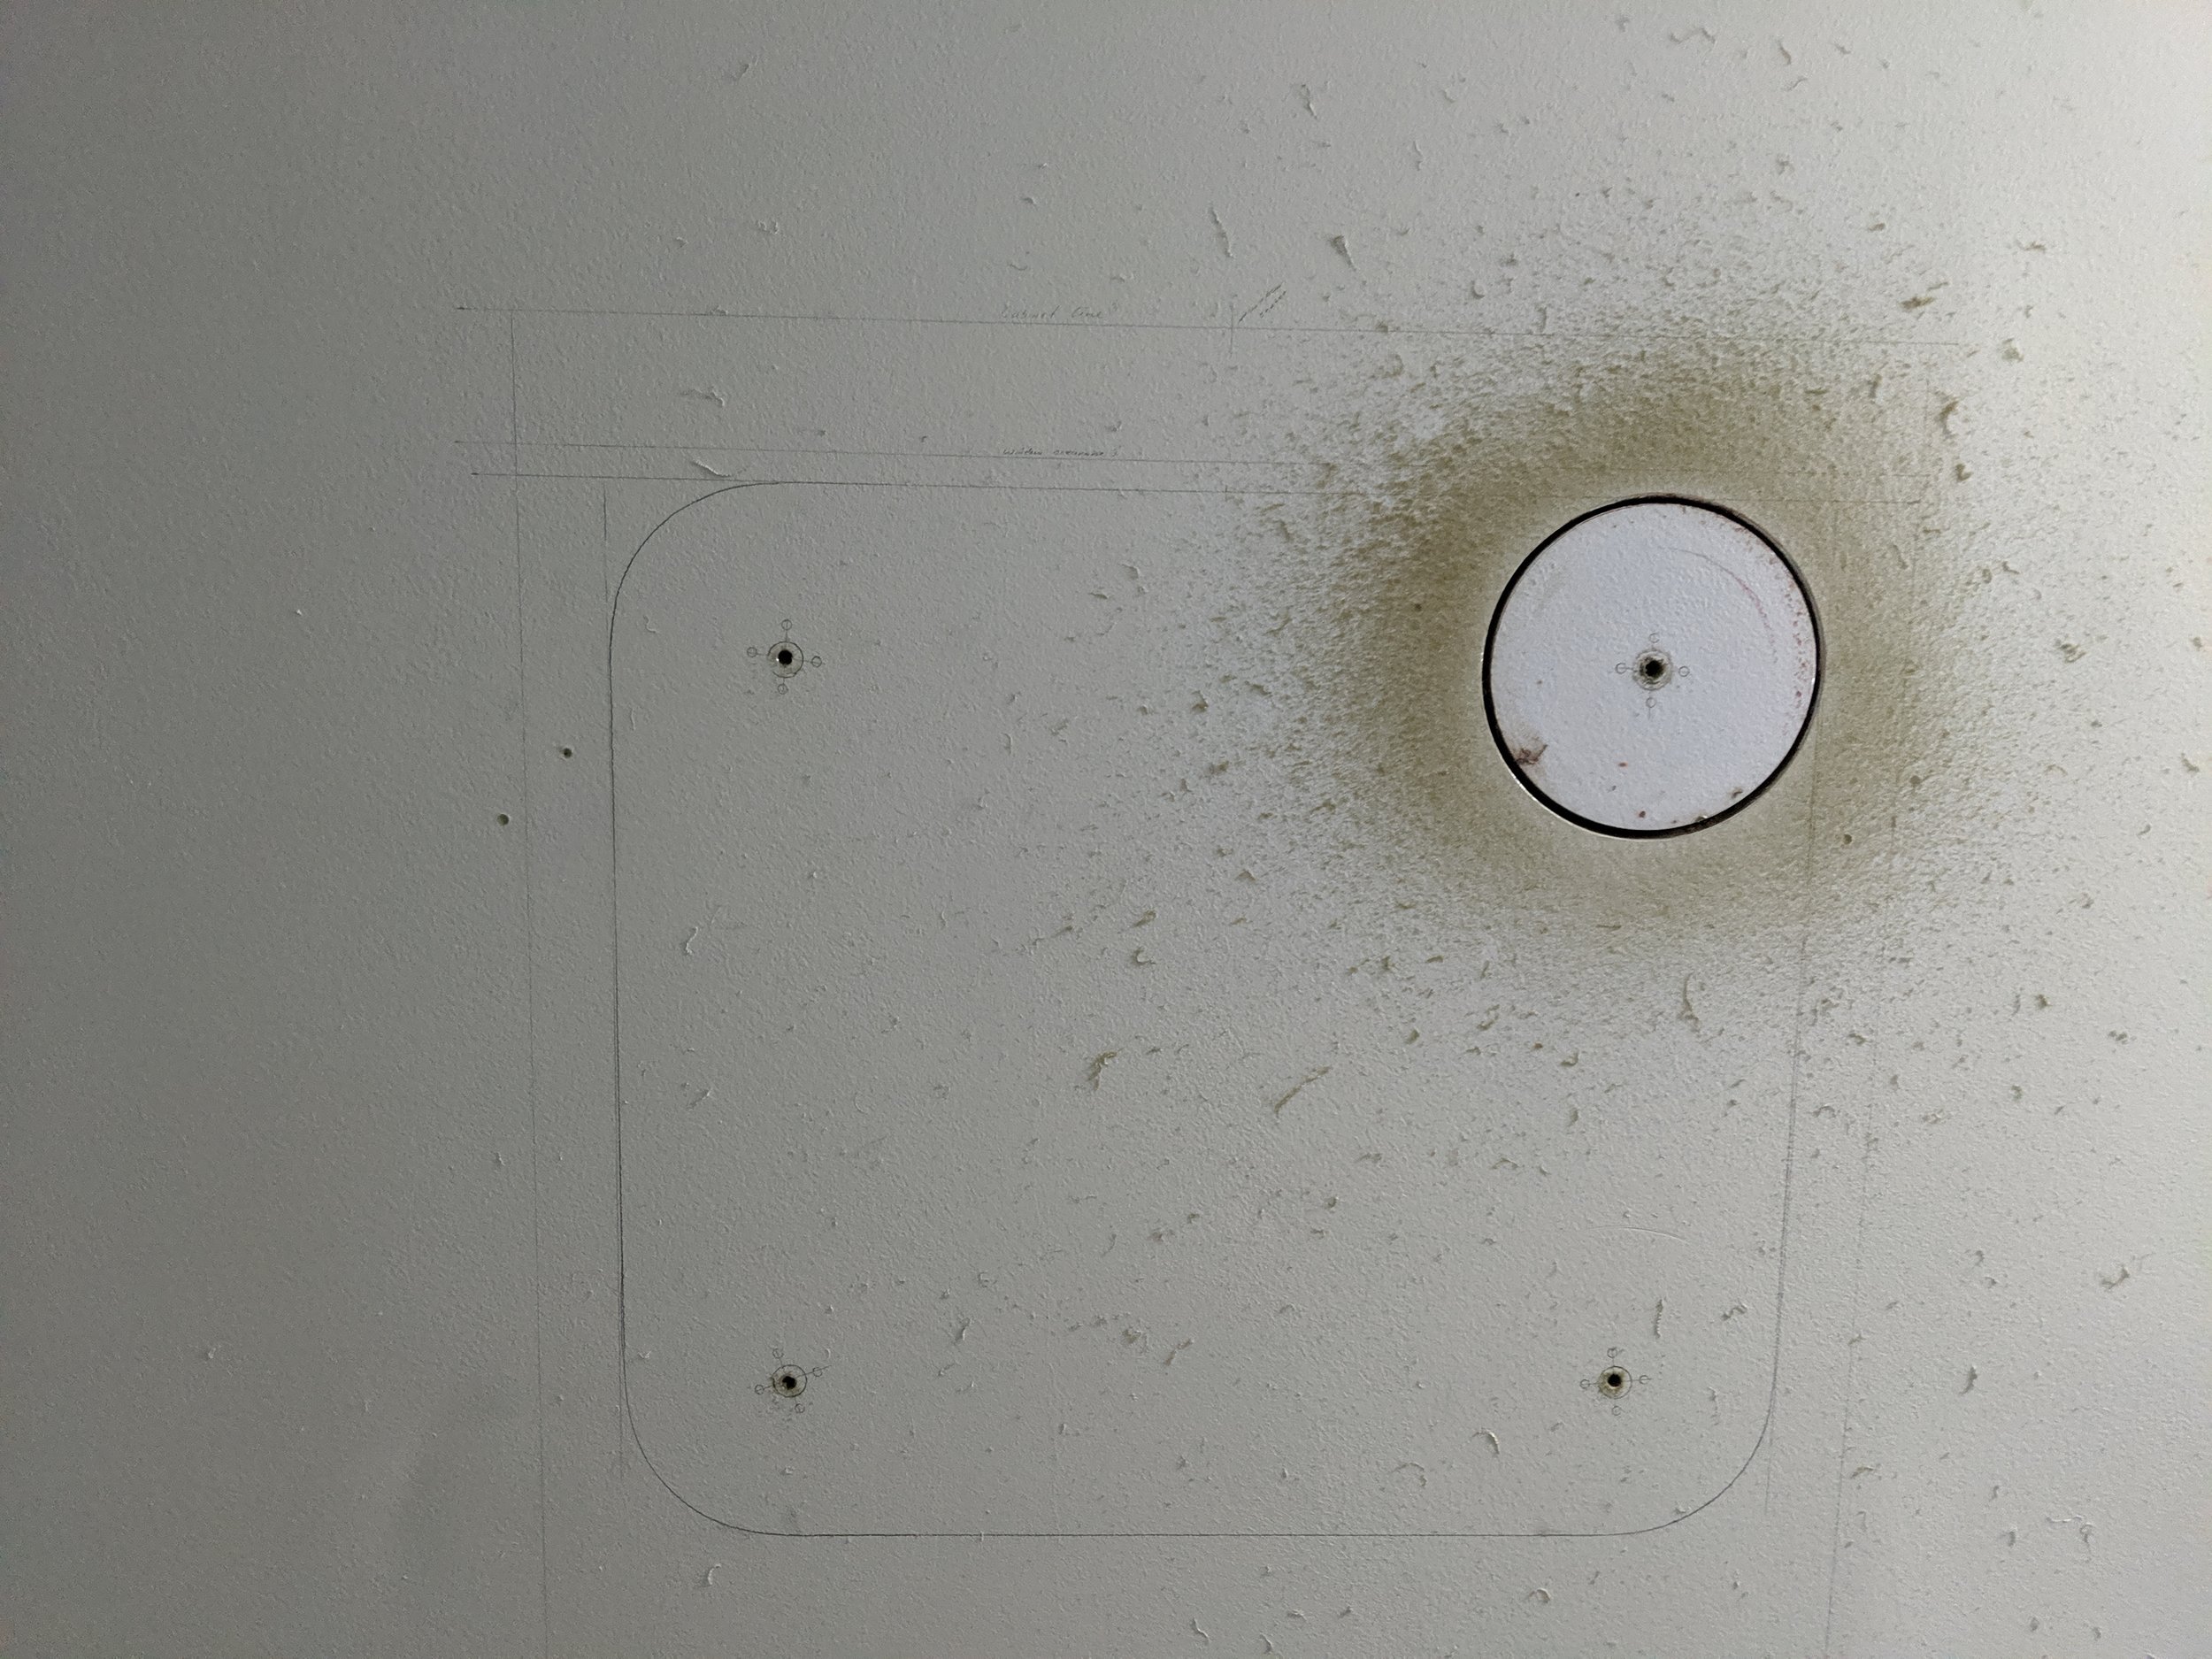


First we started with making a template and test cuts on a scrap plywood piece.
Marking out the frame shape on our test cut.
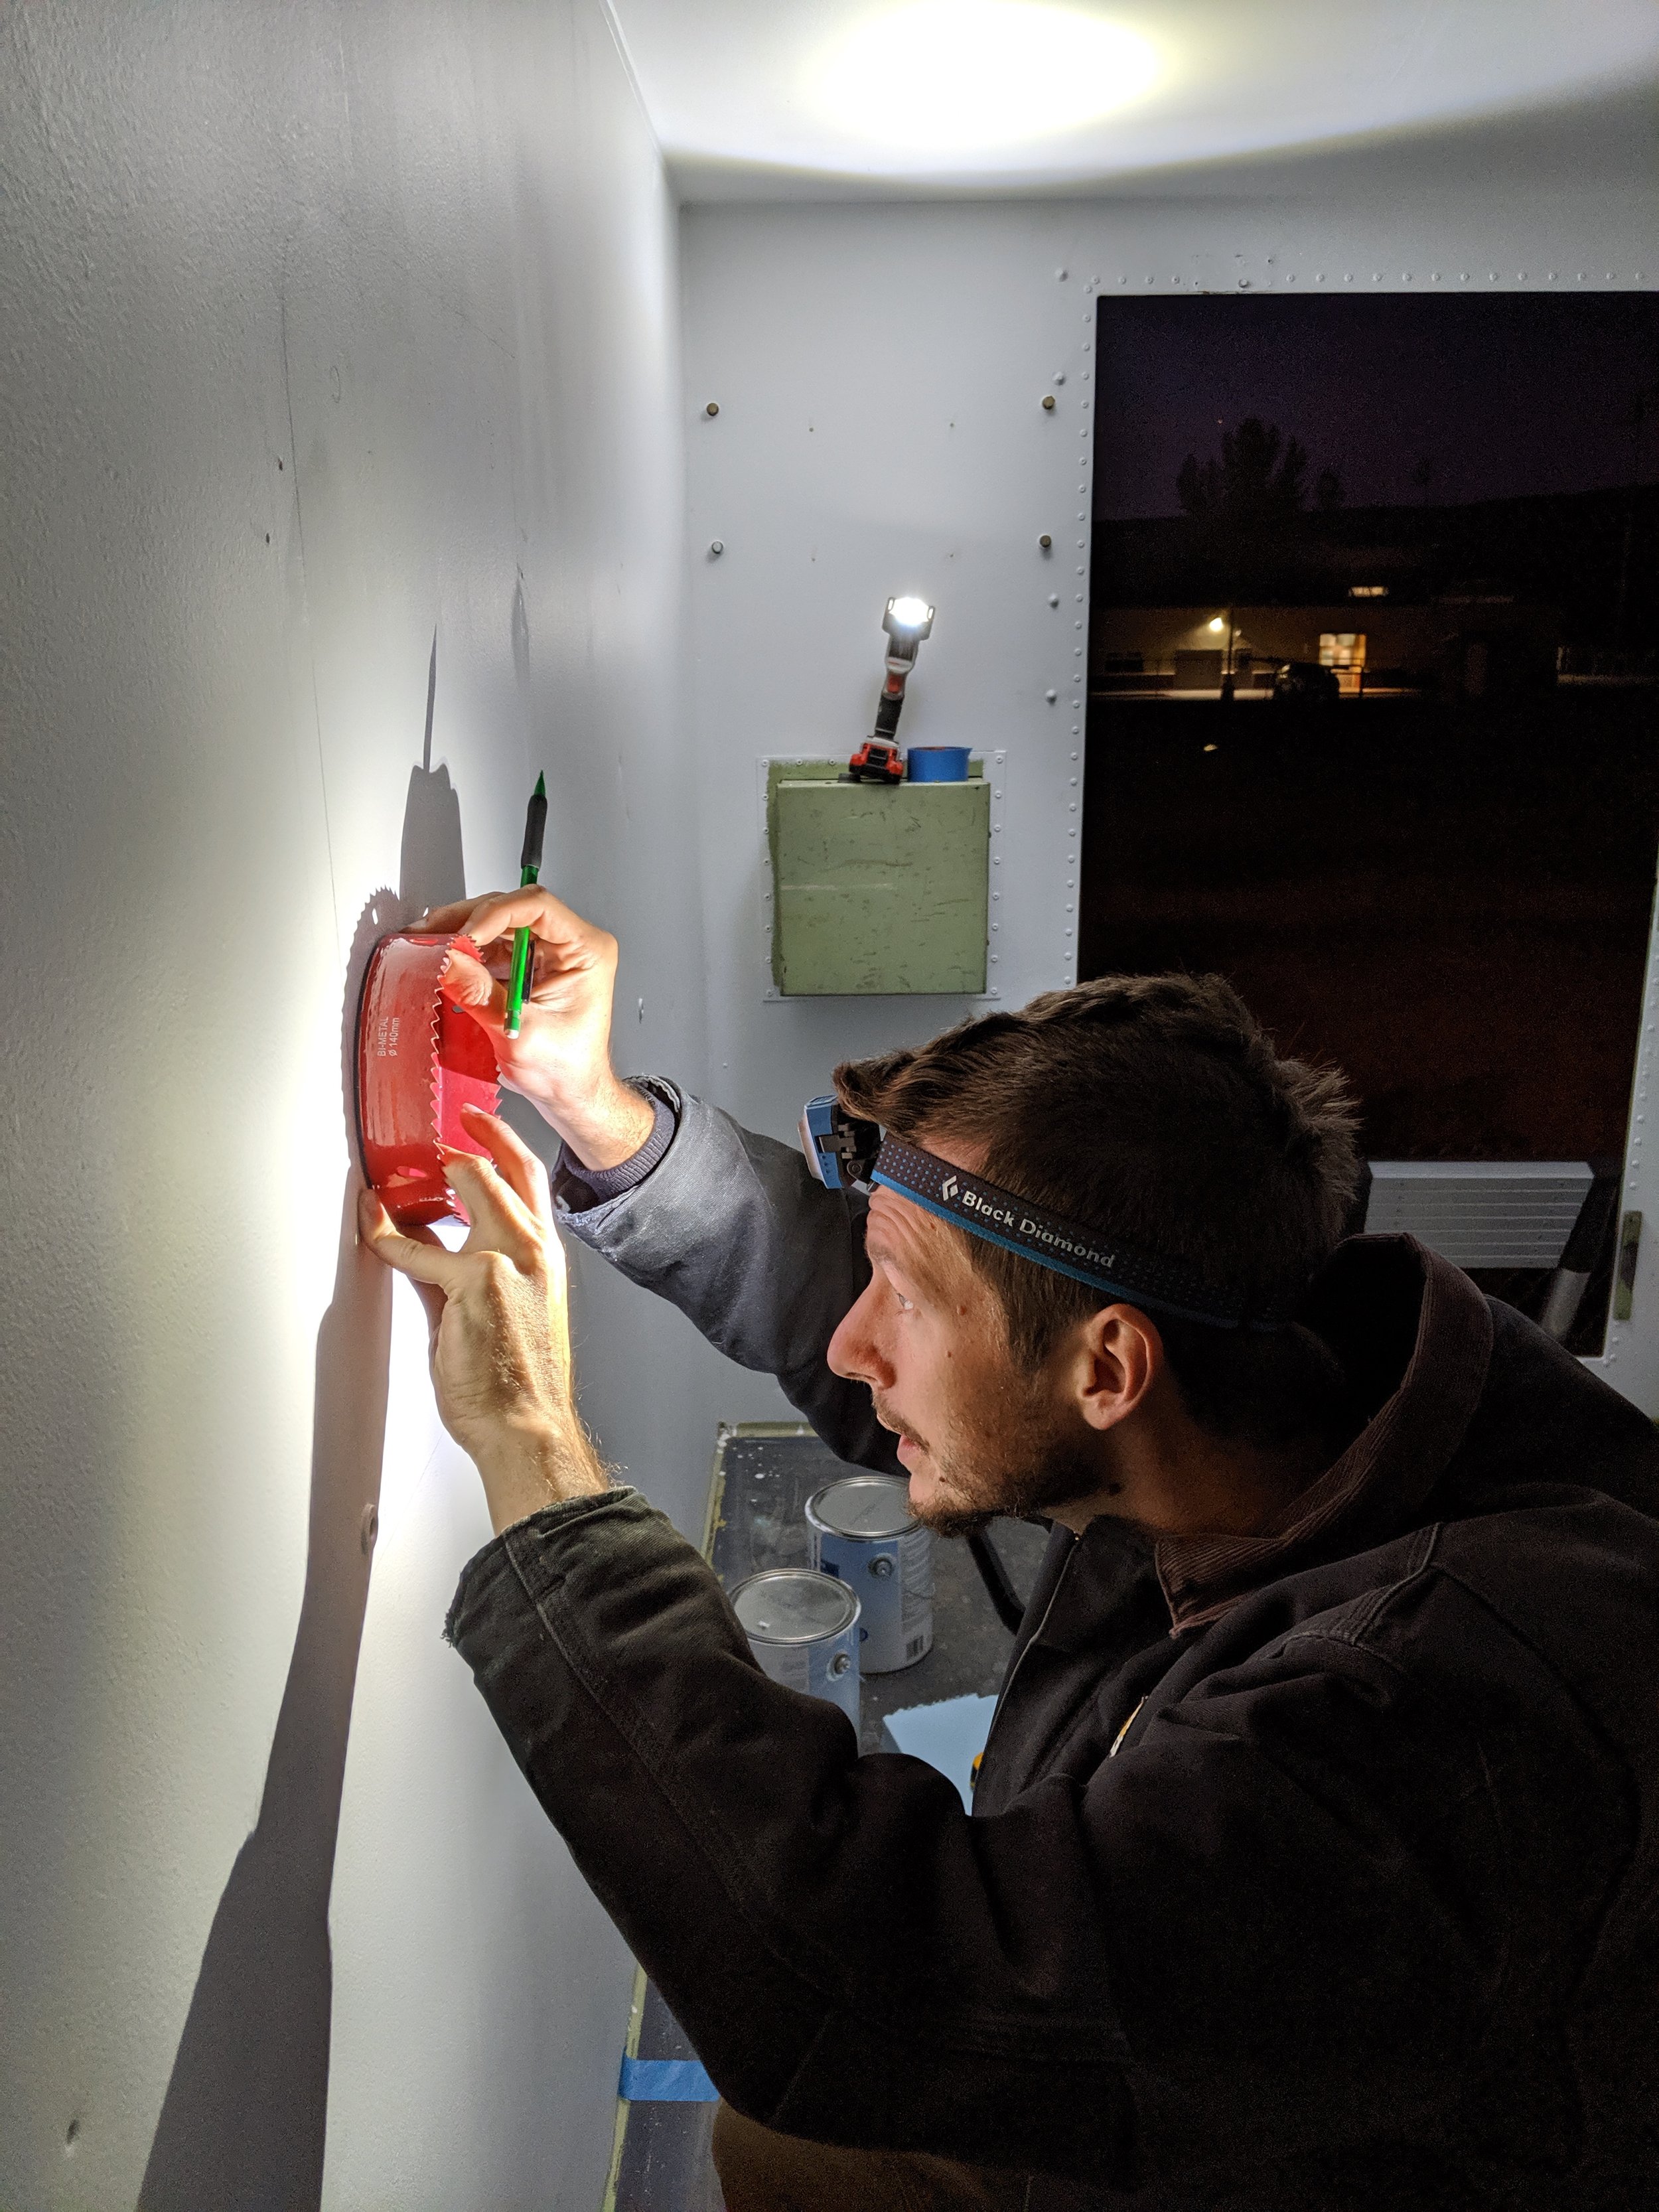
We used a 5.5” hole saw to help us make the correct radius in the corners for our cut out.
Happy with how the template worked out and how the window fits in.
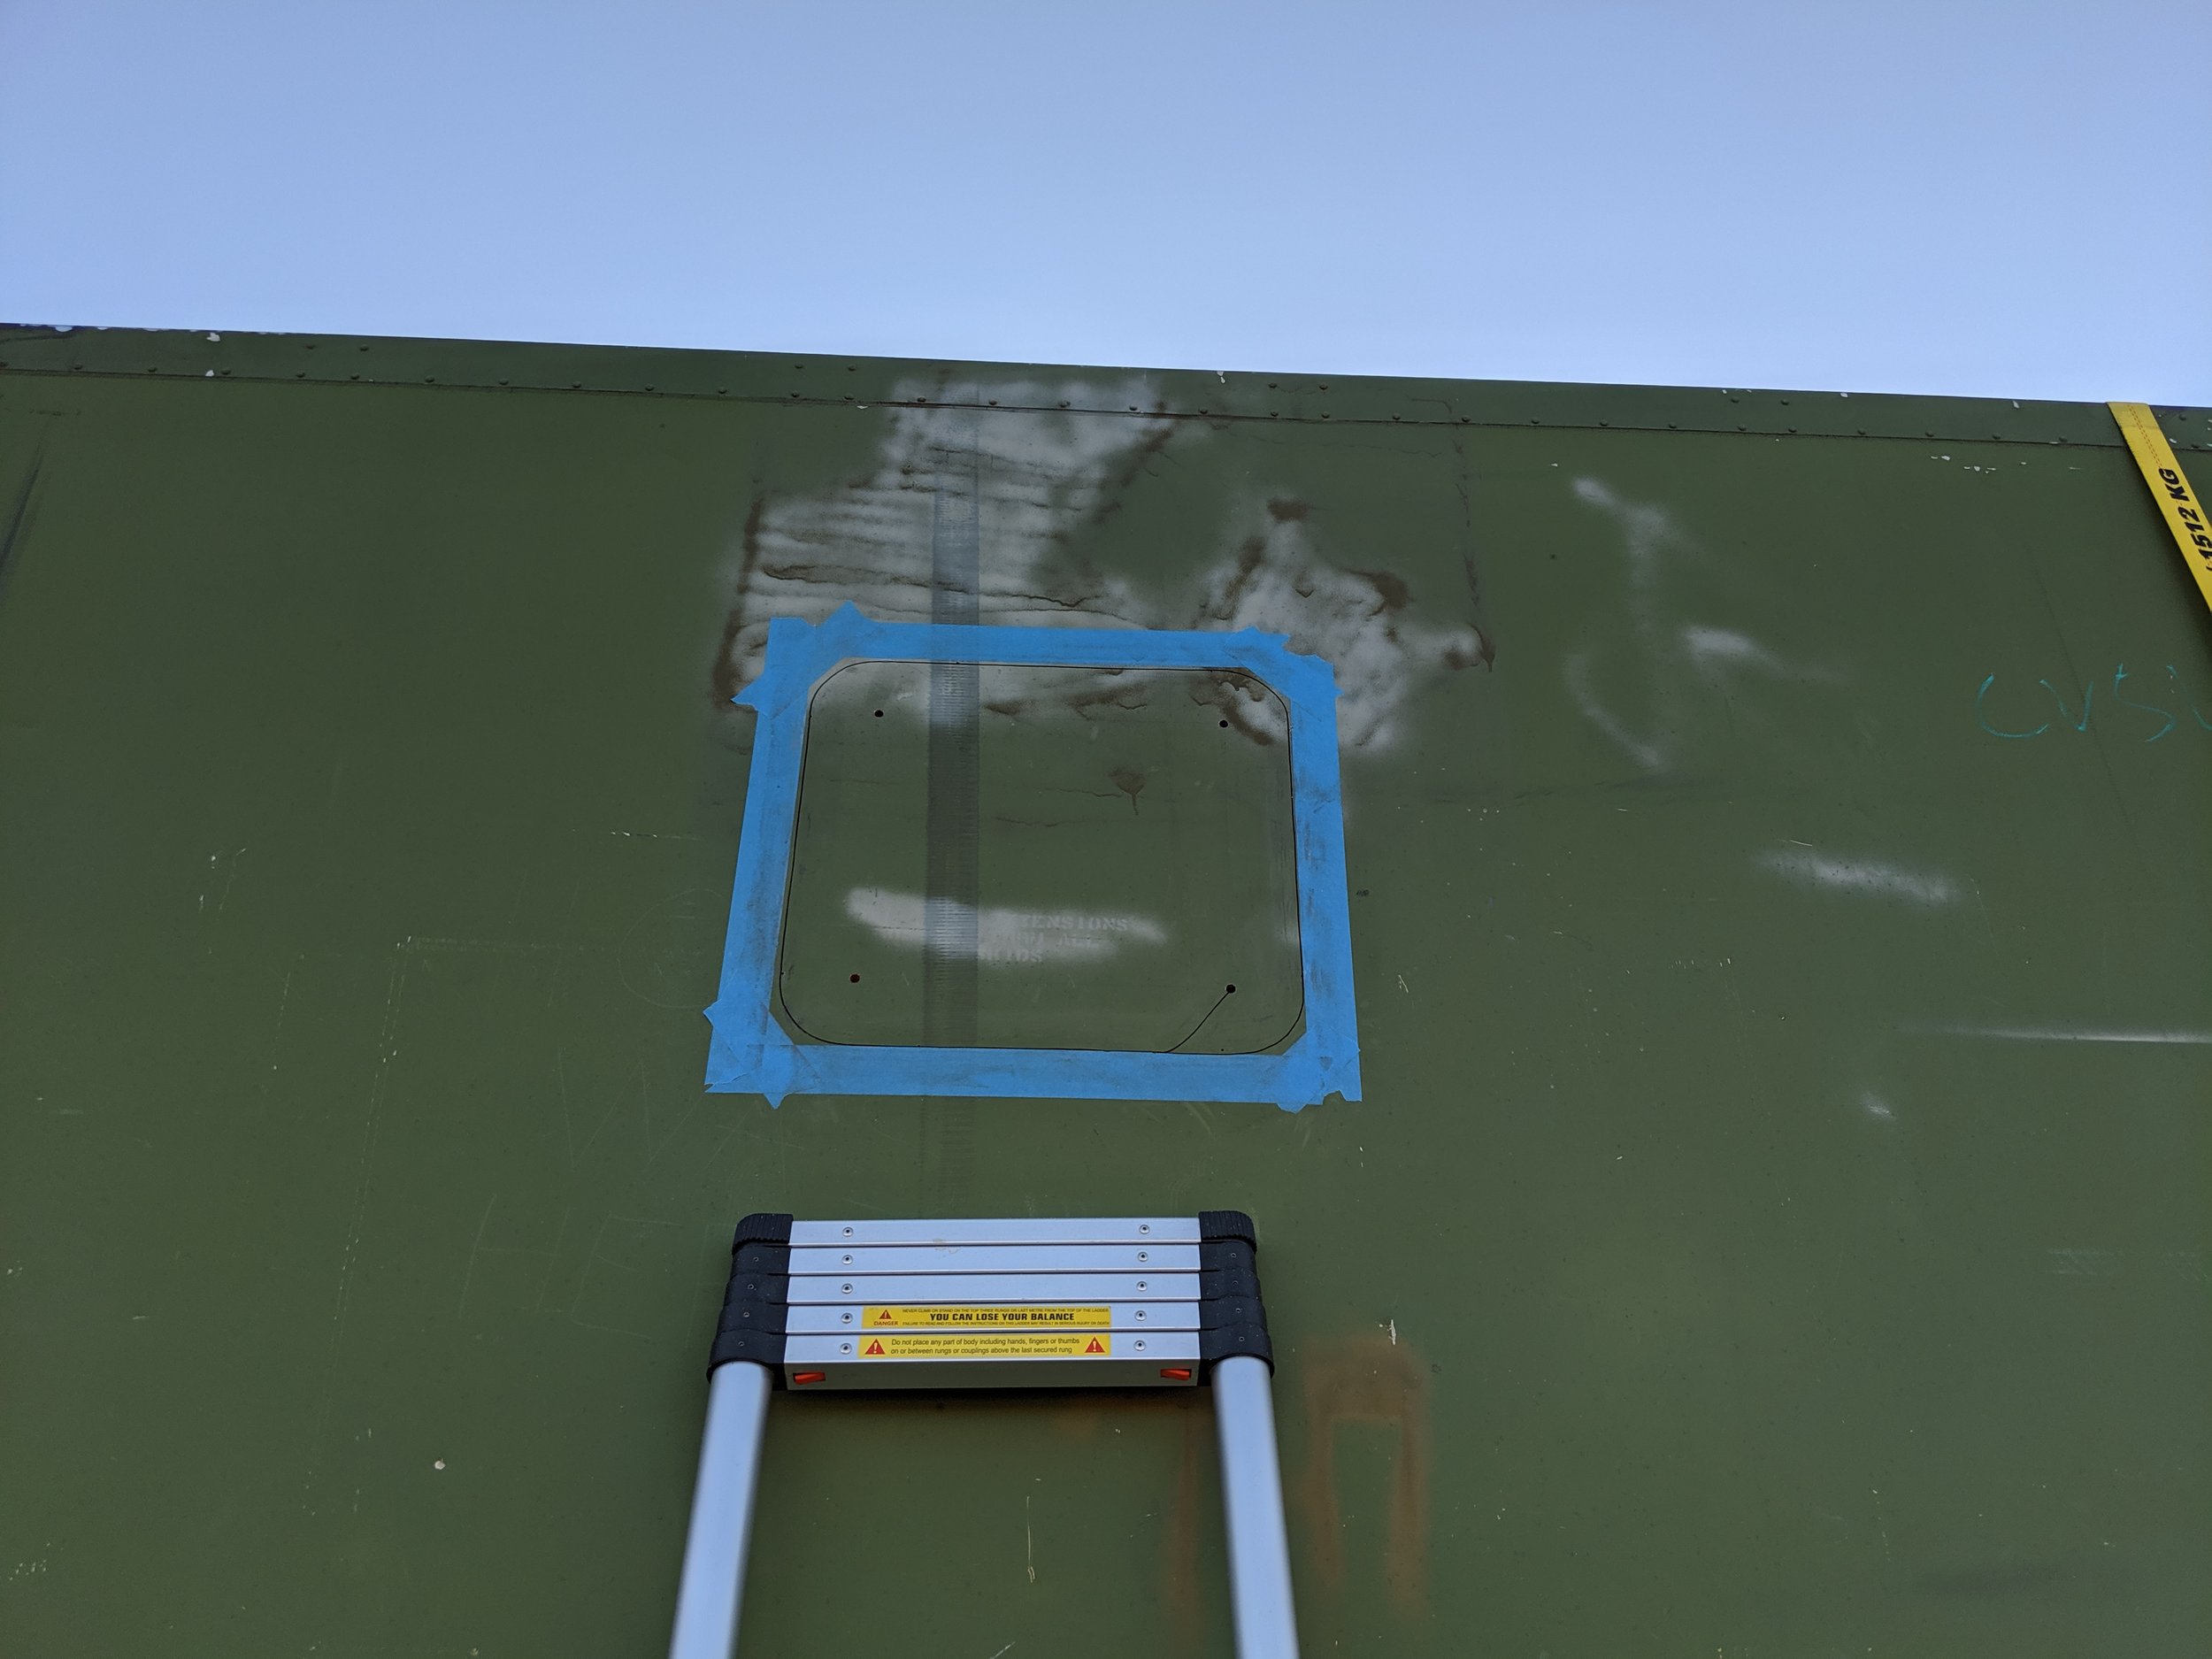
Installing these windows took a little bit of math and a lot of confidence to cut big holes in the side of our box but ended up being very easy to install. The tricky part was making sure that the window spacing was just right between the aluminum studs that are in the walls of the box. The windows had to fit into a space the allowed for 1/4” in on either side between two studs that I wasn’t exactly sure of their position. With lots of measuring, and looking at the technical drawings of box I finally came to a confident decision and marked out my lines for my cuts on the walls. It probably would have been fine to have gone with larger windows and cut through the studs, but I felt more comfortable keeping those studs in tact.
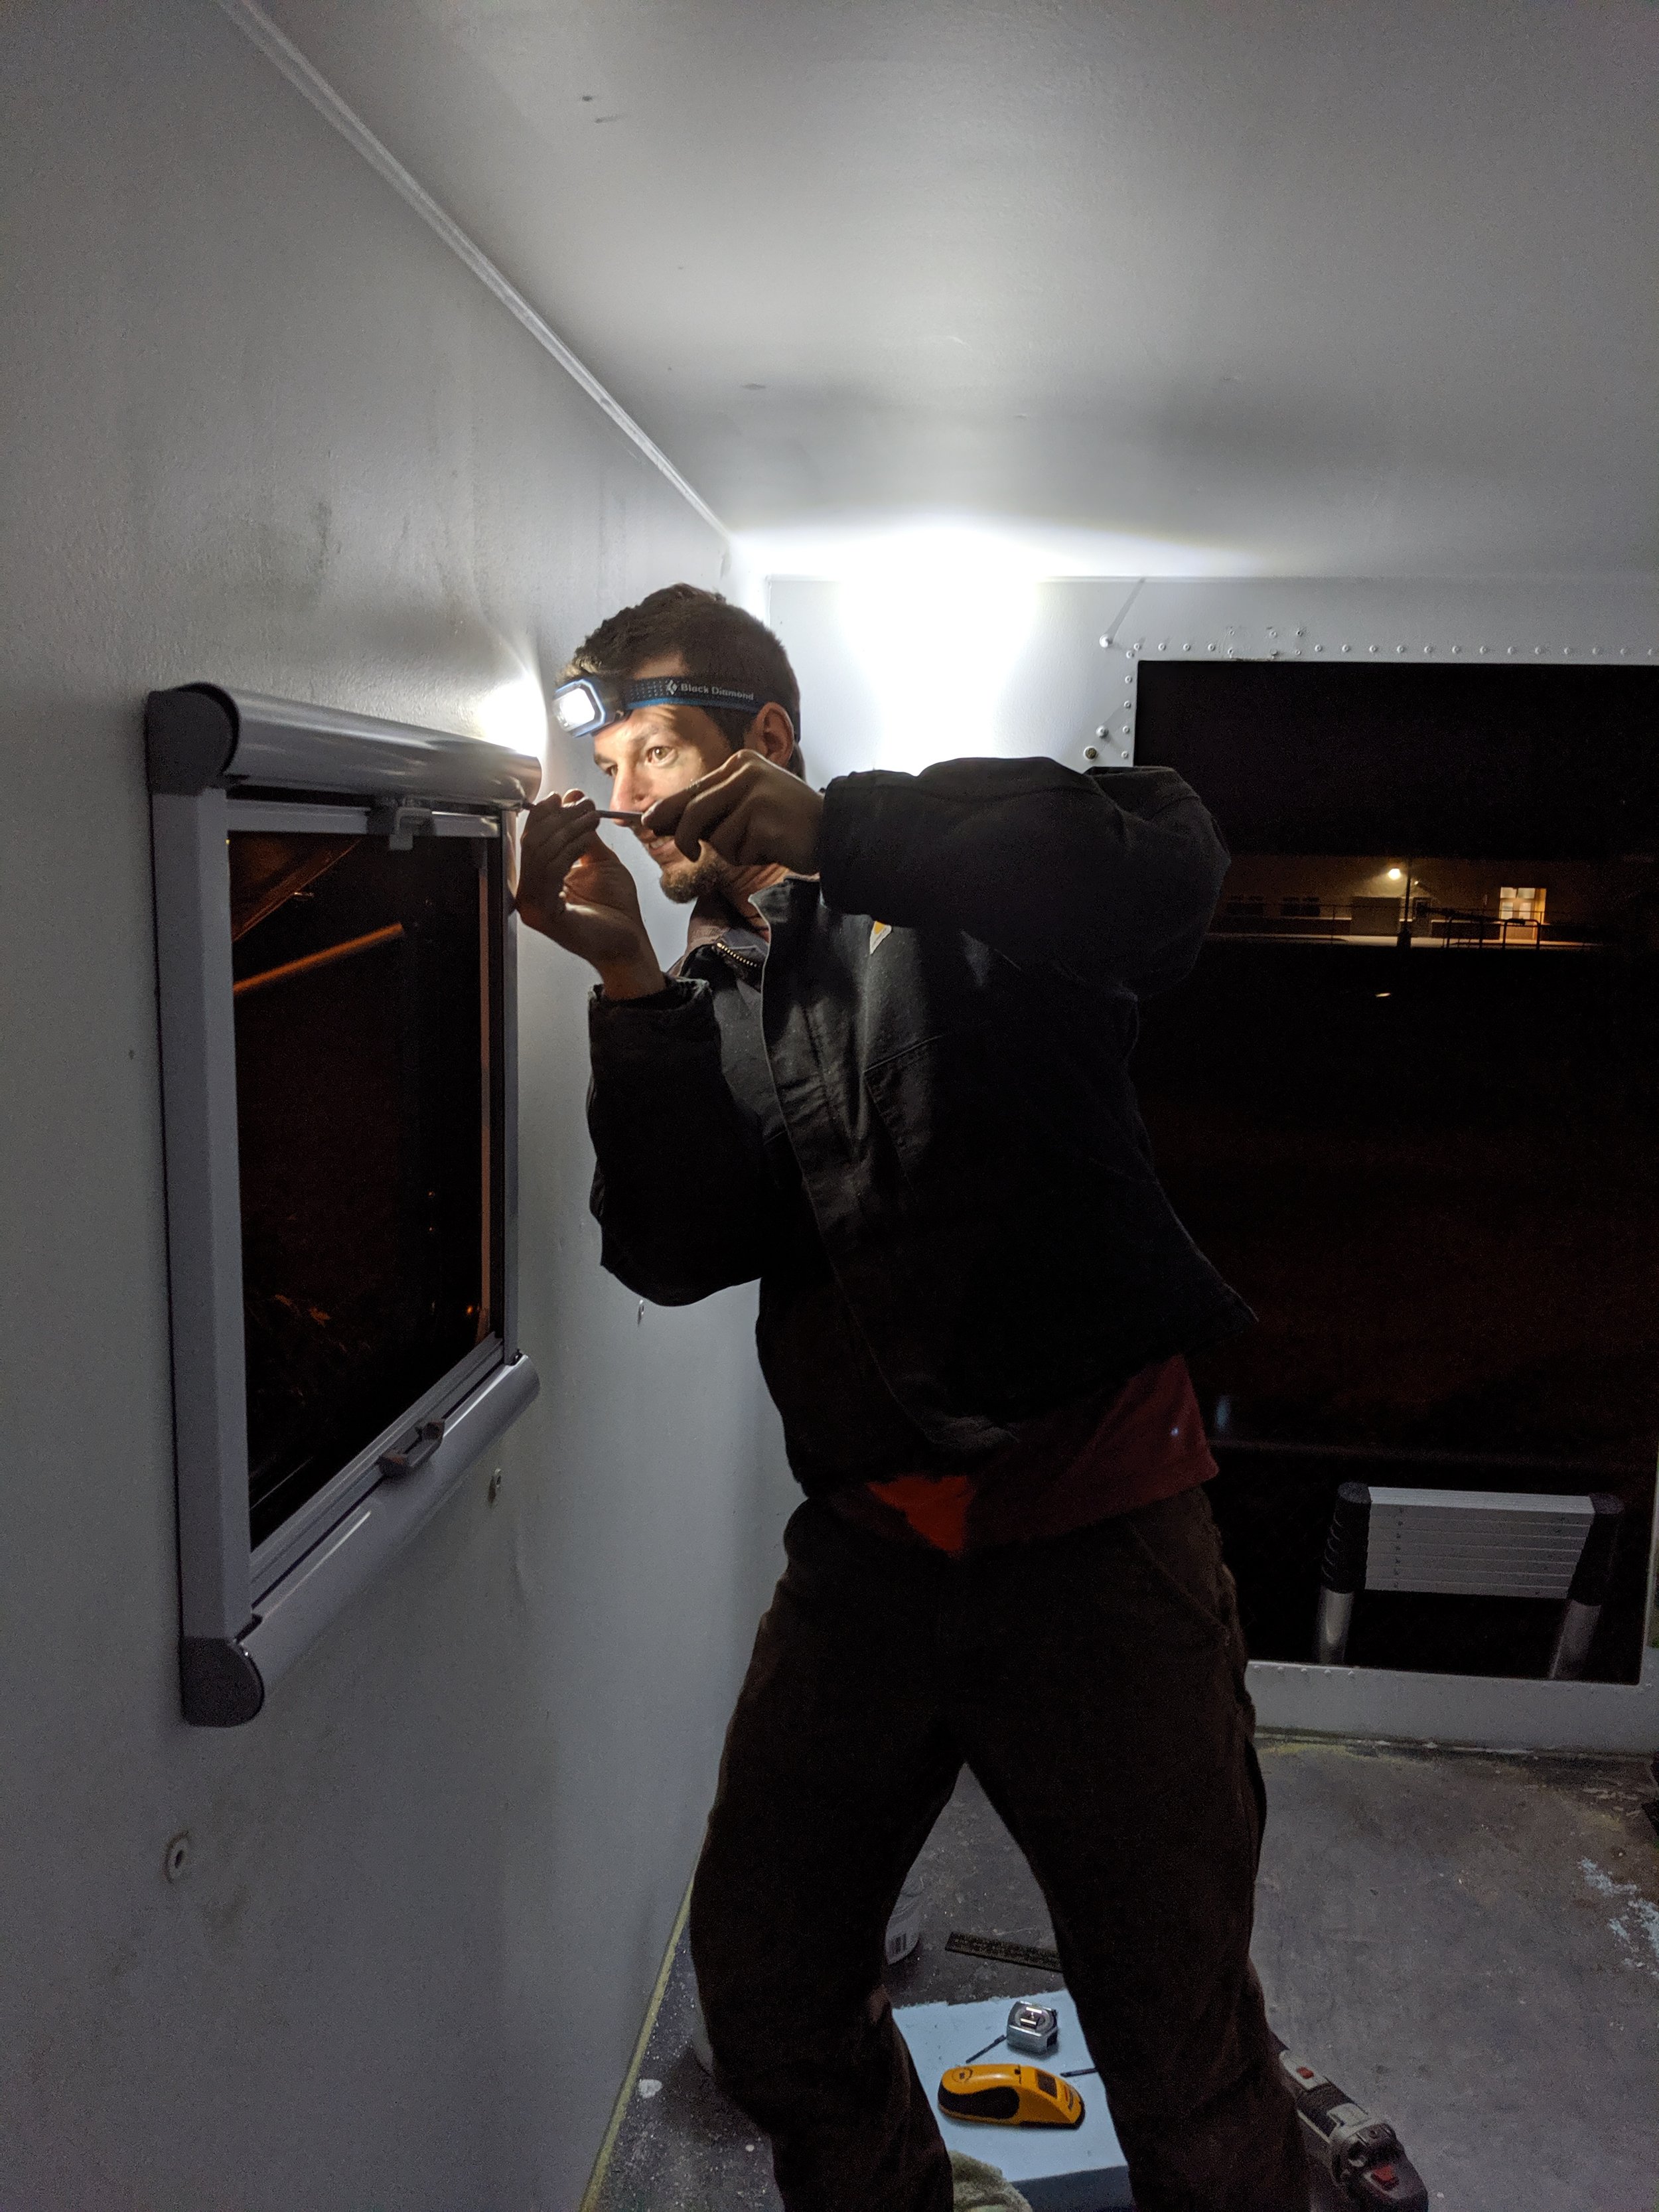
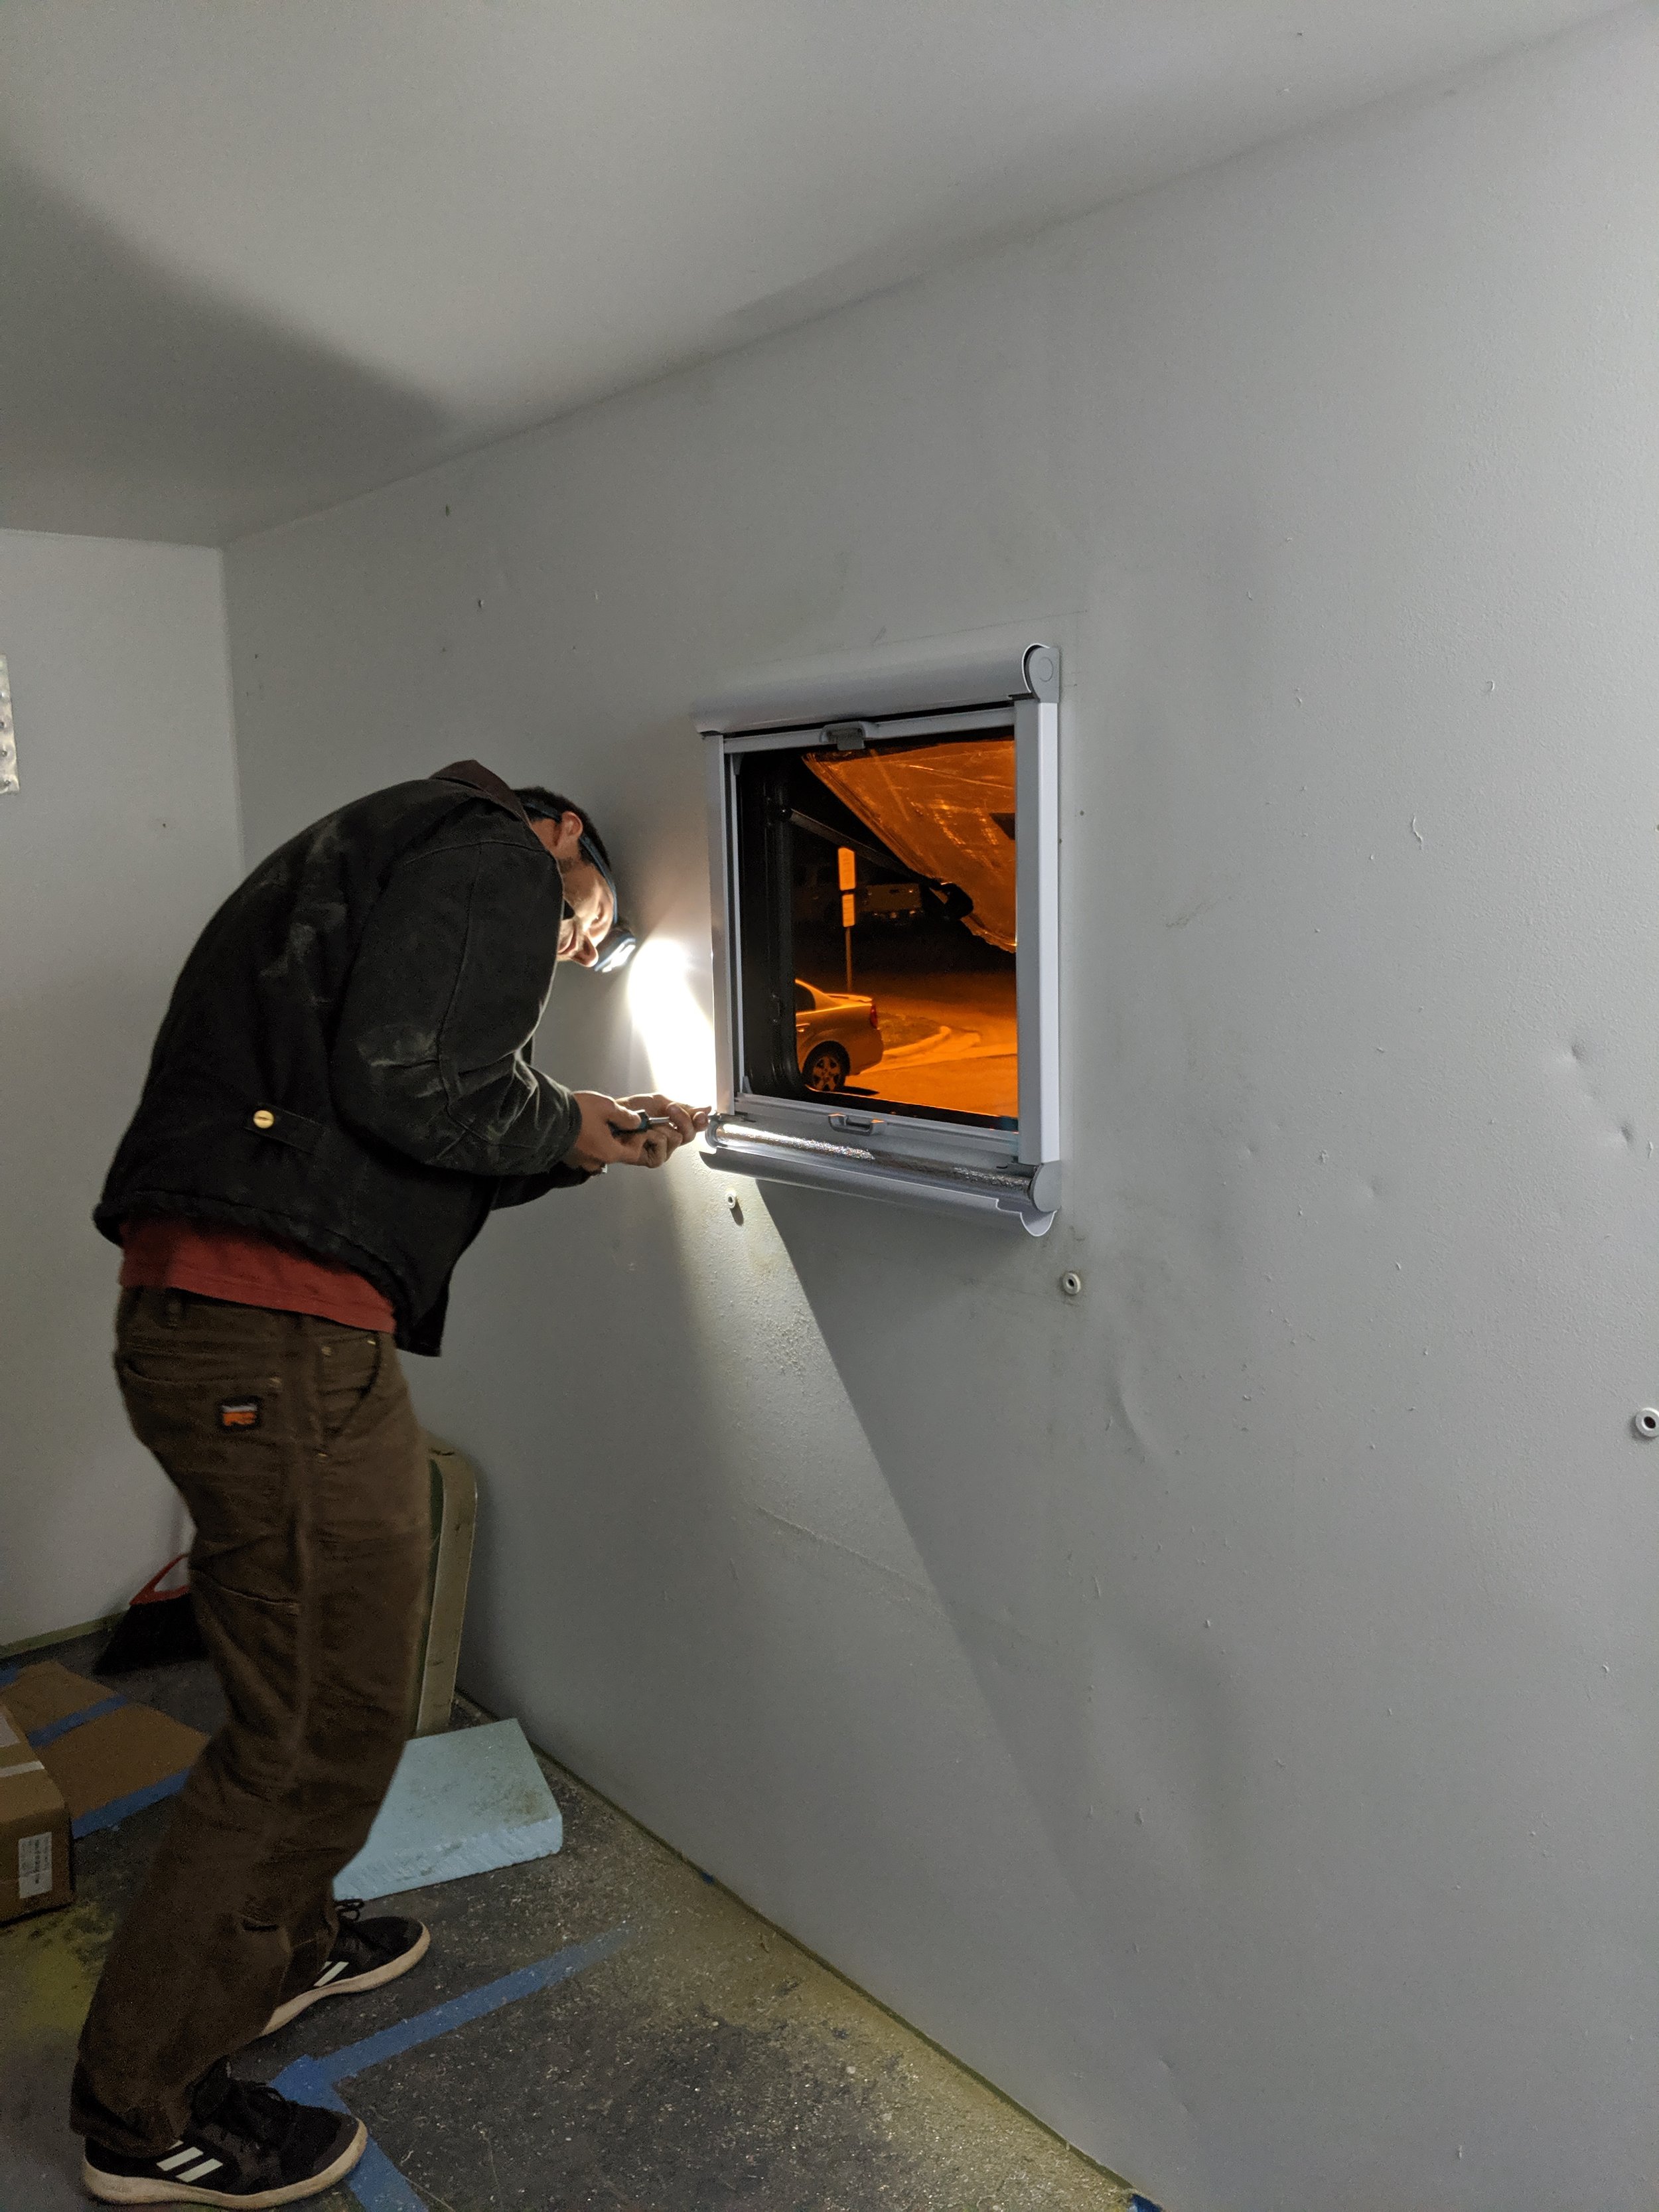
After getting a good template, and good first cut it was time to move onto making our lines on the wall, and taking a saw to our line. The kind of tricky part of this was that our walls are thicker than the saw blades that we planned to use on our jig saw. There are longer blade options out there, but at over 4” long the blades have a tendency to walk then no longer is 90 degrees. So this meant that our cuts had to happen in two parts. First from the inside. Then we would use a drill bit to drill thru the cut, and mark the lines on the outside, transferring our template so to say, and then continue our cuts then.
Template marked and first cuts going in.
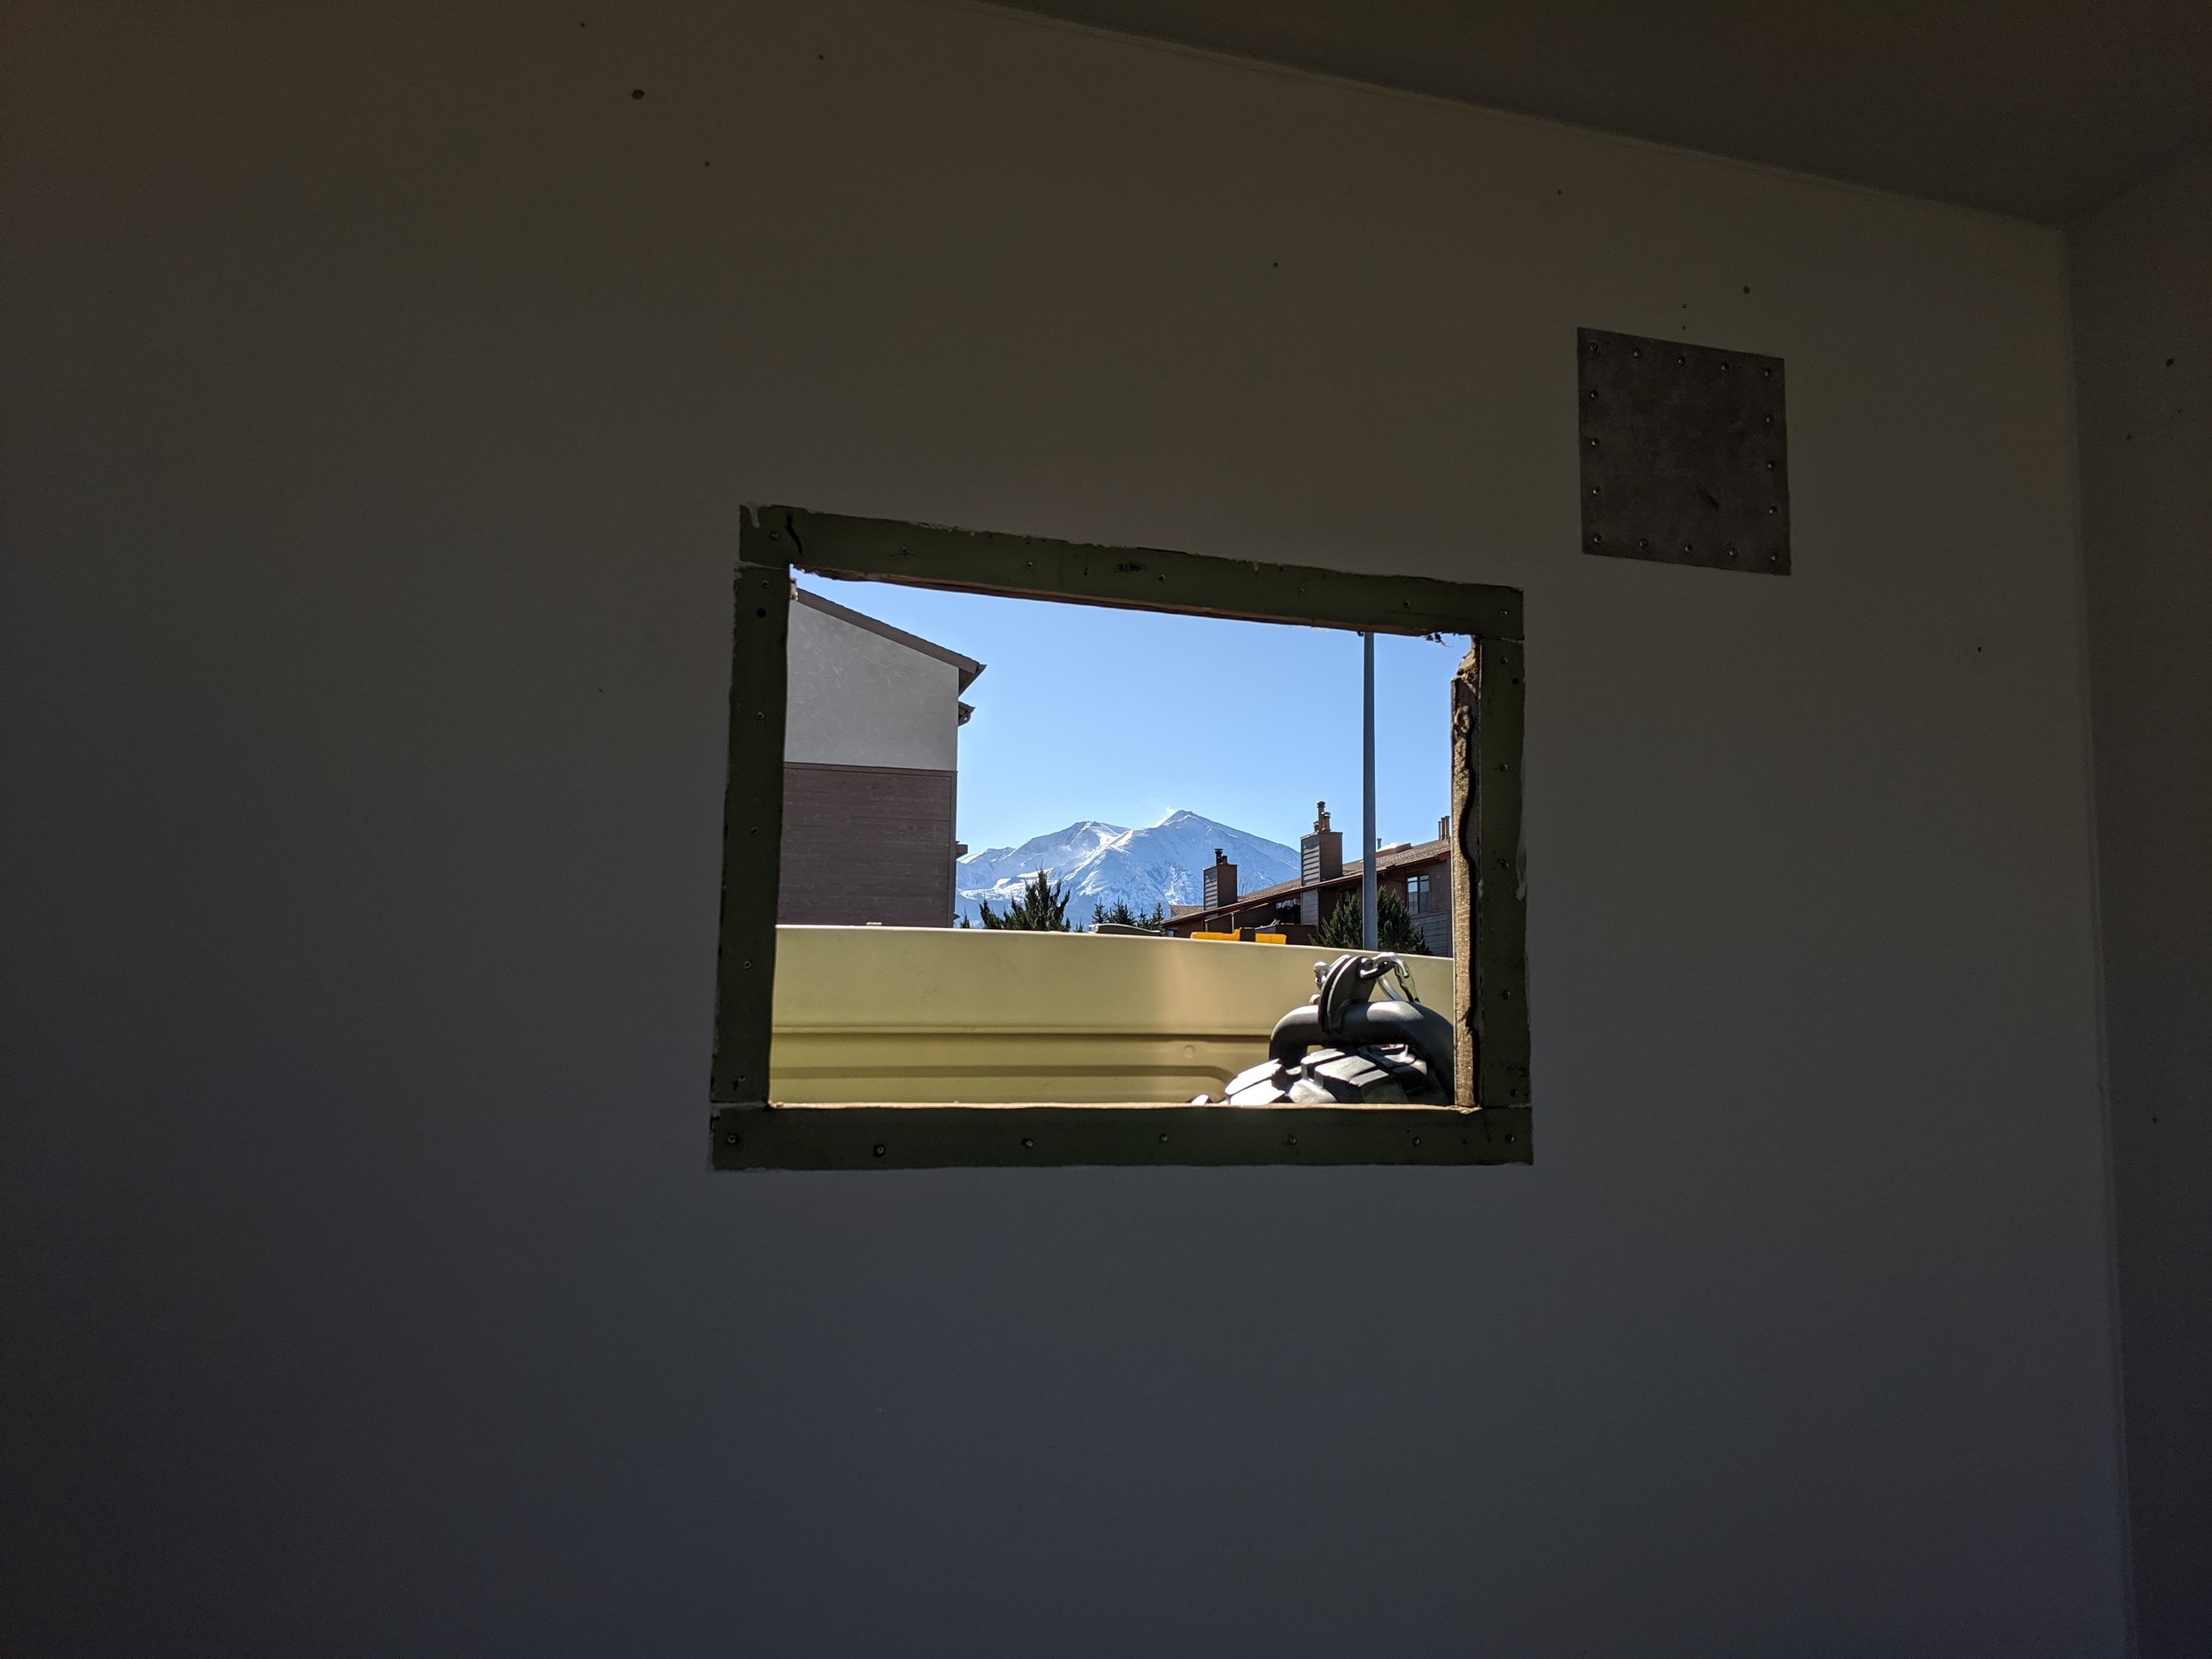
Scary moment cutting a large hole in a box that took us 6 months to find.
Windows in! You can see the silver insulating lining of the black out screen.