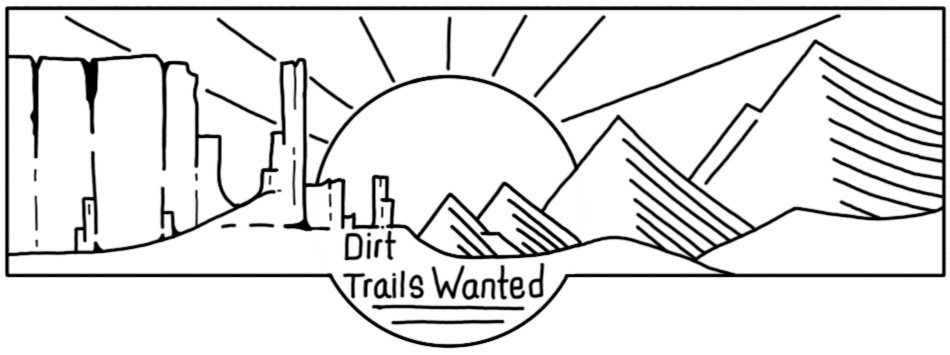
Roxanne the Van
1996 Ford E-150 | (2015 - 2017)
Less than a year into dating we decided that we were going to buy a van together, turn it into a sweet little camper, and move into it together to save money on rent and spend more time playing outside.
We spent that summer building it out bit by bit in the driveways of gracious friends while simultaneously living in it. It was slightly less than ideal to have to fully clean up our construction mess every day so that we could also cook, eat, and sleep in there but not paying rent meant that we had more money for the build!
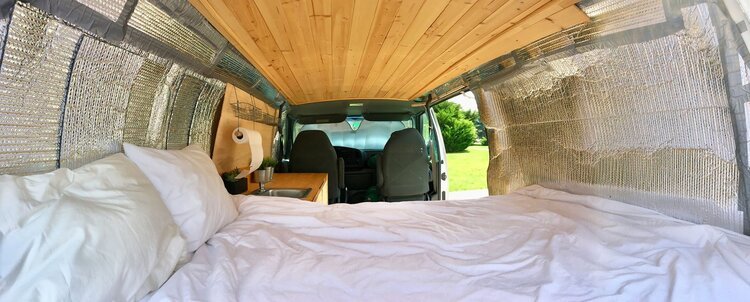
Our humble first van build out didn’t turn out half bad! We always said that we would cover the Reflextix on the walls but somehow never got around to it.
We honestly had no idea how to build out a van when we began this build. Especially since the walls are far from straight! We insulated the van with spray foam insulation, Reflectix, and put up some plywood behind the kitchen. We framed out the bed and kitchen unit with 1x1s, pine board and L brackets, which in retrospect, is definitely not how we would go about now with all that we have learned!
But it didn’t really matter how “un-pro” our little van build was. Considering the shoestring budget we were on, this simple build allowed us to enjoy many months and of #vanlife and adventures throughout the mountains of Colorado, Wyoming, Montana, and of course some wonderful Utah desert time! She had her issues for sure, and we may have sworn off ever owning a Ford vehicle again, but Roxy taught us a lot and we enjoyed every minute of our time with her!
Roxy in Indian Creek, Bears Ears National Monument, Utah
Our Very First Build Out…
Right after we bought the van! We were so excited!!
Driving the van home for the first time.
It was a blank slate… and pretty gross!
There was a lot of cleaning and scrubbing the van to get to a point where we could begin the build out.
We framed out a subfloor with 1x1s which we screwed into the metal studs of the van.
We then insulated the subfloor with blue polystyrene foam.
We then used 1/2 inch plywood to cover the subfloor.
Here Brian is using spray adhesive to apply Reflectix to the wheel wells to help with insulation.
With the floor in and the wheel wells wrapped, we were ready to begin building our bed.
We framed our bed with 1x1s, 1x4s and used screws and L brackets to join everything. We hadn’t yet learned the wonders of pocket screws.
On each side of our bed we installed piano hinges to allow for storage access to the compartments below.
We also had not yet learned how to properly scribe to the contours of the van walls…
Christina continuing to glue and place Reflectix along the walls and ceiling.
We decided to panel the ceiling with cedar tongue and groove planks which we screwed into the studs of the frame of the van.
Nothing was square in this van and the cedar paneling didn’t quite line up properly at the end… But we said screw it and moved on with our lives.
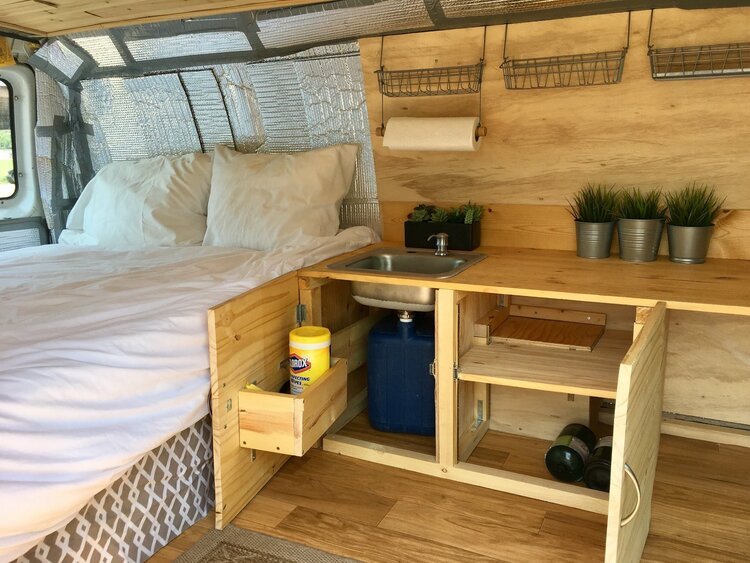
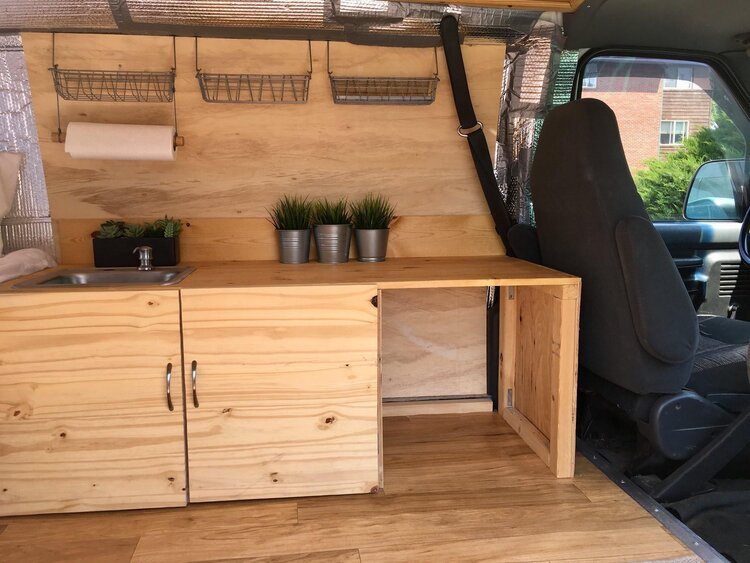
Framing out our very basic kitchen build with 1x1s and 1/4 inch plywood. The space on the right was sized to fit our cooler exactly. We laid and stapled our linoleum flooring down in the front half of the van (everywhere except under the bed).
To keep things really simple, our kitchen sink drained directly into a 5 gallon water container which we could easily pull out and dump whenever our grey water was full.
We used a single piece of pine board with continuous wood grain for our cabinet doors. Some nice cabinet pulls and we were starting to look legit!
We also used the cedar tongue and groove paneling on our sliding door which made it feel like a cozy little cigar box inside.
A few random photos from life in the van…
Cooking on the floor of the van before we built our kitchen. Living in the van while building it out was entertaining for sure.
Road tripping to Montana!
